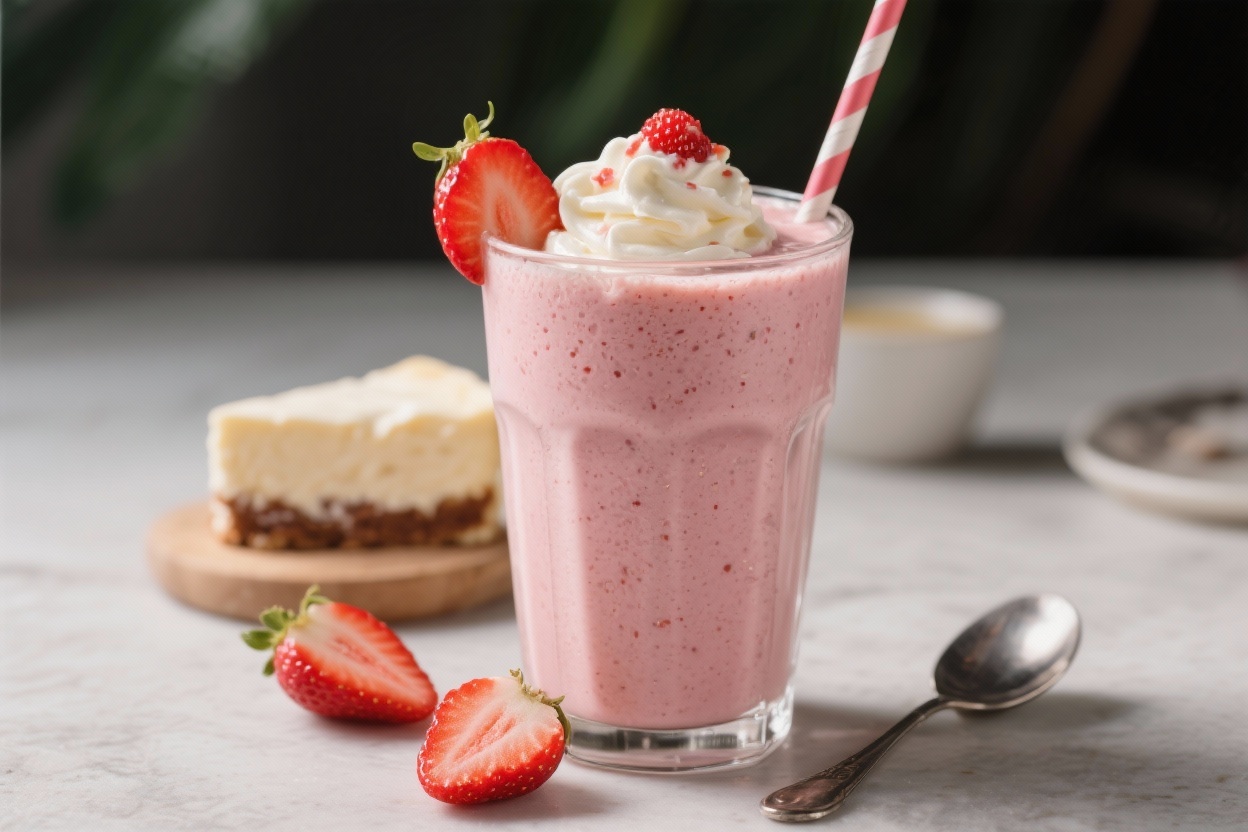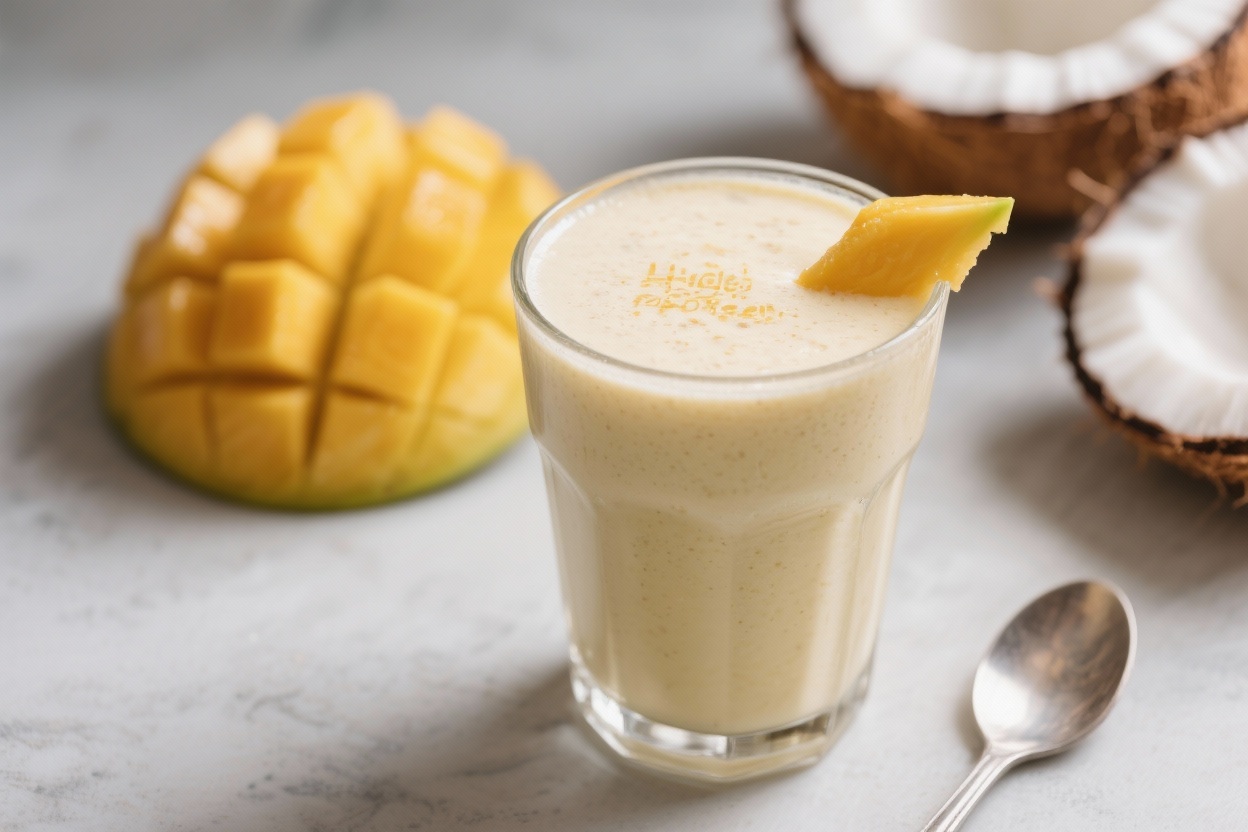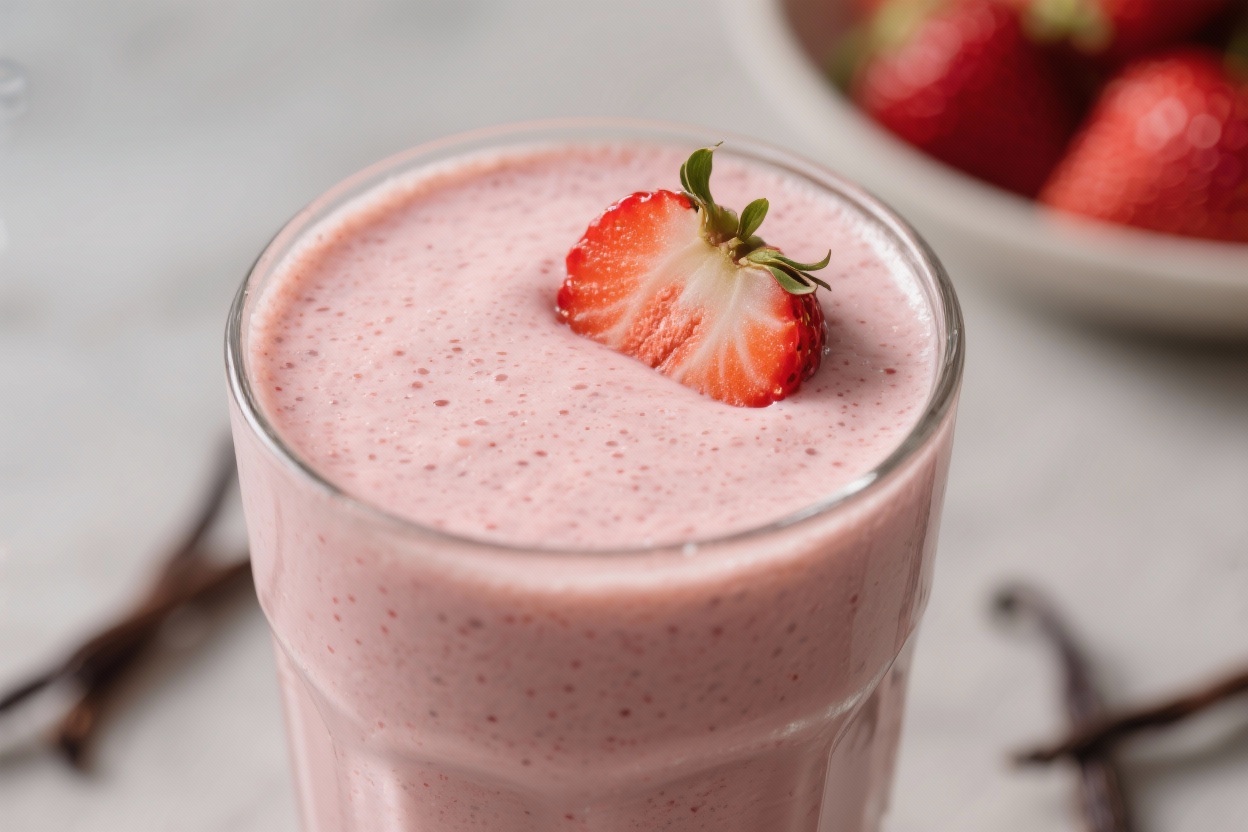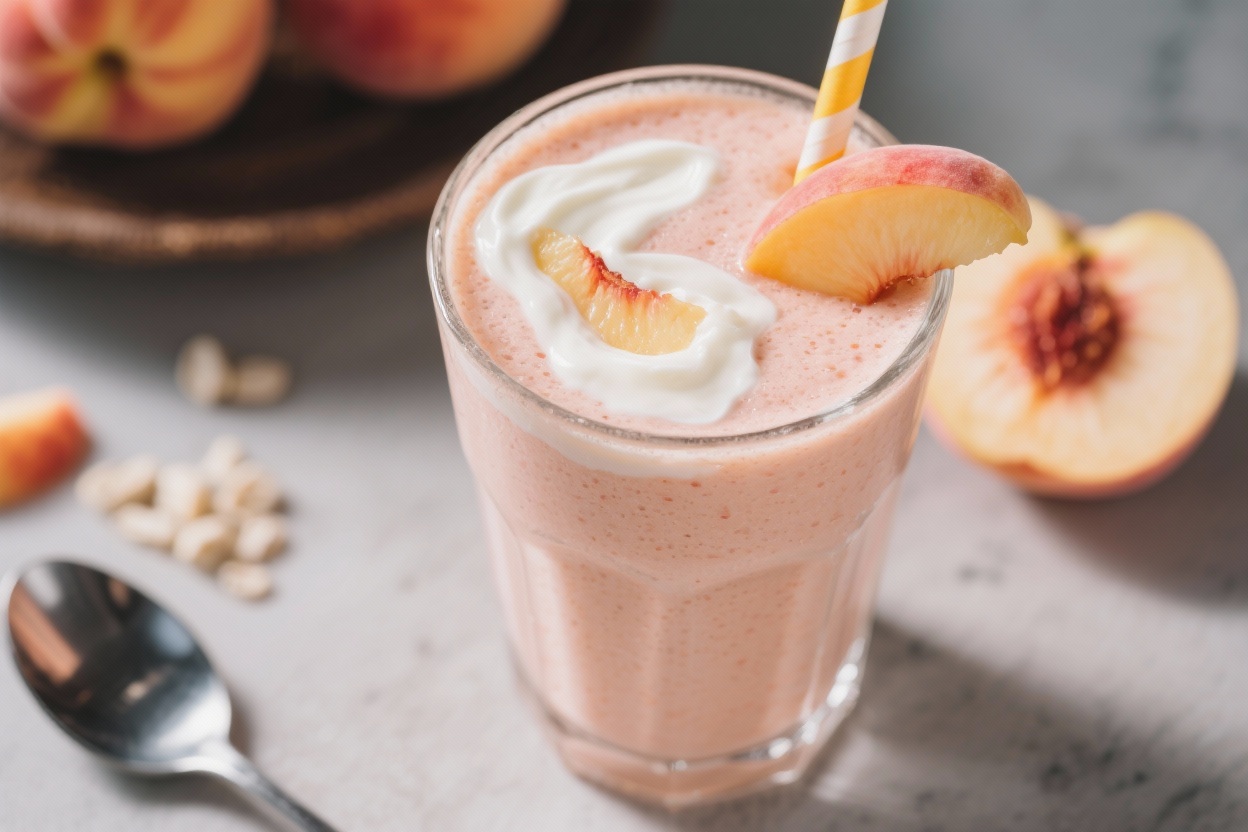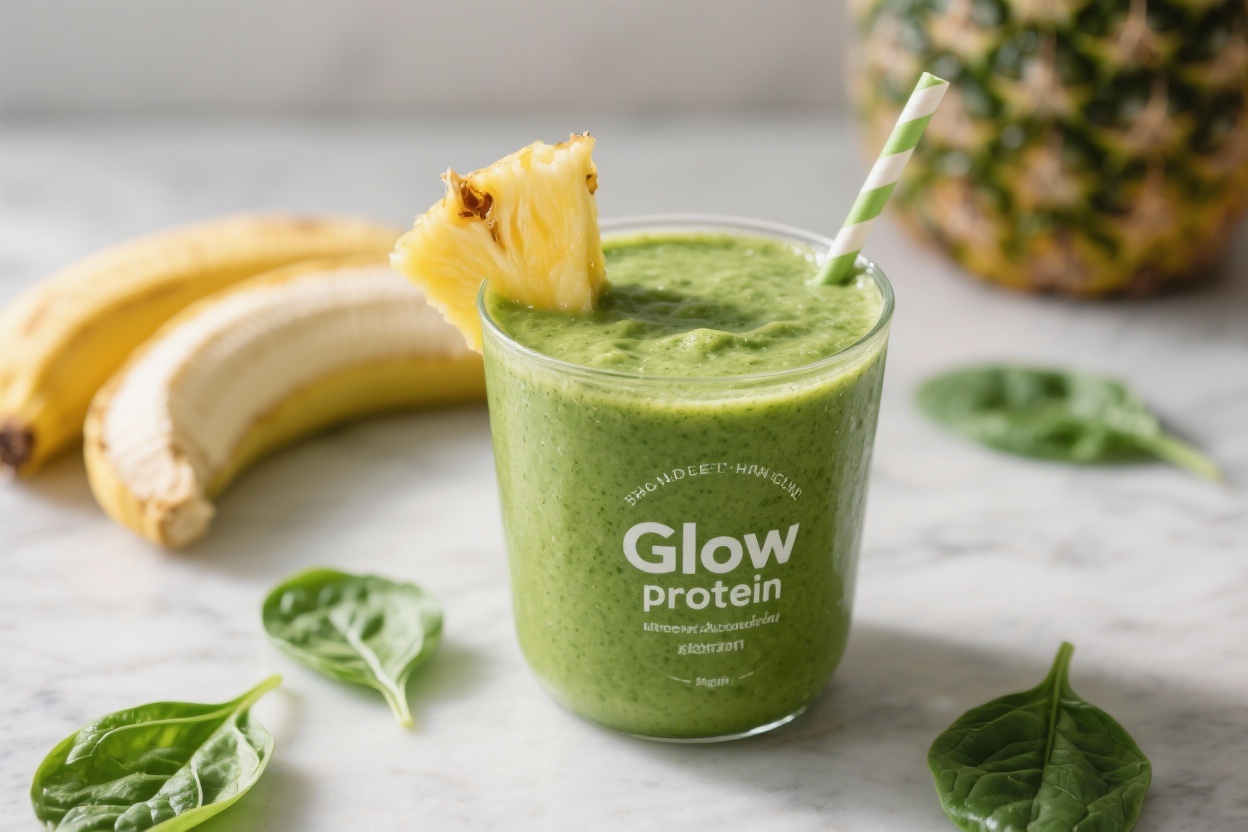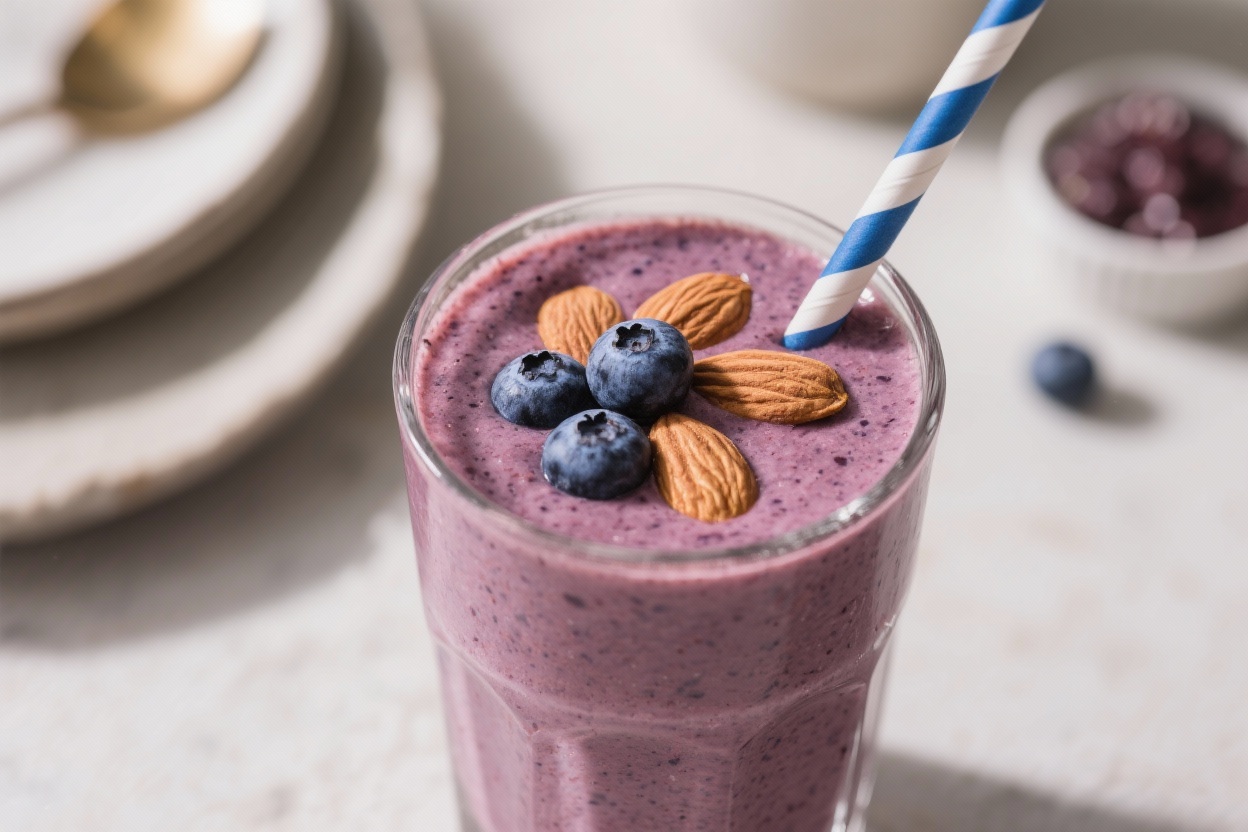
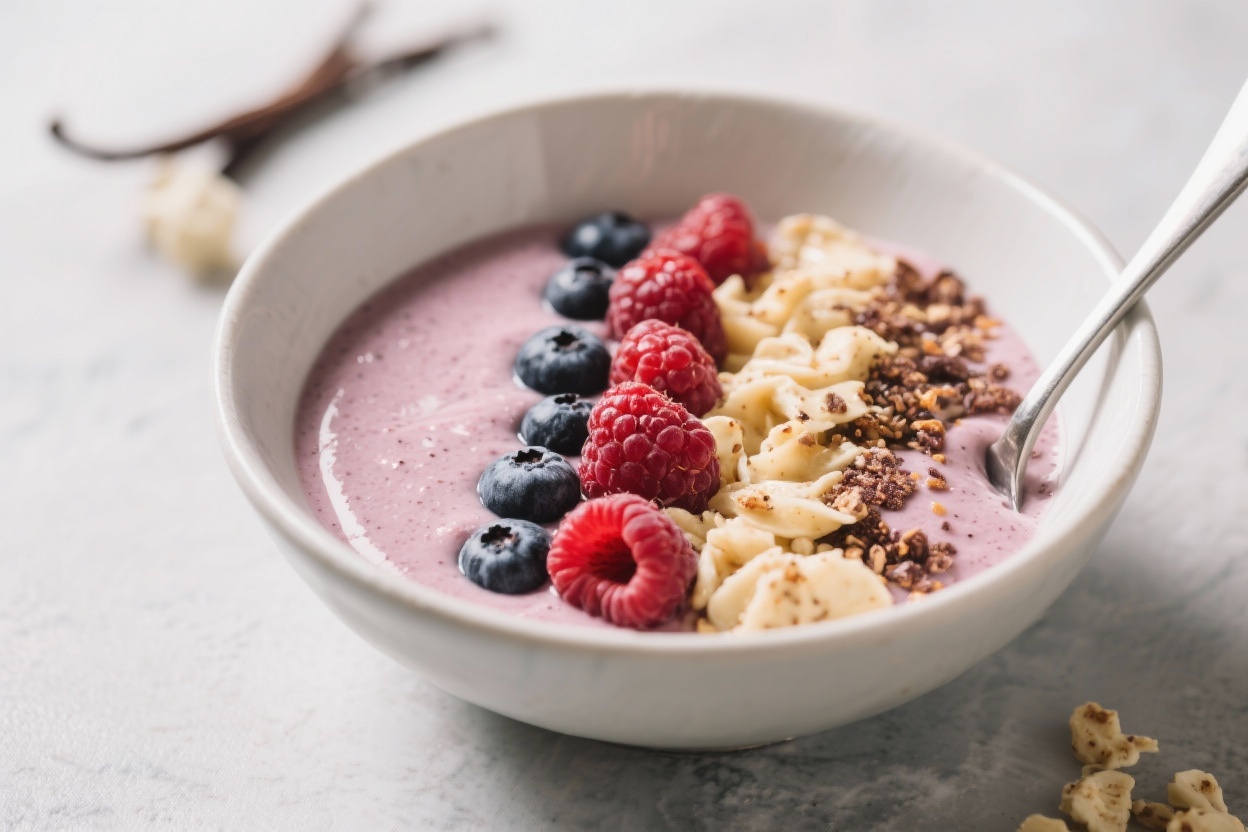
This smoothie bowl tastes like dessert but eats like a full meal. It’s thick, cold, and loaded with berries, protein, and healthy fats that keep you full for hours. No fancy ingredients or tricky steps—just a blender and a few pantry staples.
Make it for breakfast, a post-workout recharge, or an afternoon pick-me-up that actually satisfies.
What Makes This Special
Thick and scoopable: It’s designed to be eaten with a spoon, not sipped.
Balanced macros: Protein, fiber, and healthy fats for steady energy.
Only real ingredients: Frozen berries, banana, vanilla protein, and milk of choice.
Customizable: Adjust sweetness, protein, and toppings to fit your goals.
Shopping List
- Frozen mixed berries (1 to 1.5 cups)
- Frozen banana (1 small, in chunks)
- Vanilla protein powder (1 scoop; whey or plant-based)
- Greek yogurt (1/3 to 1/2 cup; plain or vanilla)
- Milk of choice (1/4 to 1/2 cup; almond, oat, dairy, etc.)
- Chia seeds (1 tablespoon)
- Nut butter (1 tablespoon; almond, peanut, or cashew)
- Vanilla extract (1/2 teaspoon)
- Optional sweetener (1–2 teaspoons maple syrup, honey, or a few drops stevia)
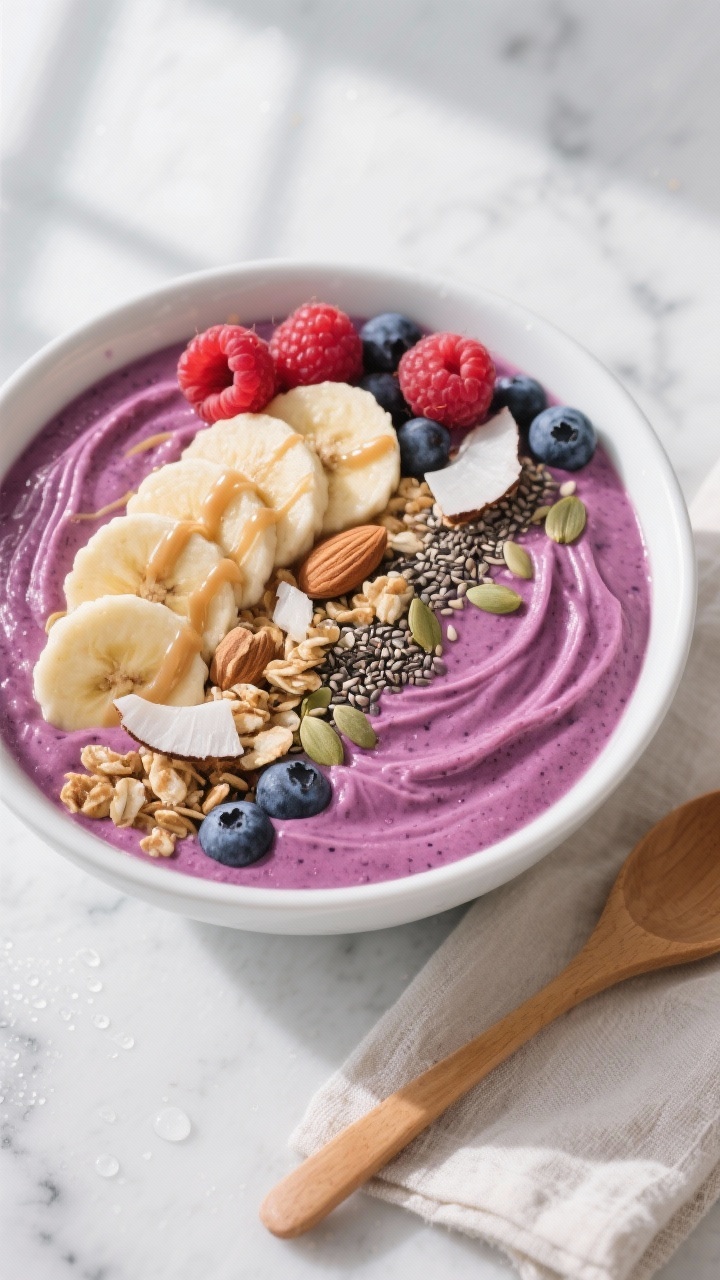
- Toppings: sliced banana, fresh berries, granola, coconut flakes, cacao nibs, hemp seeds
Step-by-Step Instructions
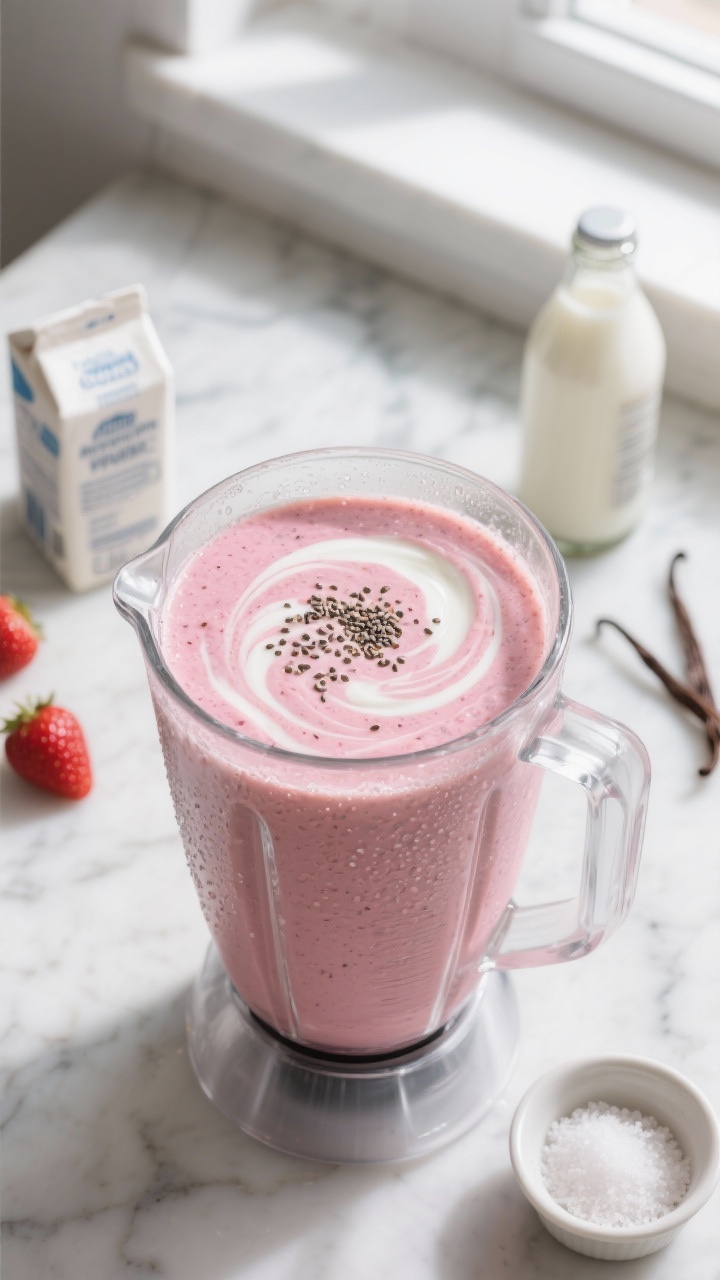
- Prep your base: Add frozen berries and frozen banana to your blender first. This helps the blades grab the fruit and create a thick texture.
- Add protein and creaminess: Scoop in the protein powder and Greek yogurt. This combo makes it creamy and keeps you full.
- Flavor and healthy fats: Add chia seeds, nut butter, and vanilla extract.
These boost thickness, fiber, and flavor.
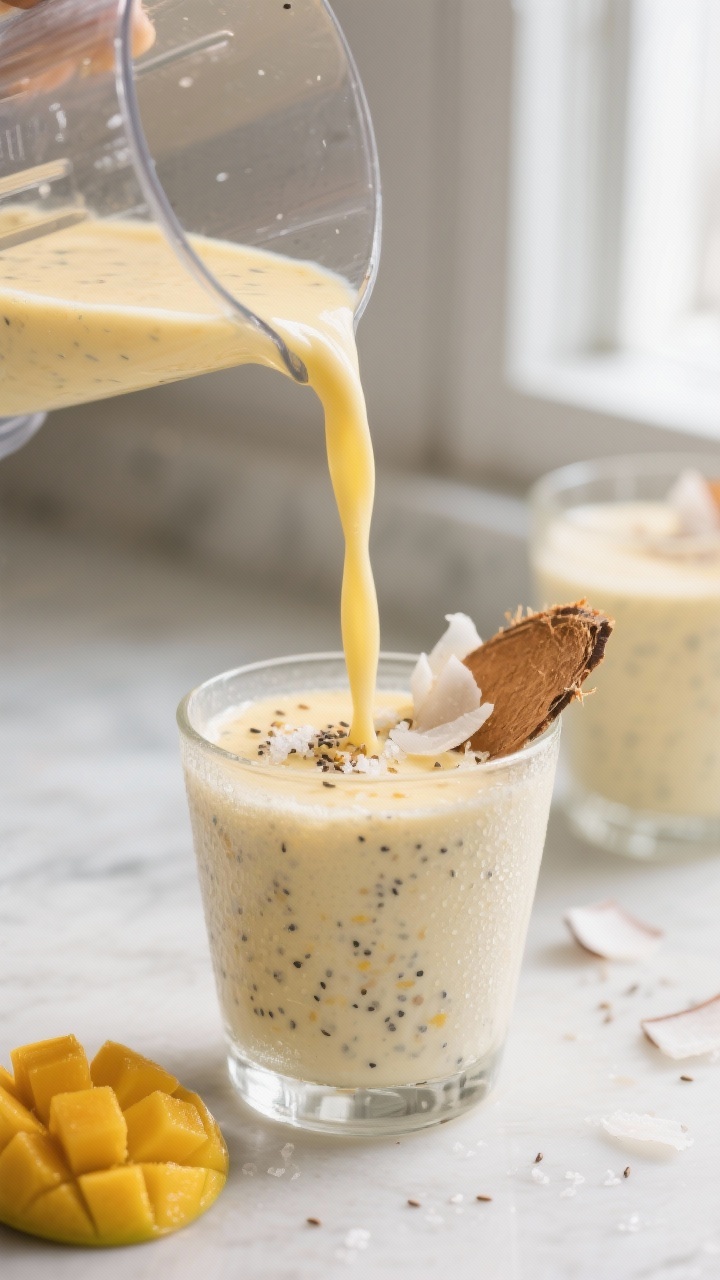
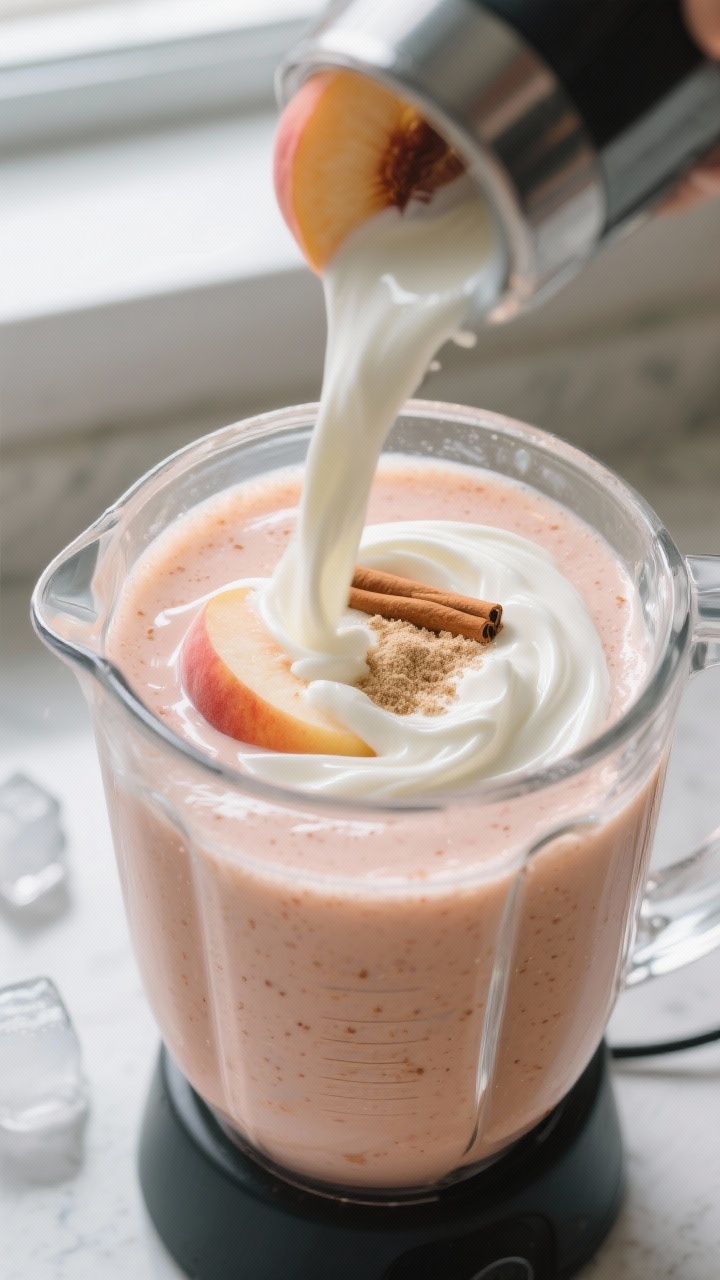
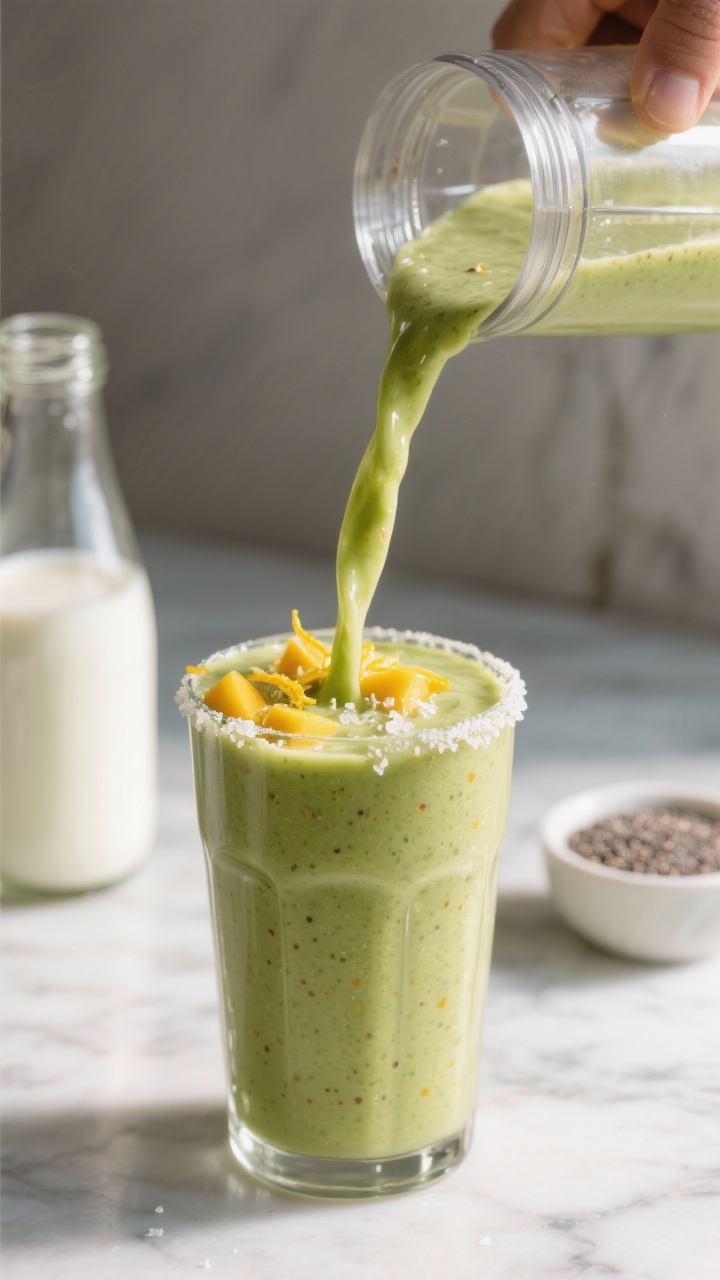
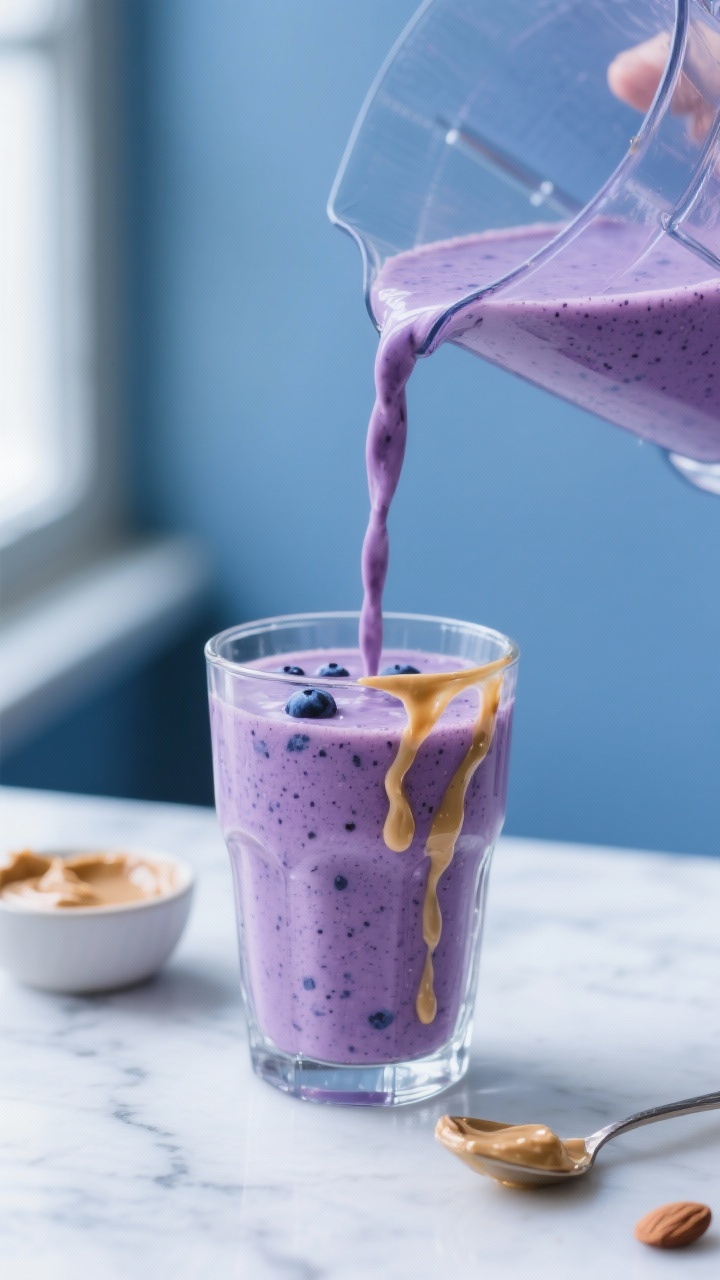
- Pour in a little liquid: Start with 1/4 cup milk. You want just enough to get things moving. You can always add more.
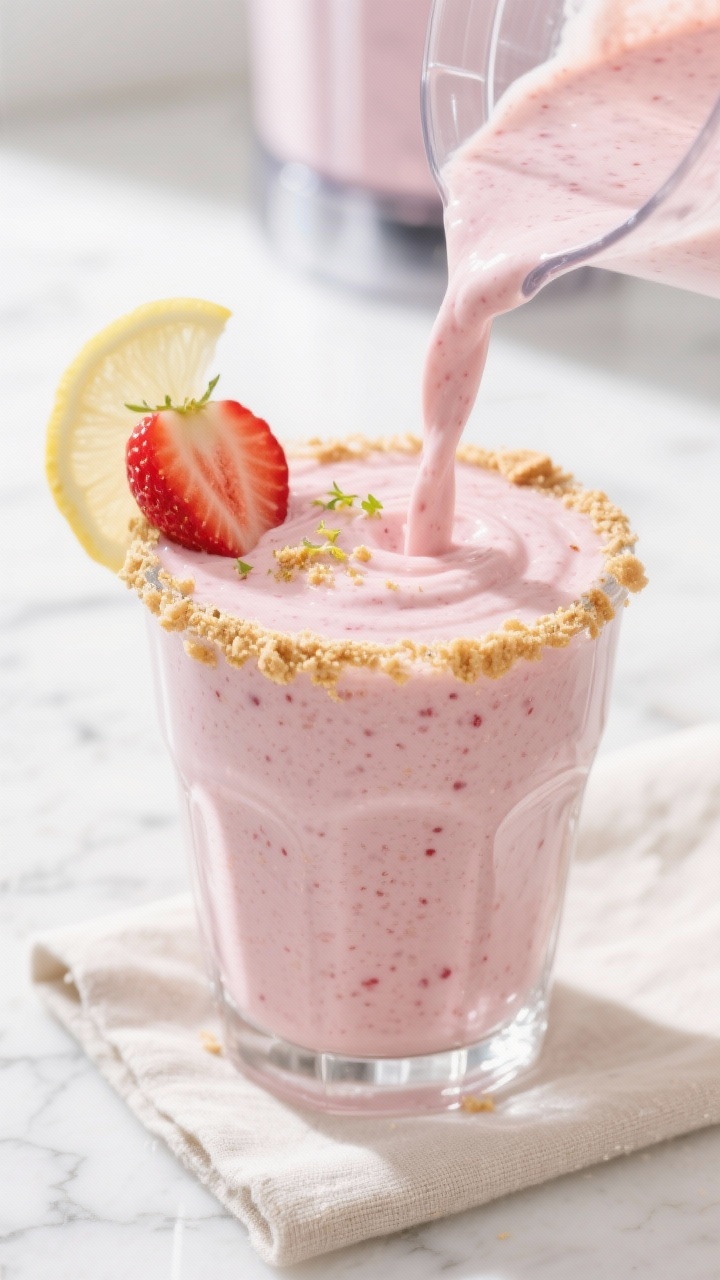
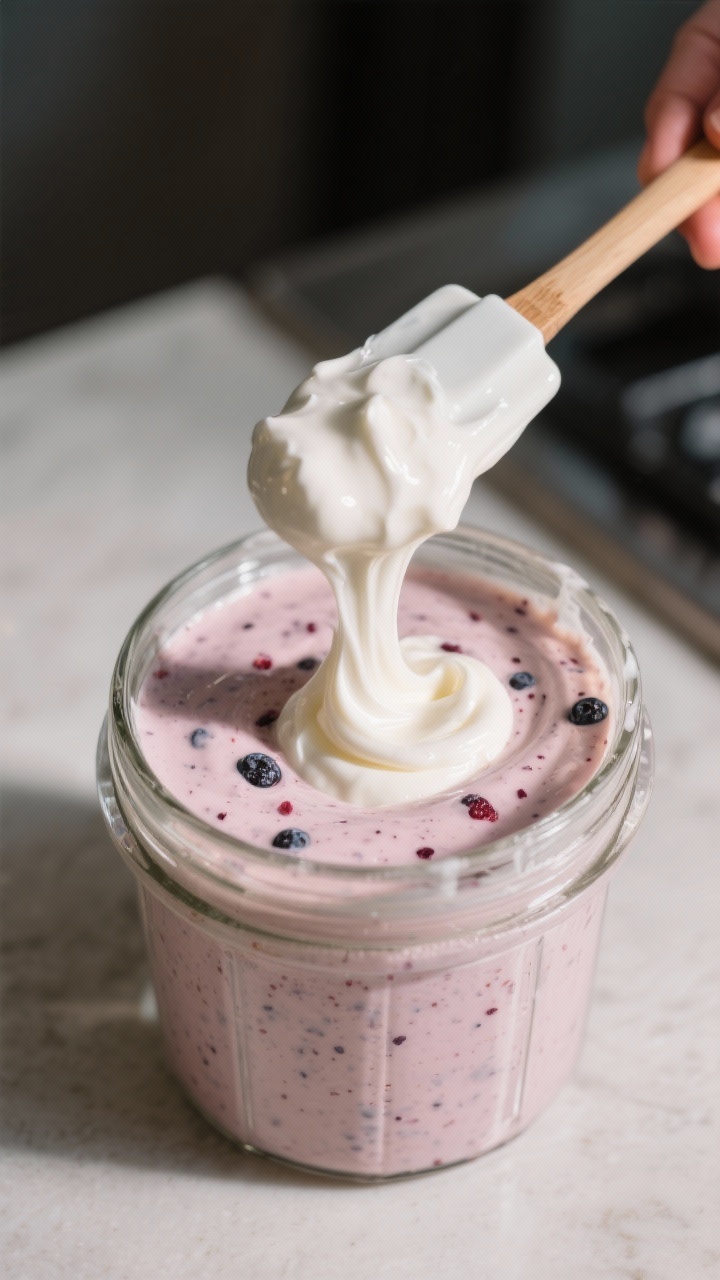
- Blend low and slow: Pulse or blend on low, using a tamper if you have one.
Scrape down the sides as needed. Add milk 1 tablespoon at a time until it turns into a thick, soft-serve-like blend.
- Taste and adjust: If it’s not sweet enough, add a touch of honey or maple syrup. If it’s too tart, a bit more banana or yogurt helps.
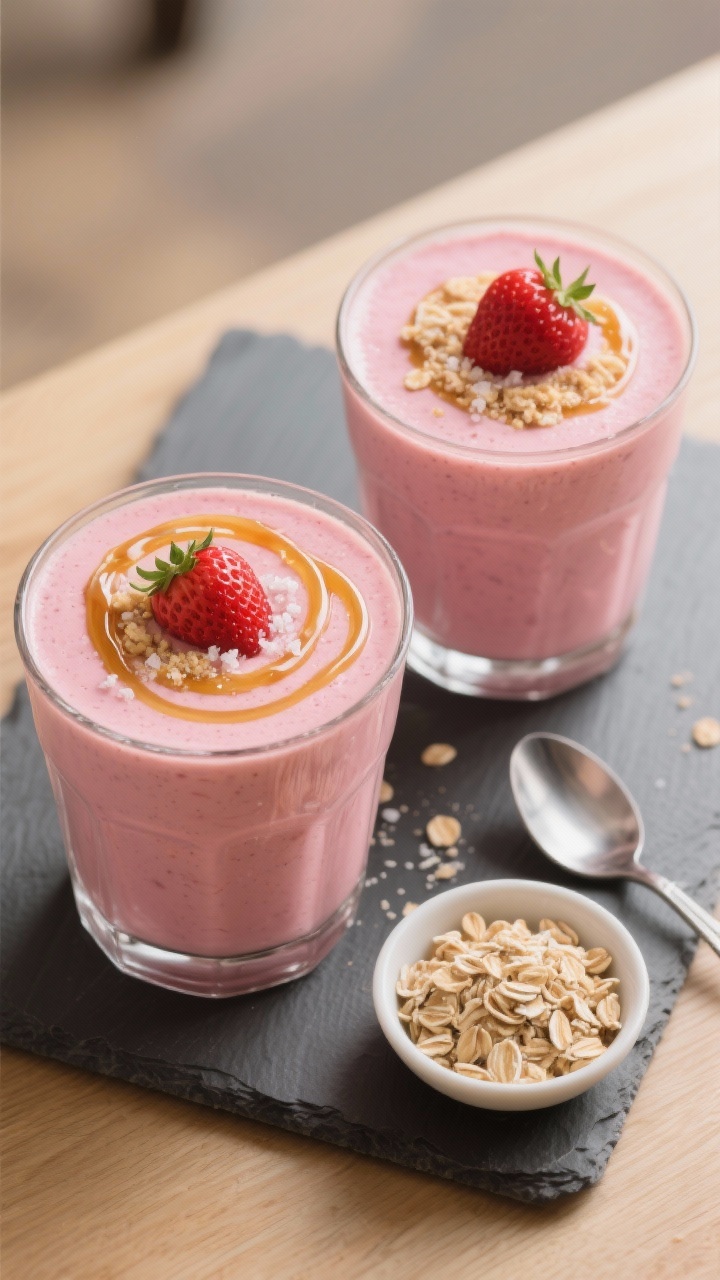
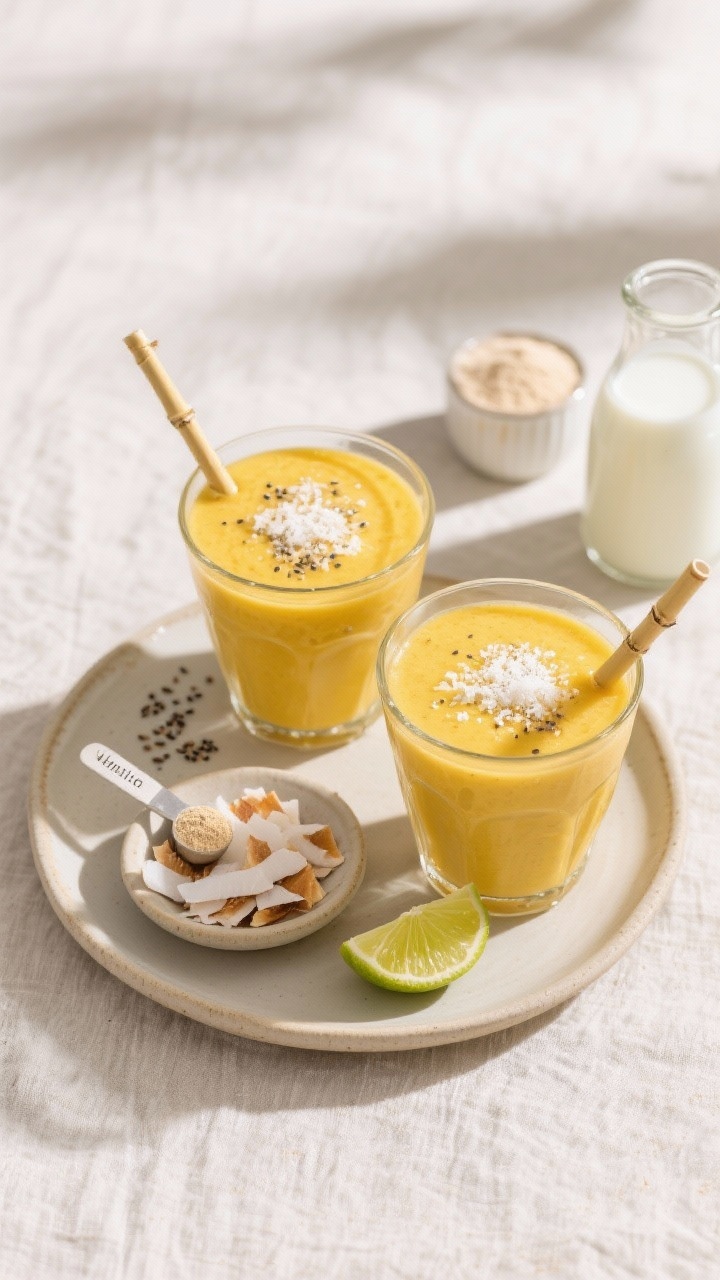
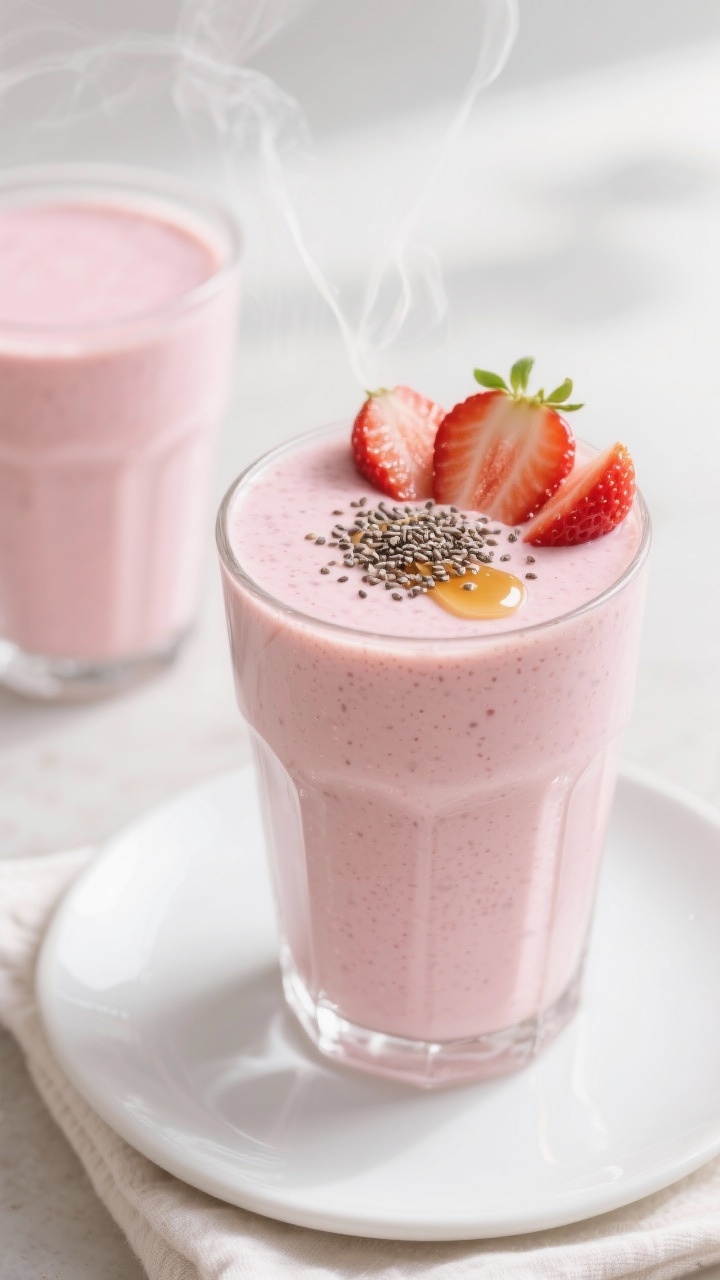
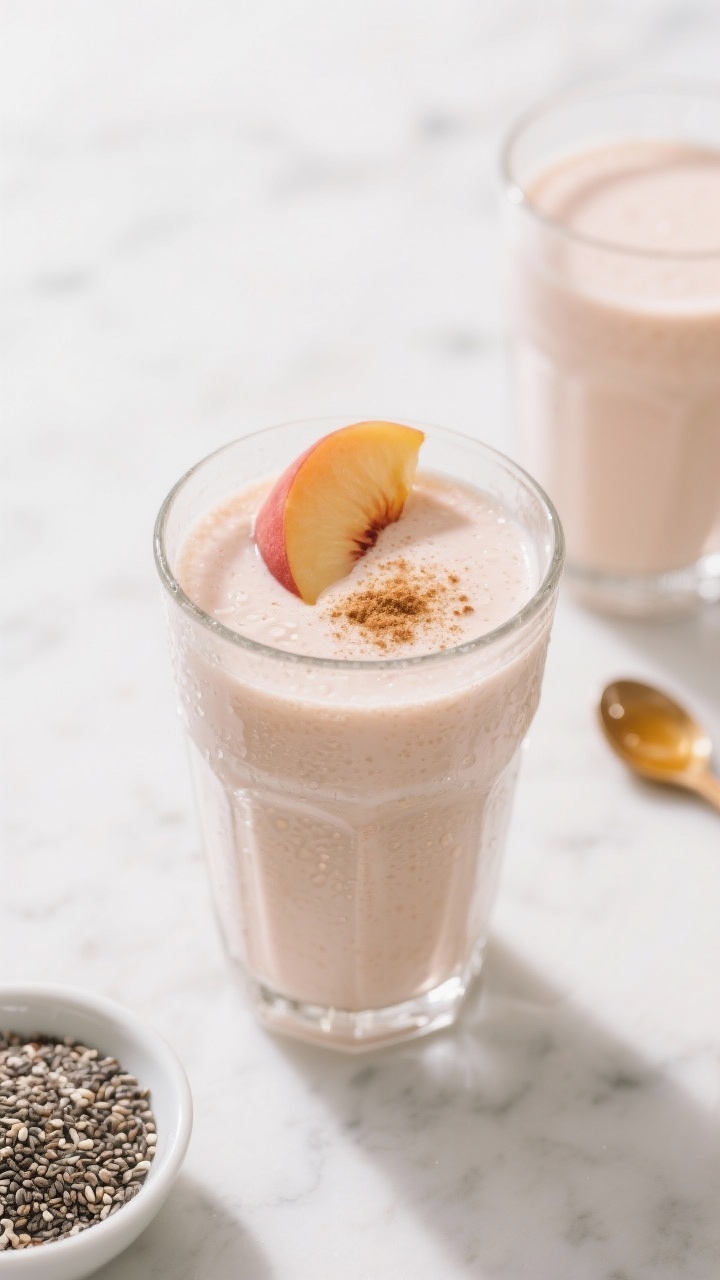
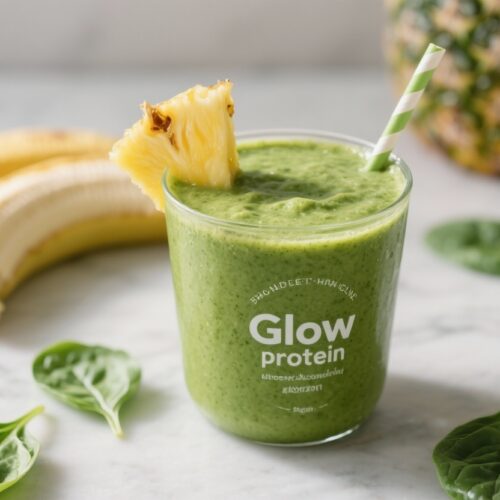
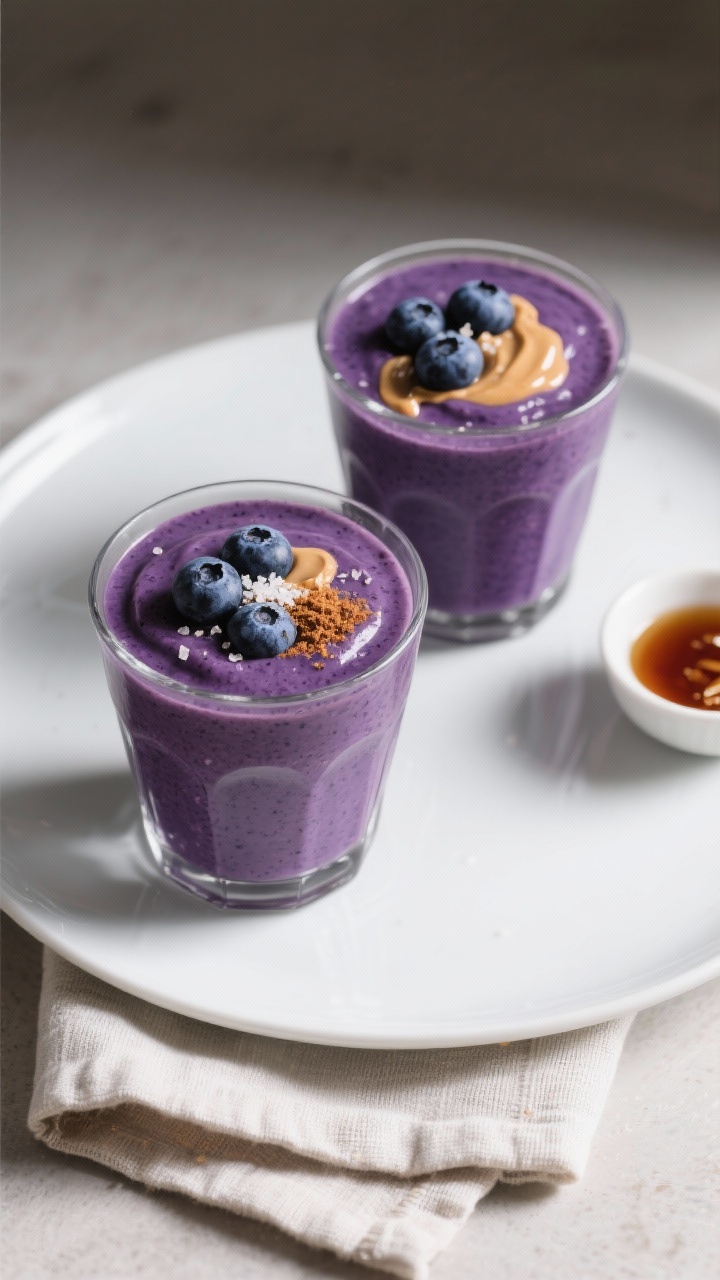
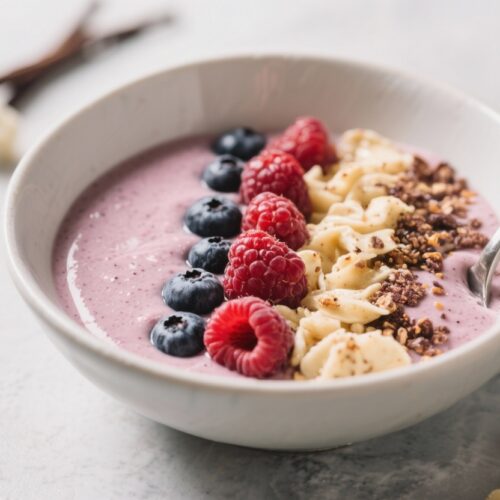
- Serve immediately: Spoon into a chilled bowl to keep it thick.
Add toppings for crunch and extra nutrients.
Storage Instructions
- Short term: Keep leftovers in the fridge for up to 24 hours. It will soften; give it a stir and add a few ice cubes if needed.
- Freeze for later: Pour into a freezer-safe container and freeze up to 1 month. Thaw at room temp for 10–15 minutes, then stir or re-blend with a splash of milk.
- Meal prep tip: Pre-portion frozen fruit and banana in bags.
In the morning, just add protein, yogurt, and milk.
Why This is Good for You
- Protein for satiety and muscle support: The combo of protein powder and Greek yogurt helps keep you full and supports recovery.
- Fiber and antioxidants: Berries and chia seeds deliver fiber plus antioxidants that support overall health.
- Healthy fats: Nut butter and chia add fats that help you absorb nutrients and stay satisfied.
- Lower added sugar: Sweetness comes mostly from fruit; you control any extras.
What Not to Do
- Don’t overdo the liquid: Too much milk turns it into a drink, not a bowl. Add slowly.
- Don’t skip frozen fruit: Room-temp fruit won’t give you that thick, scoopable texture.
- Don’t blend on high right away: Start low to avoid air pockets and uneven blending.
- Don’t pile on sugary toppings: Choose balanced additions like nuts, seeds, and unsweetened coconut.
Alternatives
- No banana: Use 1/2 cup frozen mango or frozen cauliflower rice plus a teaspoon of sweetener.
- Dairy-free: Use coconut or almond milk yogurt, and a plant-based protein powder.
- Higher protein: Add 2 tablespoons hemp seeds or an extra half-scoop of protein.
- Nut-free: Swap nut butter for sunflower seed butter and top with pumpkin seeds.
- Extra thick: Add 1–2 teaspoons psyllium husk or more chia, then blend and rest 2 minutes to thicken.
FAQ
Can I make this without protein powder?
Yes. Use 3/4 cup Greek yogurt and add 1–2 tablespoons hemp seeds for a protein boost.
You may want a little extra vanilla extract for flavor.
What blender works best?
A high-powered blender is ideal, but you can use a standard one by blending in short pulses and adding liquid slowly. A tamper helps keep it thick.
How do I make it sweeter without sugar?
Use a riper banana, more vanilla extract, or a couple of pitted dates. Stevia or monk fruit also works if you prefer zero-sugar options.
Can I use fresh berries?
You can, but you’ll lose thickness.
If using fresh berries, add extra ice or freeze your banana to keep it scoopable.
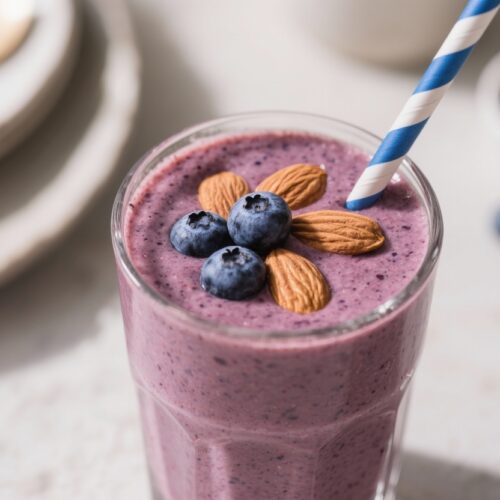
What toppings are best for staying full?
Go for a mix of crunch and fat: granola, almonds, chia or hemp seeds, coconut flakes, and a drizzle of nut butter. These add staying power and texture.
Wrapping Up
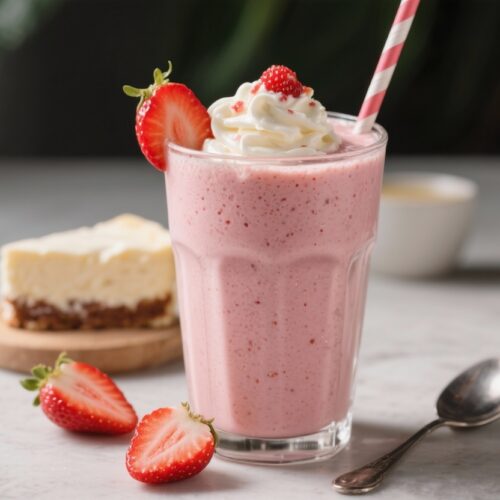
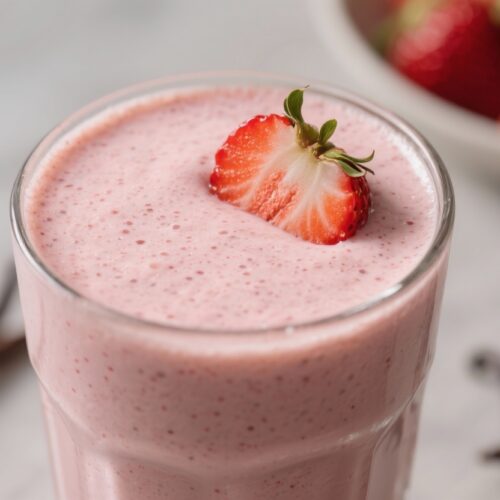
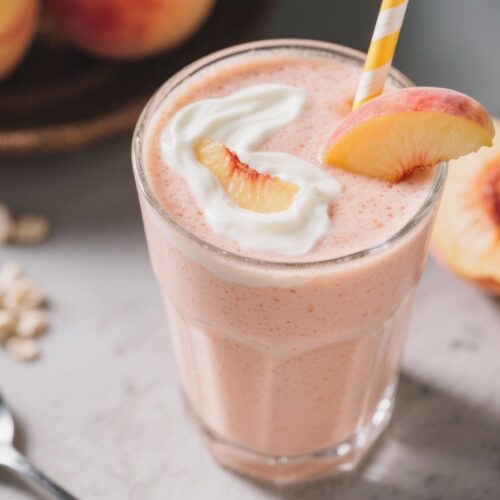
This Vanilla Berry Protein Smoothie Bowl is simple to make, thick enough to eat with a spoon, and balanced enough to count as a real meal. Keep the liquid low, use frozen fruit, and tailor the toppings to your goals.
Save this as your quick, reliable breakfast or post-workout staple—you’ll make it on repeat.
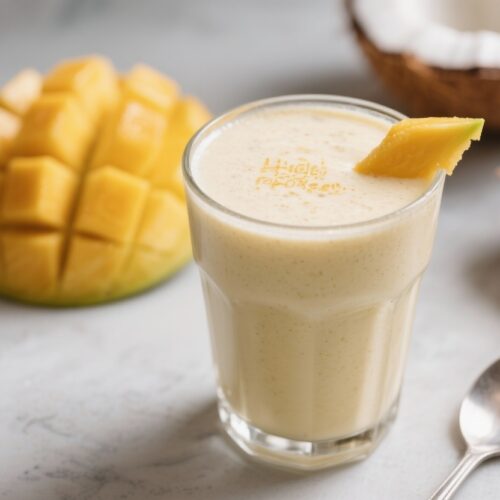
Vanilla Berry Protein Smoothie Bowl (Simple, Thick & Meal-Worthy) - A Creamy, Satisfying Breakfast
Ingredients
- Frozen mixed berries (1 to 1.5 cups)
- Frozen banana (1 small, in chunks)
- Vanilla protein powder (1 scoop; whey or plant-based)
- Greek yogurt (1/3 to 1/2 cup; plain or vanilla)
- Milk of choice (1/4 to 1/2 cup; almond, oat, dairy, etc.)
- Chia seeds (1 tablespoon)
- Nut butter (1 tablespoon; almond, peanut, or cashew)
- Vanilla extract (1/2 teaspoon)
- Optional sweetener (1–2 teaspoons maple syrup, honey, or a few drops stevia)
- Toppings: sliced banana, fresh berries, granola, coconut flakes, cacao nibs, hemp seeds
Instructions
- Prep your base: Add frozen berries and frozen banana to your blender first. This helps the blades grab the fruit and create a thick texture.
- Add protein and creaminess: Scoop in the protein powder and Greek yogurt. This combo makes it creamy and keeps you full.
- Flavor and healthy fats: Add chia seeds, nut butter, and vanilla extract.These boost thickness, fiber, and flavor.
- Pour in a little liquid: Start with 1/4 cup milk. You want just enough to get things moving. You can always add more.
- Blend low and slow: Pulse or blend on low, using a tamper if you have one.Scrape down the sides as needed. Add milk 1 tablespoon at a time until it turns into a thick, soft-serve-like blend.
- Taste and adjust: If it’s not sweet enough, add a touch of honey or maple syrup. If it’s too tart, a bit more banana or yogurt helps.
- Serve immediately: Spoon into a chilled bowl to keep it thick.Add toppings for crunch and extra nutrients.