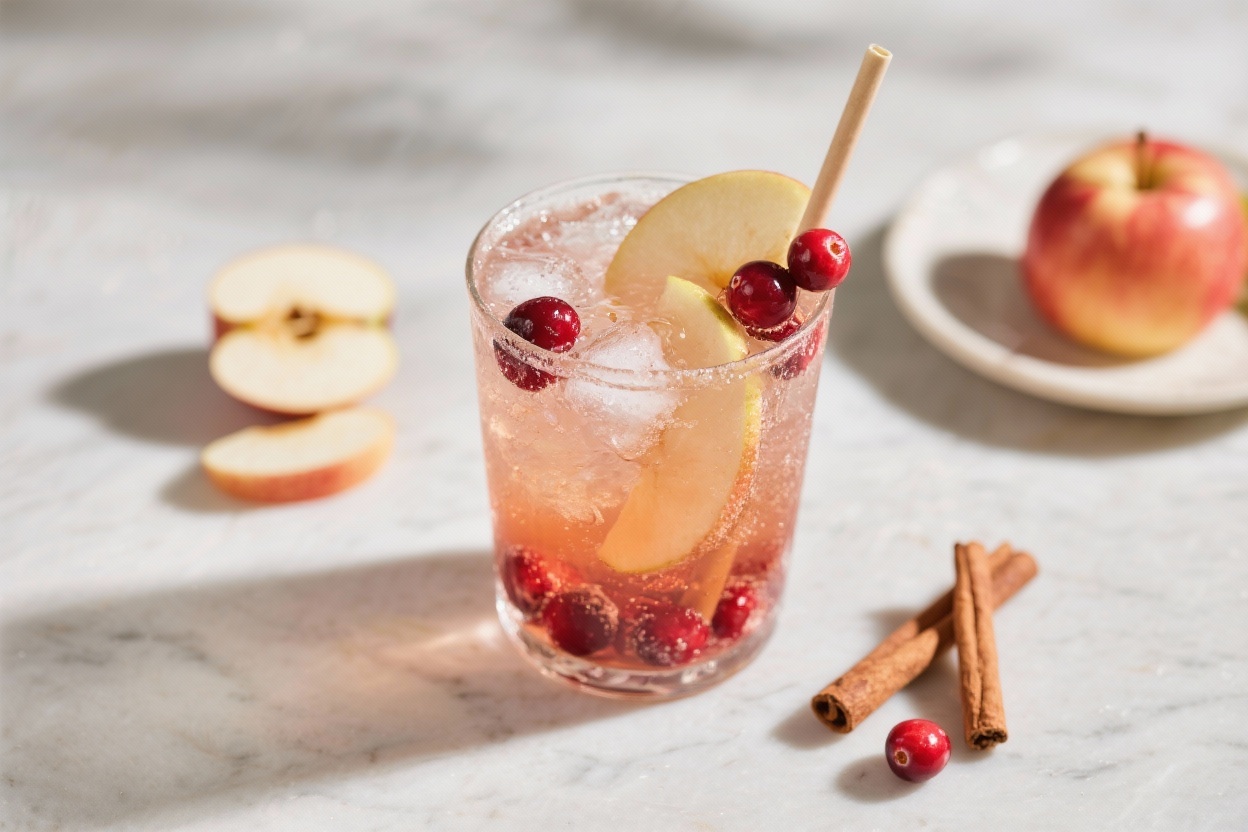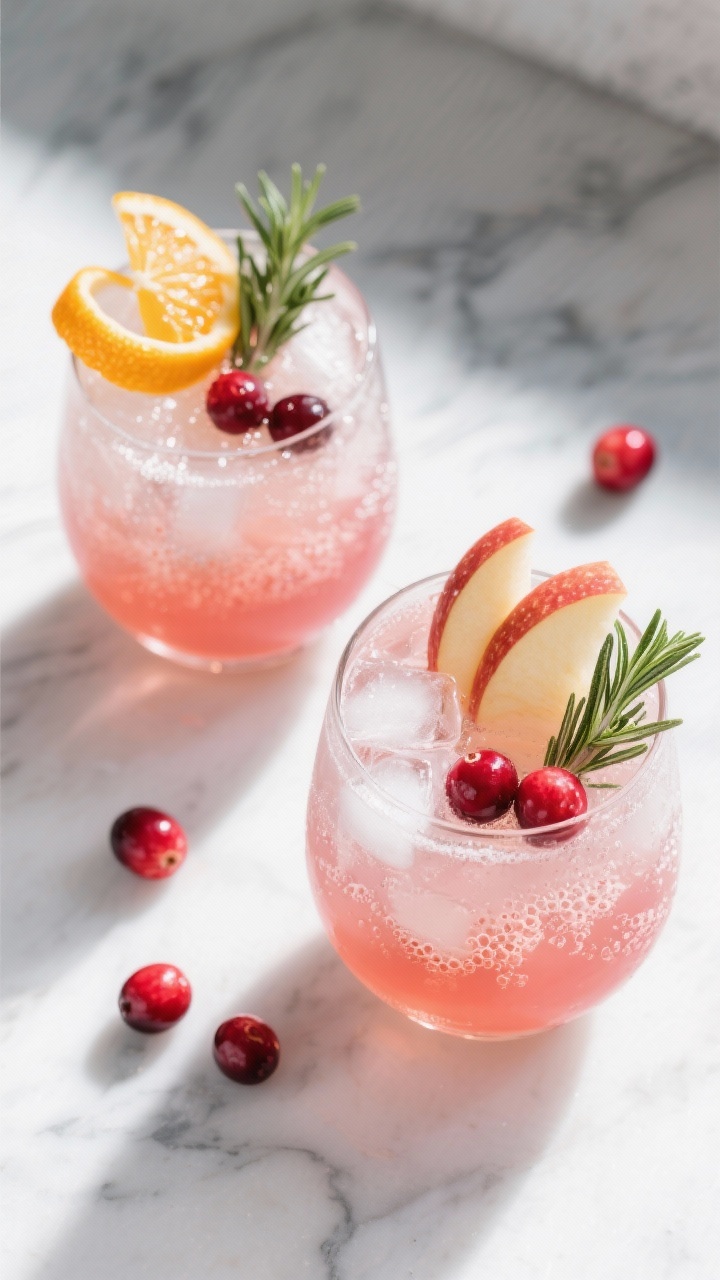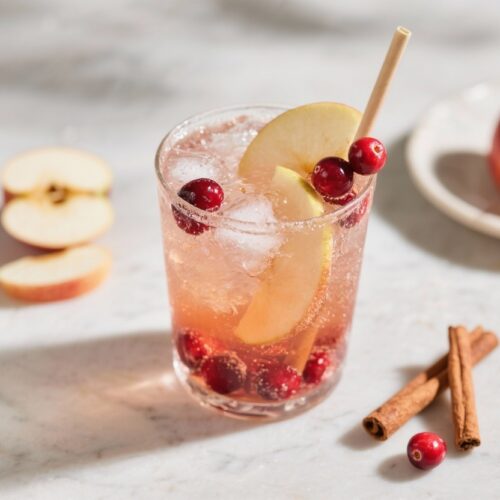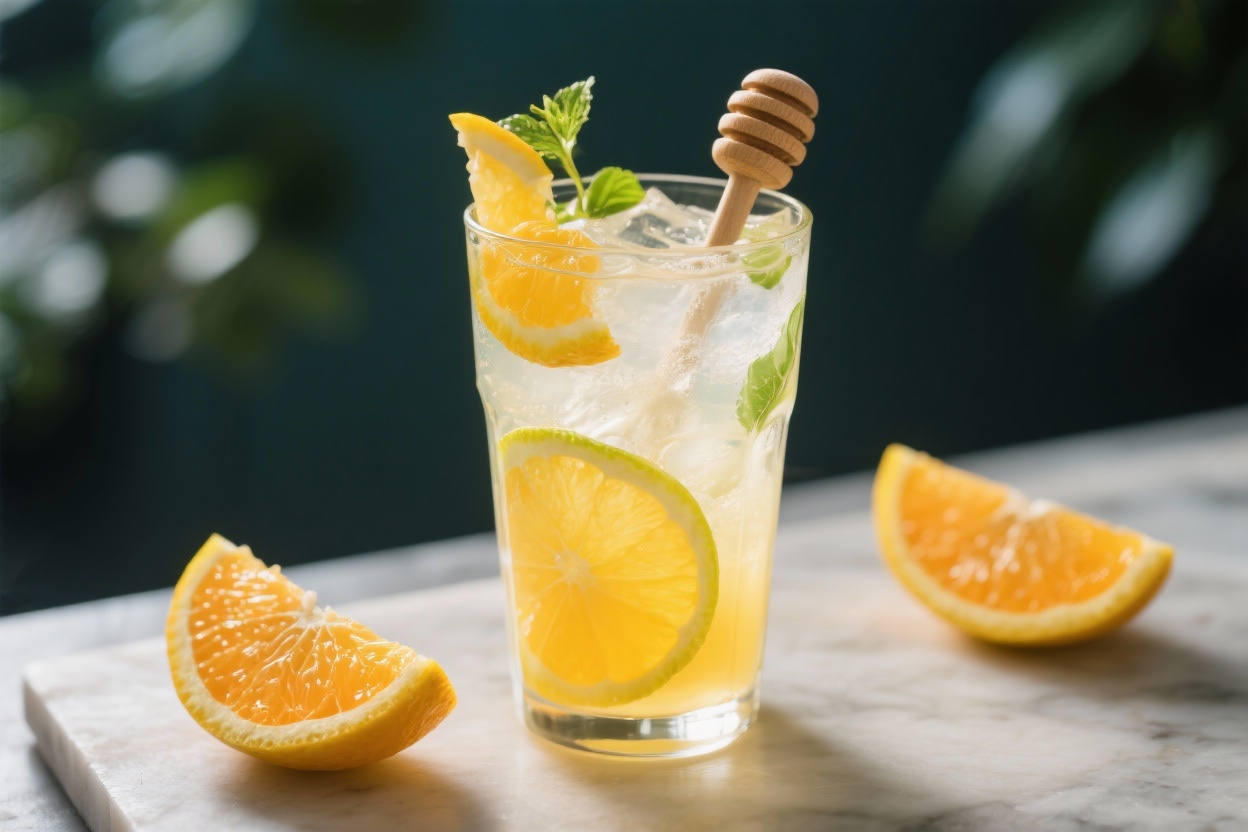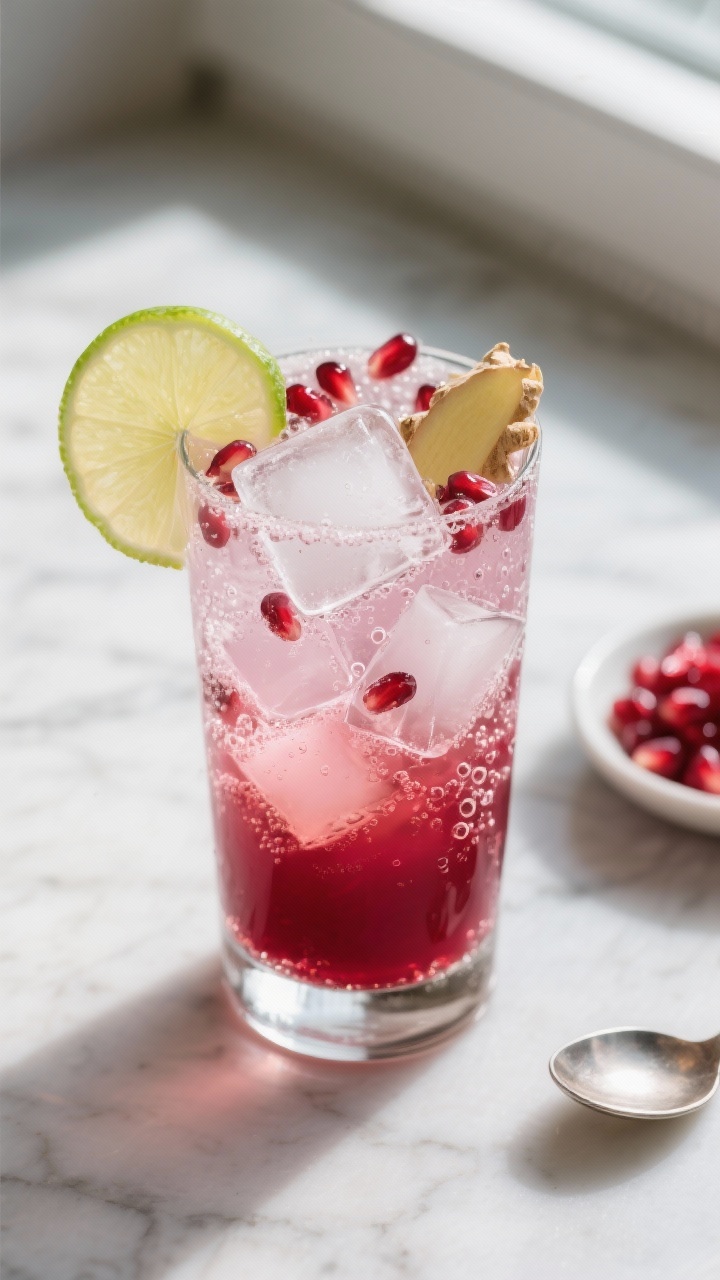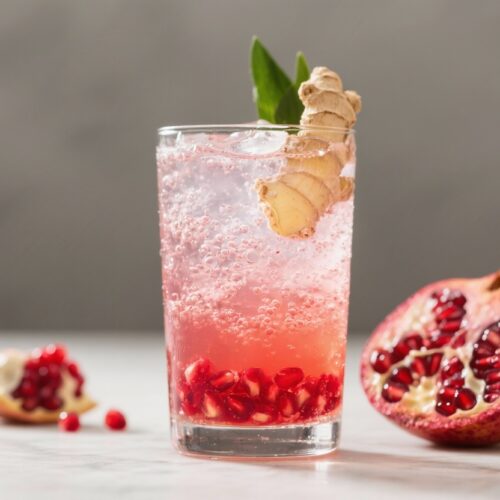
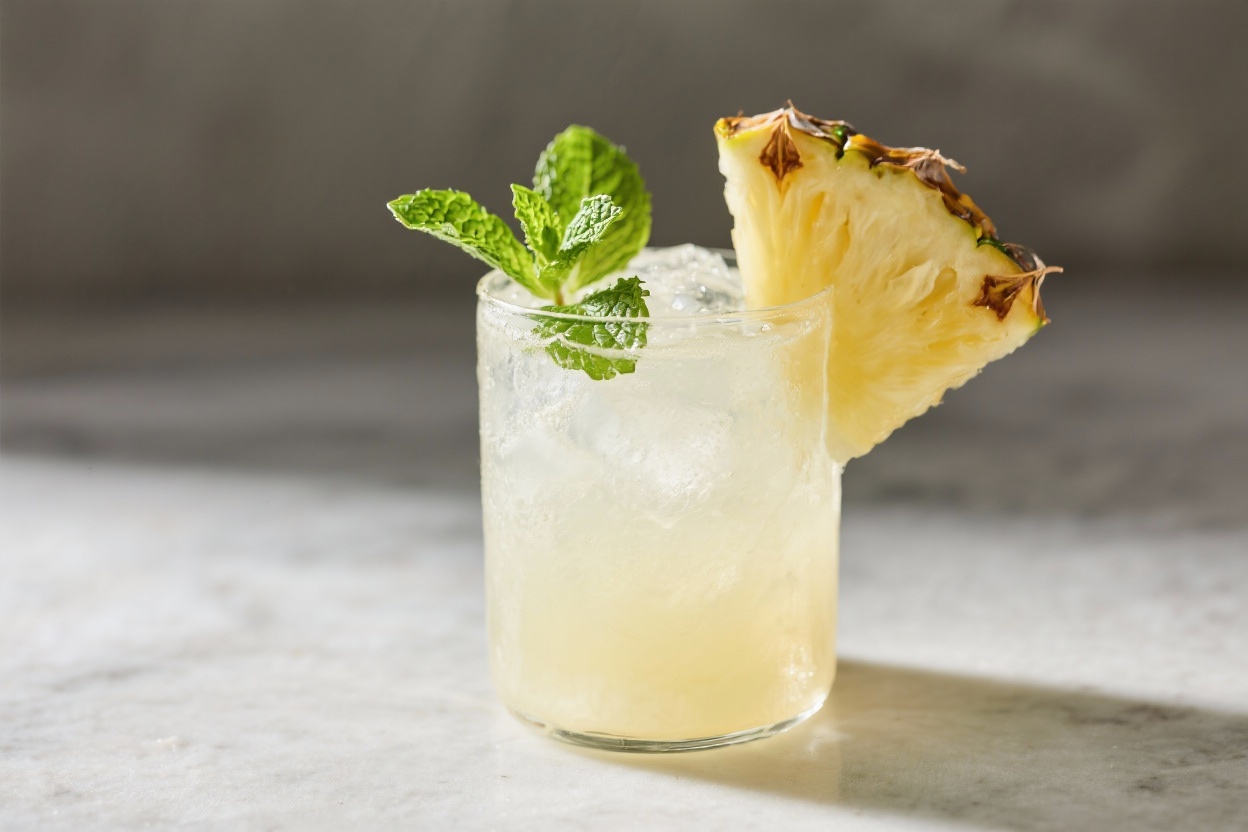
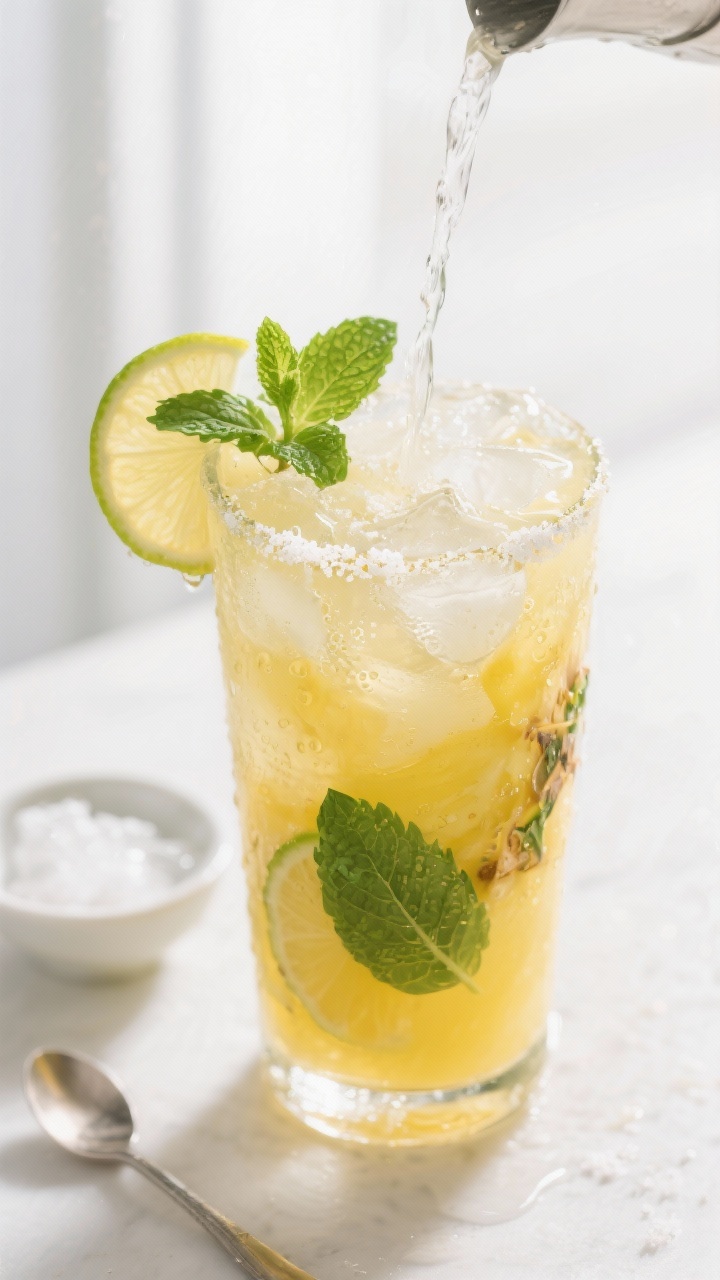
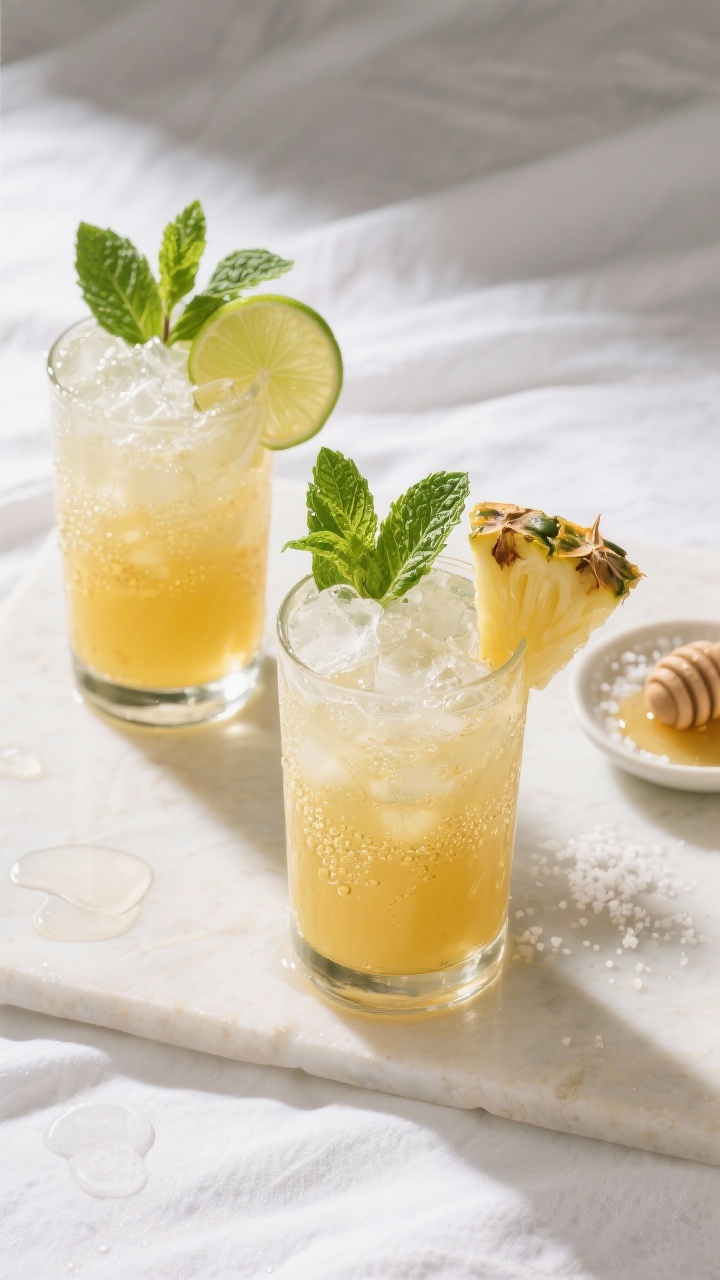
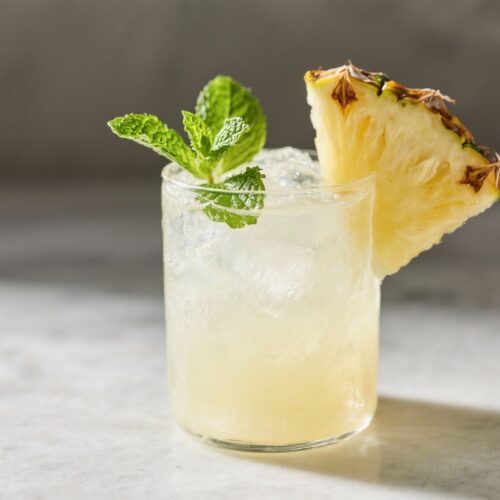
This Pineapple Mint Hydration Mocktail tastes like a mini vacation, without the booze or the sugar crash. It’s bright, cooling, and gently sweet—perfect for Dry January or any time you want something festive and nourishing. You’ll get juicy pineapple, a sparkle of lime, and a refreshing hit of mint, all tied together with coconut water for extra hydration.
It’s simple, quick, and easy to batch for friends. If you’ve been craving a grown-up drink that won’t derail your goals, this one checks every box.
What Makes This Special
- Hydrating by design: Coconut water adds electrolytes, while pineapple and lime bring natural fluids and flavor.
- Balanced sweetness: Fresh fruit provides gentle sweetness without heavy syrups. Adjust to taste.
- Refreshing and aromatic: Mint wakes up the senses and pairs beautifully with pineapple’s tropical notes.
- Easy to scale: Make one glass or a pitcher without fuss.
- All-day friendly: Light, alcohol-free, and energizing—not just a party drink.
Ingredients
- 1 cup fresh pineapple chunks (or 100% pineapple juice)
- 1/2 cup chilled coconut water (unsweetened)
- 1/2 lime, juiced (about 1 tablespoon), plus extra wedges for garnish
- 6–8 fresh mint leaves, plus extra for garnish
- 1/2 cup cold sparkling water (plain or pineapple-flavored)
- Ice (cubes or crushed)
- Optional: 1–2 teaspoons honey or agave if you prefer it sweeter
- Optional: pinch of sea salt for a subtle electrolyte boost
Step-by-Step Instructions
- Muddle the mint: In the bottom of a sturdy glass or shaker, add mint leaves and lime juice.
Gently muddle 3–4 times to release the oils without shredding the leaves.
- Blend or mash the pineapple: If using fresh pineapple, pulse in a blender until smooth. If you prefer a pulp-free drink, strain the purée. Using juice?
Skip this step.
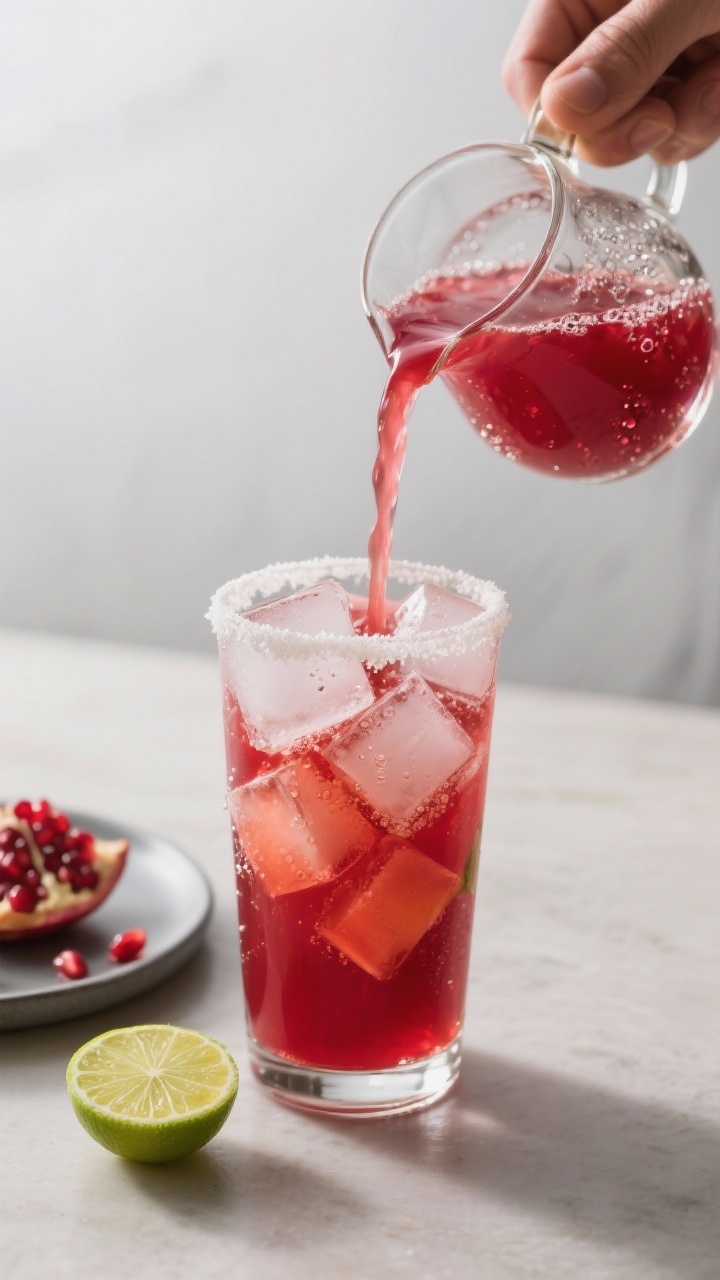
- Combine the base: Add pineapple (purée or juice), coconut water, and optional honey/agave to the muddled mint and lime. Stir well to dissolve sweetener.
- Add ice: Fill your serving glass halfway with ice. If you like it extra cold and frosty, use crushed ice.
- Top with bubbles: Pour in sparkling water.
Give it a gentle stir to keep the fizz.
- Finish and garnish: Add a pinch of sea salt if using, tuck in a mint sprig, and garnish with a lime wheel or pineapple wedge. Serve immediately.
Storage Instructions
- Short-term: Keep the base (pineapple, coconut water, lime, and sweetener) in a sealed jar in the fridge for up to 24 hours. Add mint and sparkling water right before serving.
- Make-ahead tip: Freeze pineapple purée in ice cube trays.
Blend with coconut water and lime when ready, then top with soda and mint.
- Avoid storing with mint and soda: Mint darkens over time and soda loses its fizz.
Health Benefits
- Electrolytes for hydration: Coconut water provides potassium and a touch of sodium to support fluid balance.
- Vitamin C boost: Pineapple and lime deliver antioxidants that support immunity and skin health.
- Gentle digestion support: Pineapple contains bromelain, an enzyme that may aid digestion.
- Low-alcohol, low-guilt: You get a festive drink without the hangover or sleep disruption.
Pitfalls to Watch Out For
- Over-muddling mint: Crushing it too hard turns it bitter. A light press is enough.
- Too much sweetness: Pineapple can be very sweet. Taste before adding honey or agave.
- Warm ingredients: Start with cold liquids for the best flavor and fizz.
- Flat finish: Add sparkling water at the end and stir gently to keep the bubbles.
Alternatives
- Herb swap: Try basil or cilantro for a different twist.
Basil adds sweetness; cilantro adds brightness.
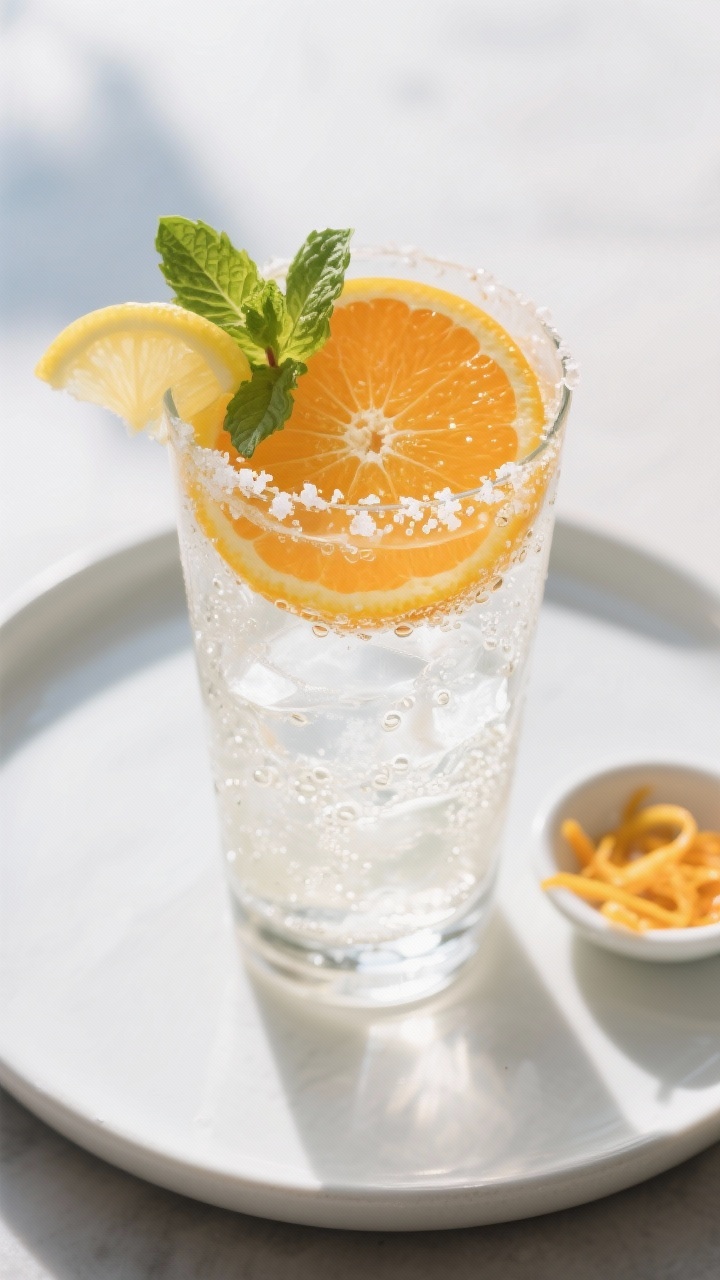
- Citrus swap: Use lemon or orange in place of lime for a softer, rounder flavor.
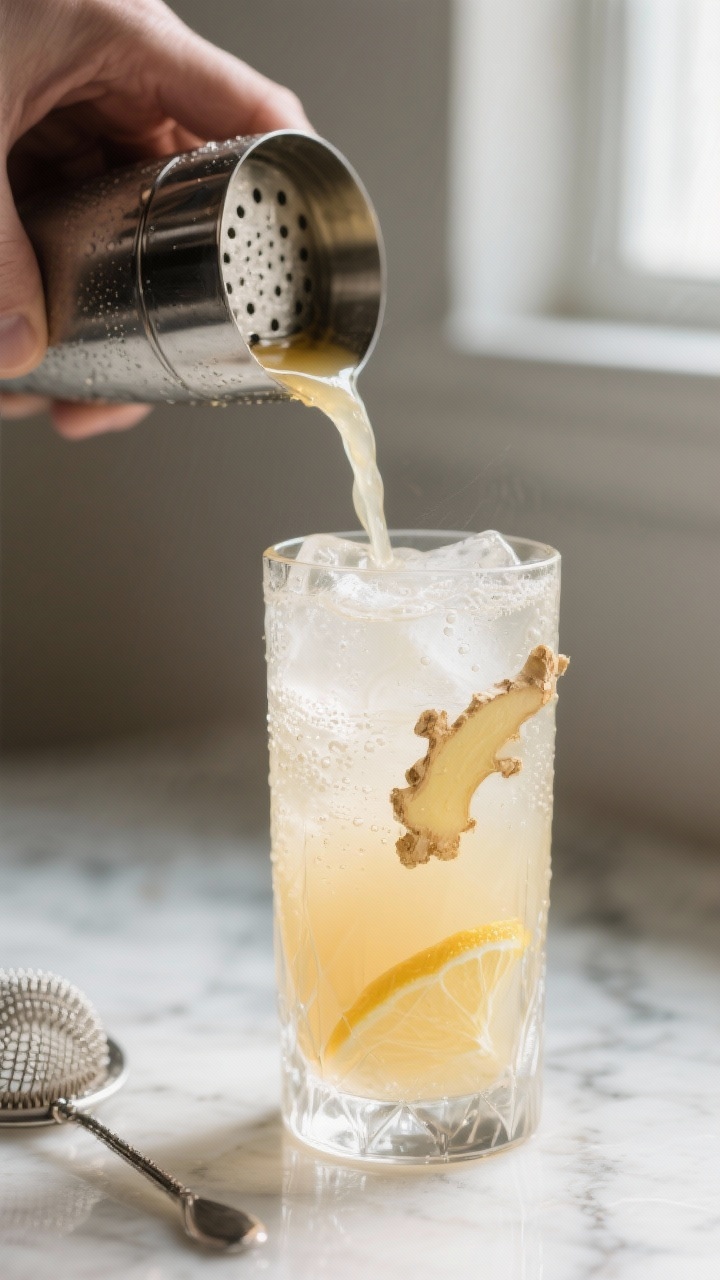
- Ginger kick: Add a few slices of fresh ginger to the muddle or top with ginger sparkling water.
- Spicy version: Add a thin jalapeño slice for heat—great with mint and pineapple.
- No coconut water: Replace with plain water plus a tiny pinch of sea salt.
- Lower sugar: Use more sparkling water and less pineapple, or choose a light pineapple juice.
FAQ
Can I make a pitcher for a group?
Yes. Multiply ingredients by 4 or 6, mix the pineapple, coconut water, lime, and sweetener in a pitcher, and chill. Add mint and sparkling water just before serving.
Do I need a blender?
No.
You can use store-bought 100% pineapple juice. If using fresh fruit without a blender, mash it well and strain for a smoother drink.
Is there a way to make it extra frothy?
Blend the pineapple with a few ice cubes and coconut water, then strain if desired. Add sparkling water at the end to keep the foam and fizz.
Can I use canned pineapple?
Yes, if it’s packed in juice, not syrup.
Rinse lightly if it tastes overly sweet and adjust lime to balance.
What if I don’t like mint?
Swap in basil, or skip herbs and add a cucumber ribbon for a fresh, clean vibe.
How can I make it more filling?
Add a splash of aloe juice or a few cucumber slices, or serve with a light snack. Avoid dairy here—it can dull the fresh flavors.
Wrapping Up
This Pineapple Mint Hydration Mocktail brings bright flavor, real refreshment, and zero alcohol—ideal for Dry January or any mindful moment. It’s quick, flexible, and easy to love, whether you want a solo sipper or a party pitcher.
Keep it cold, keep it bubbly, and make it your own with the swaps above. Cheers to feeling good while you sip something delicious.
Pineapple Mint Hydration Mocktail (Perfect for Dry January) - Fresh, Bright, and Restorative
Ingredients
- 1 cup fresh pineapple chunks (or 100% pineapple juice)
- 1/2 cup chilled coconut water (unsweetened)
- 1/2 lime, juiced (about 1 tablespoon), plus extra wedges for garnish
- 6–8 fresh mint leaves, plus extra for garnish
- 1/2 cup cold sparkling water (plain or pineapple-flavored)
- Ice (cubes or crushed)
- Optional: 1–2 teaspoons honey or agave if you prefer it sweeter
- Optional: pinch of sea salt for a subtle electrolyte boost
Instructions
- Muddle the mint: In the bottom of a sturdy glass or shaker, add mint leaves and lime juice.Gently muddle 3–4 times to release the oils without shredding the leaves.
- Blend or mash the pineapple: If using fresh pineapple, pulse in a blender until smooth. If you prefer a pulp-free drink, strain the purée. Using juice?Skip this step.
- Combine the base: Add pineapple (purée or juice), coconut water, and optional honey/agave to the muddled mint and lime. Stir well to dissolve sweetener.
- Add ice: Fill your serving glass halfway with ice. If you like it extra cold and frosty, use crushed ice.
- Top with bubbles: Pour in sparkling water.Give it a gentle stir to keep the fizz.
- Finish and garnish: Add a pinch of sea salt if using, tuck in a mint sprig, and garnish with a lime wheel or pineapple wedge. Serve immediately.