
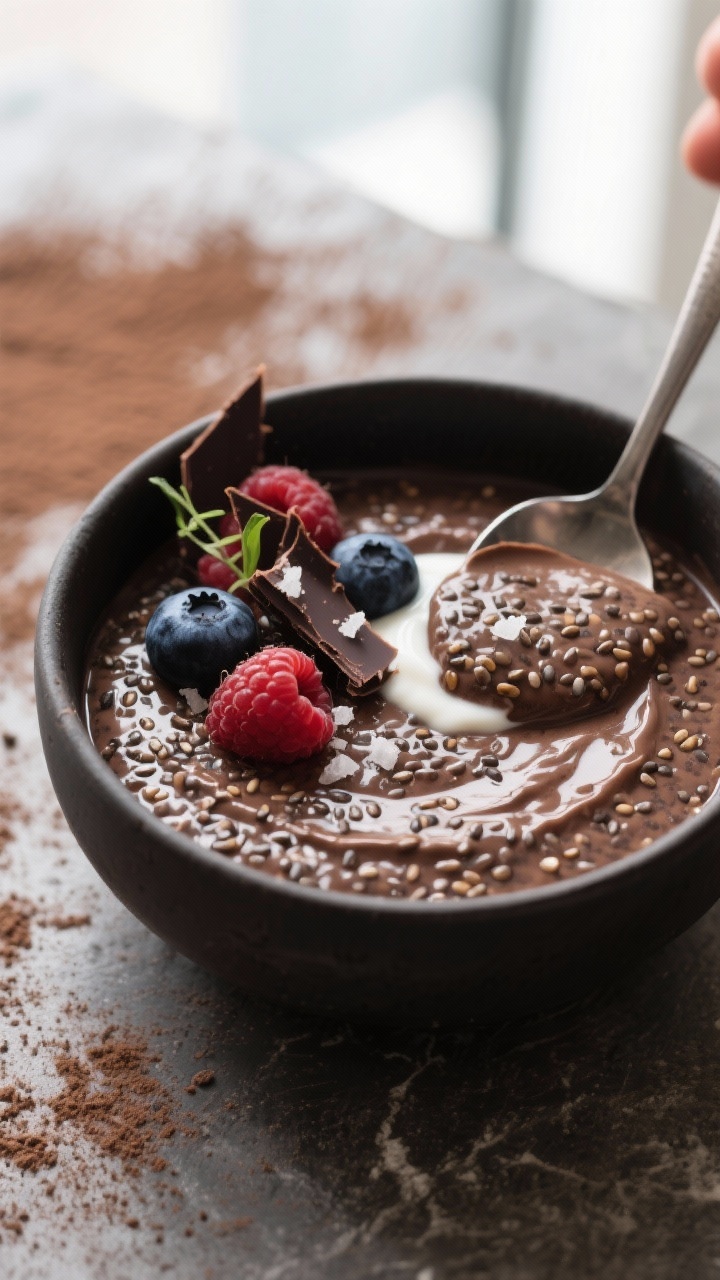
This chocolate chia pudding is the kind of make-ahead breakfast or snack that feels like dessert but fuels your day. It’s thick, creamy, and naturally sweet, with a rich cocoa flavor and a fresh pop from juicy berries. Everything is gluten free and simple to prep the night before.
You’ll get protein, fiber, and healthy fats in one spoonful. If you like quick, wholesome recipes that actually taste good, this one belongs in your rotation.
What Makes This Recipe So Good
- No cooking required: Stir, chill, and eat. It’s that easy.
- Great texture: The chia seeds plump up for a pudding-like consistency that’s smooth and satisfying.
- Protein-packed: A boost from Greek yogurt or protein powder makes it a more complete meal.
- Naturally gluten free: Made with simple, whole ingredients.
- Make-ahead friendly: Mix it at night, and breakfast is ready in the morning.
- Flexible sweetness: Adjust the sweetener to your taste, or swap for what you have.
What You’ll Need
- 3 tablespoons chia seeds
- 1 cup unsweetened milk (almond, oat, dairy, or coconut)
- 2 tablespoons unsweetened cocoa powder
- 1–2 tablespoons maple syrup or honey (or a zero-sugar sweetener to taste)
- 1/2 teaspoon vanilla extract
- Pinch of sea salt
- 1/3 cup plain Greek yogurt or dairy-free yogurt (optional, for extra protein and creaminess)
- 1 scoop chocolate or vanilla protein powder (optional; adjust sweetness if using)
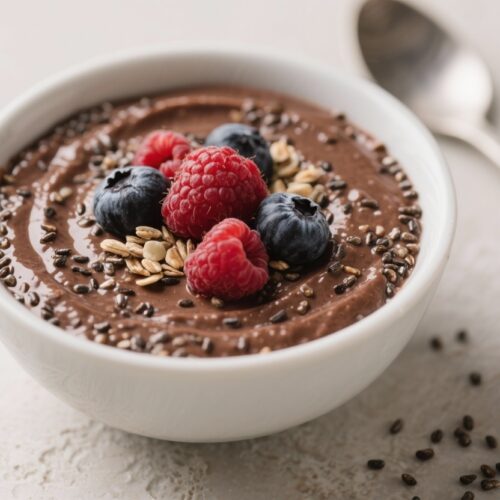
- 1/2–3/4 cup mixed berries (strawberries, blueberries, raspberries)
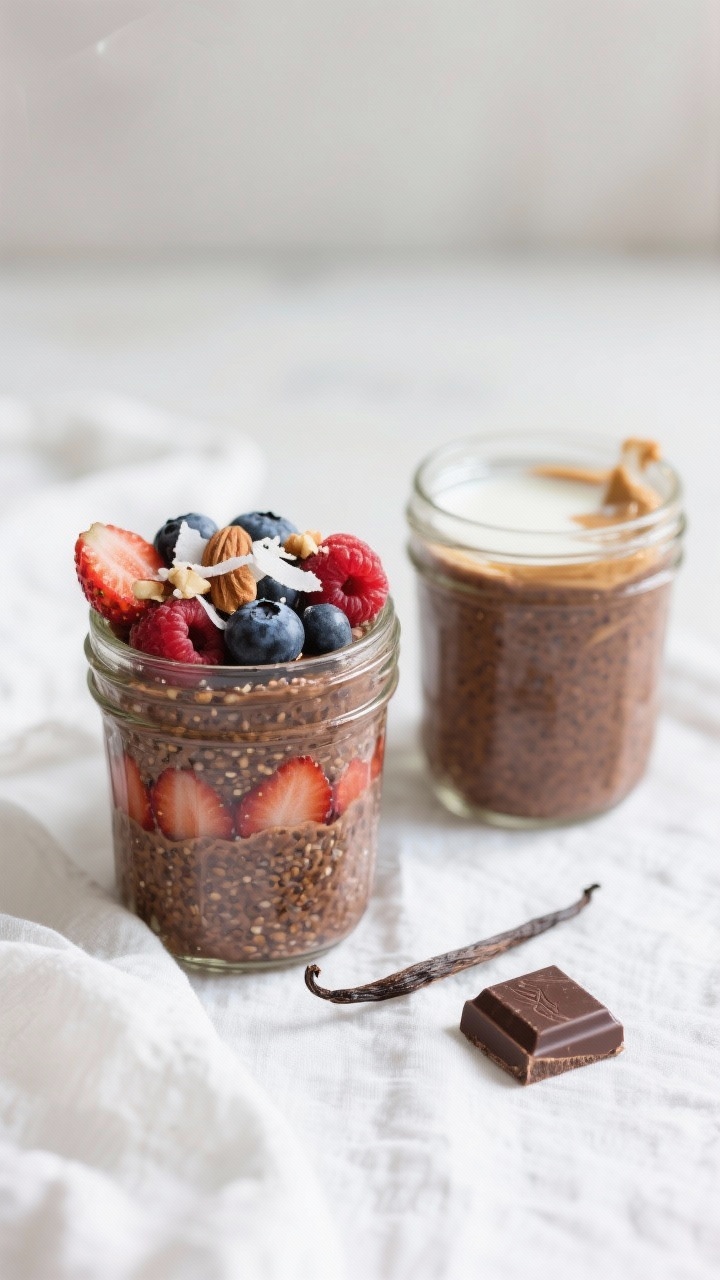
- Optional toppings: shaved dark chocolate, chopped nuts, coconut flakes, or a drizzle of nut butter
Step-by-Step Instructions
- Whisk the base: In a bowl or jar, whisk the milk, cocoa powder, sweetener, vanilla, and salt until the cocoa is fully dissolved and smooth.
- Add protein (optional): Stir in Greek yogurt and/or protein powder until well combined.
If it’s too thick, add a splash more milk.
- Stir in chia seeds: Sprinkle in the chia seeds and whisk for 30 seconds so they don’t clump.
- Set, then stir again: Let the mixture rest for 10 minutes, then whisk again to break up any settling seeds.
- Chill: Cover and refrigerate for at least 2–3 hours, or overnight, until thick and pudding-like.
- Serve: Stir, then layer or top with fresh berries. Add optional toppings like nuts or dark chocolate.
Keeping It Fresh
- Fridge: Store in an airtight container for 4–5 days. Keep berries separate and add right before eating.
- Meal prep: Portion into individual jars for grab-and-go breakfasts.
- Too thick? Stir in a little milk before serving to loosen the texture.
Why This is Good for You
- Protein support: Greek yogurt or protein powder helps with satiety and muscle recovery.
- Fiber-rich: Chia seeds deliver soluble fiber that supports digestion and steady energy.
- Healthy fats: Chia’s omega-3s help keep you full and support heart health.
- Antioxidants: Cocoa and berries bring flavonoids and vitamin C.
- Lower added sugar: You control the sweetness and can keep it light.
Pitfalls to Watch Out For
- Clumping chia: Always whisk twice—once when mixing and again after 10 minutes—to prevent lumps.
- Too bitter: Unsweetened cocoa needs a touch of sweetener.
Taste and adjust before chilling.
- Runny pudding: If it doesn’t set, add 1 teaspoon more chia, stir, and chill 30–60 minutes.
- Gritty protein: Some powders don’t blend well. Use a quality brand and whisk thoroughly.
- Watery berries: If using frozen berries, thaw and drain before topping to avoid thinning the pudding.
Alternatives
- Dairy-free: Use almond, coconut, or oat milk and a dairy-free yogurt.
- No added sugar: Sweeten with mashed ripe banana or a few drops of stevia/monk fruit.
- Flavor twist: Add a pinch of cinnamon, espresso powder, or orange zest for a new vibe.
- Nutty boost: Stir in 1 tablespoon almond butter or peanut butter for richness and extra protein.
- Berry swaps: Try sliced cherries, pomegranate arils, or chopped mango for a change.
- Superfood add-ins: Flax meal, hemp hearts, or collagen peptides mix in easily.
FAQ
Can I make this without protein powder?
Yes. It’s still filling thanks to the chia seeds.
If you want more protein, use Greek yogurt or add nuts and seeds on top.
How long does chia pudding take to thicken?
It starts thickening in 10–15 minutes but needs at least 2–3 hours to fully set. Overnight is best for a creamy texture.
What’s the best milk for this?
Any unsweetened milk works. Almond milk is light, coconut milk is richer, and dairy milk gives a classic pudding feel.
Can I blend it smooth?
Absolutely.
Blend after chilling for a silky, mousse-like texture. Add a splash of milk if needed.
Is it suitable for kids?
Yes. Adjust sweetness to their preference and skip protein powders not intended for children.
Can I meal-prep a week’s worth?
You can prep 4–5 days at a time.
Keep berries separate until serving for the best texture.
Wrapping Up
Chocolate chia pudding with berries is simple, flexible, and genuinely satisfying. It’s an easy win for busy mornings or a smarter dessert at night. Keep the ingredients on hand, mix a batch in minutes, and enjoy a gluten-free, protein-packed treat any day of the week.
Chocolate Chia Pudding with Berries Gluten Free and Protein-Packed - Easy, Creamy, and Satisfying
Ingredients
- 3 tablespoons chia seeds
- 1 cup unsweetened milk (almond, oat, dairy, or coconut)
- 2 tablespoons unsweetened cocoa powder
- 1–2 tablespoons maple syrup or honey (or a zero-sugar sweetener to taste)
- 1/2 teaspoon vanilla extract
- Pinch of sea salt
- 1/3 cup plain Greek yogurt or dairy-free yogurt (optional, for extra protein and creaminess)
- 1 scoop chocolate or vanilla protein powder (optional; adjust sweetness if using)
- 1/2–3/4 cup mixed berries (strawberries, blueberries, raspberries)
- Optional toppings: shaved dark chocolate, chopped nuts, coconut flakes, or a drizzle of nut butter
Instructions
- Whisk the base: In a bowl or jar, whisk the milk, cocoa powder, sweetener, vanilla, and salt until the cocoa is fully dissolved and smooth.
- Add protein (optional): Stir in Greek yogurt and/or protein powder until well combined.If it’s too thick, add a splash more milk.
- Stir in chia seeds: Sprinkle in the chia seeds and whisk for 30 seconds so they don’t clump.
- Set, then stir again: Let the mixture rest for 10 minutes, then whisk again to break up any settling seeds.
- Chill: Cover and refrigerate for at least 2–3 hours, or overnight, until thick and pudding-like.
- Serve: Stir, then layer or top with fresh berries. Add optional toppings like nuts or dark chocolate.