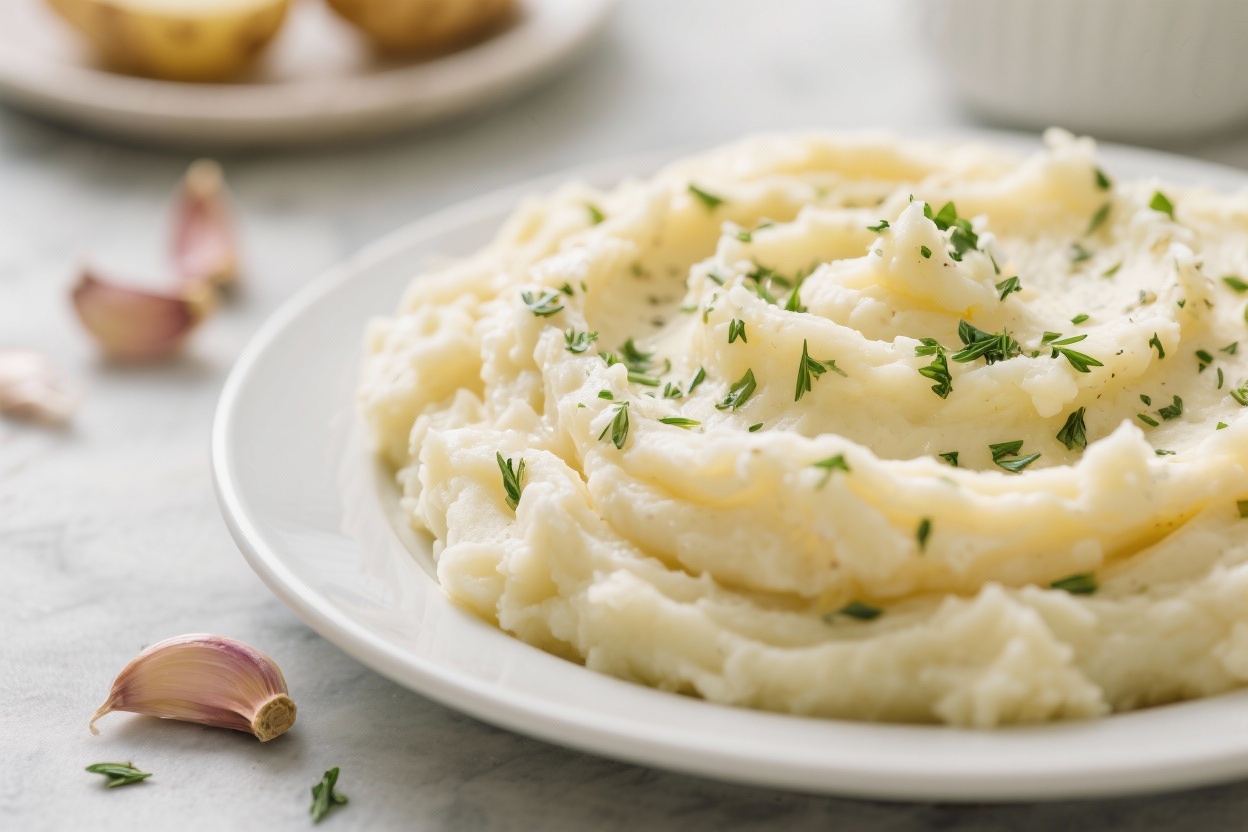
Mashed potatoes are the unsung hero of any holiday or gathering, but the last-minute mashing can be stressful. This make-ahead version lets you prep your potatoes a day or two early and reheat them so they taste freshly made. They’re extra creamy, hold well, and stay silky—not gluey or dry.
Whether you’re feeding eight or eighteen, this method keeps things easy and delicious.
What Makes This Recipe So Good
- Make-ahead friendly: Prepare up to 48 hours in advance and reheat without losing creaminess.
- Ultra-creamy texture: A blend of butter, cream cheese, and milk makes them rich and smooth.
- Perfect for a crowd: Scales up easily, reheats evenly, and holds well on a buffet.
- No last-minute chaos: Free up stovetop space and focus on the main course.
- Foolproof reheating: Oven, slow cooker, or stovetop—all yield soft, steamy potatoes.
Shopping List
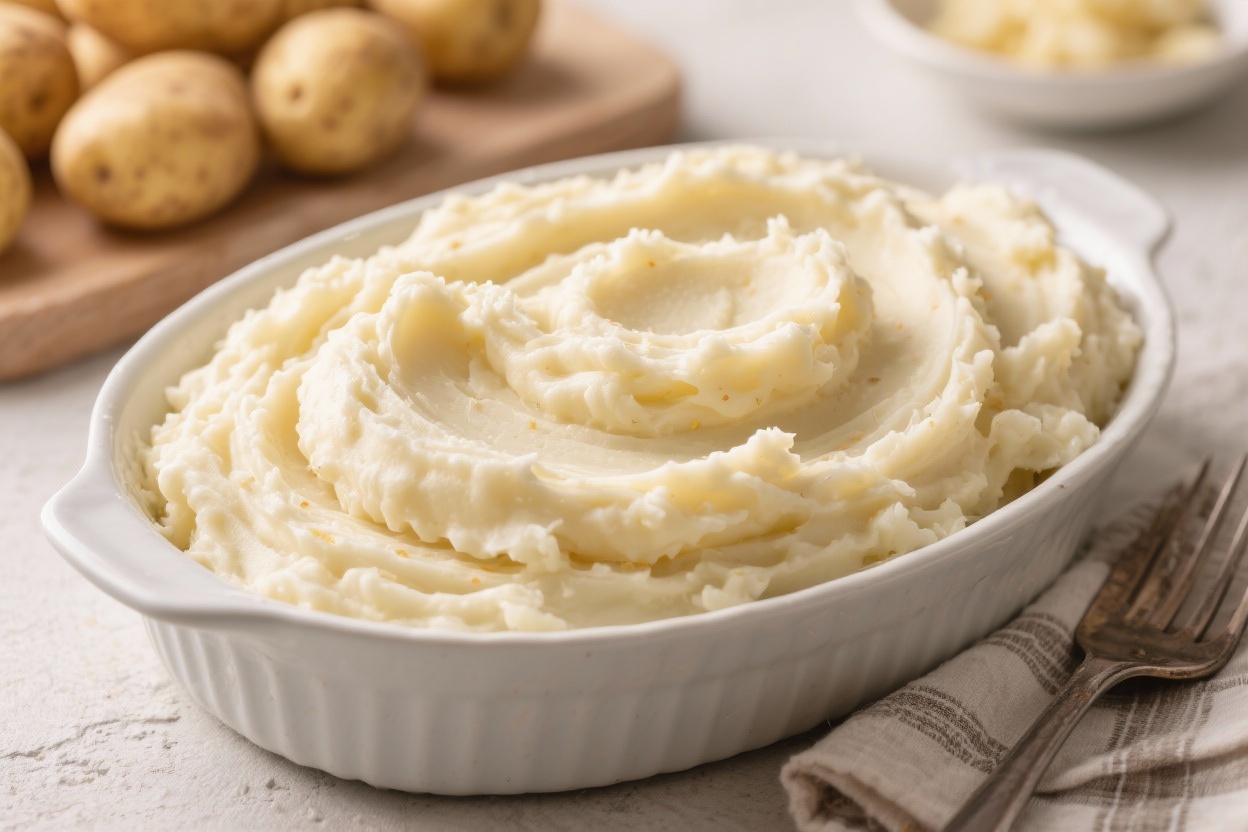
- 5 pounds russet or Yukon Gold potatoes (Yukon Golds are naturally creamy; russets are fluffy)
- 1 cup whole milk (or half-and-half for richer potatoes)
- 8 tablespoons (1 stick) unsalted butter
- 4 ounces cream cheese (softened; adds tang and stability)
- 1 teaspoon kosher salt (plus more to taste)
- 1/2 teaspoon black pepper
- Optional add-ins: garlic (2–3 cloves), chives, sour cream, grated Parmesan
How to Make It
- Prep the potatoes: Peel and cut potatoes into 1 1/2-inch chunks. Rinse in cold water to remove excess starch.
- Boil until tender: Place in a large pot, cover with cold water by 1 inch, add 1 tablespoon kosher salt, and bring to a boil. Simmer 15–20 minutes until a knife slides in easily.
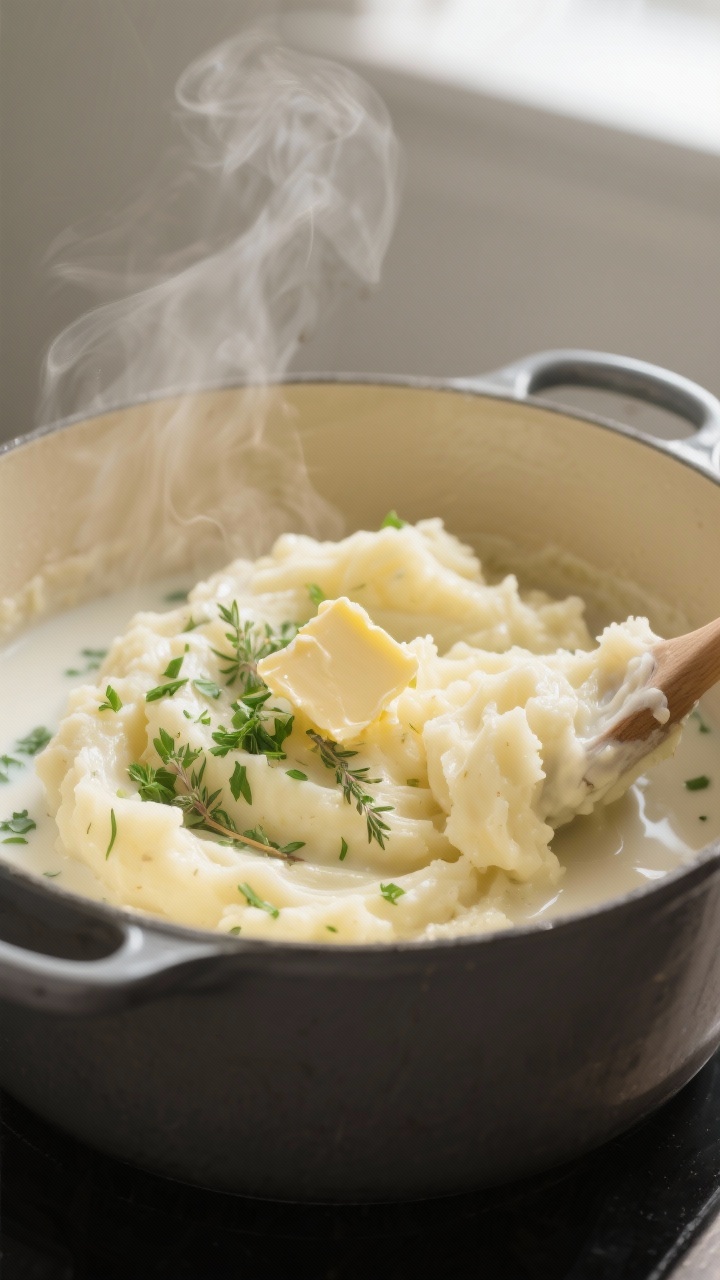
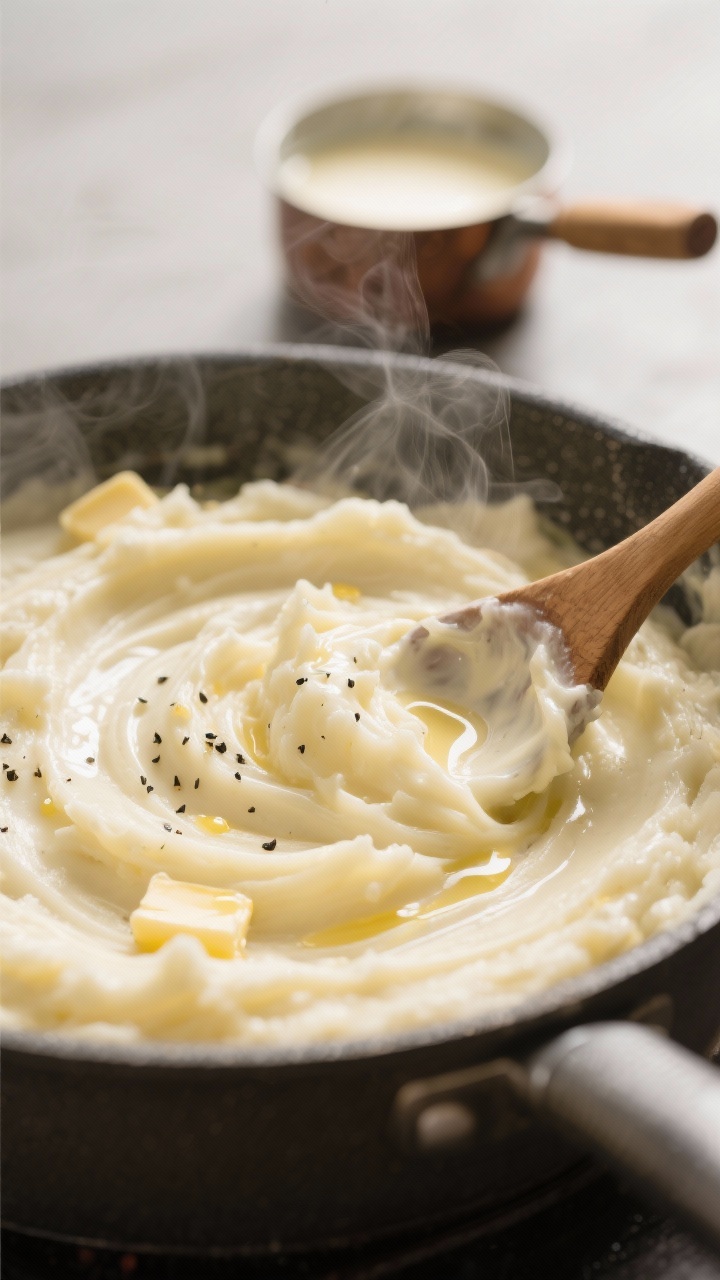
- Warm the dairy: In a small saucepan, gently heat milk, butter, and cream cheese until melted and warm.
Don’t boil. Warm dairy blends more smoothly.
- Drain well: Drain potatoes thoroughly, then return them to the hot pot. Let them sit 2–3 minutes on low heat to steam off excess moisture.
- Mash: Mash with a potato masher or ricer.
Avoid a food processor or blender, which can make them gluey.
- Add dairy: Pour in warm dairy gradually, stirring gently until creamy. Season with salt and pepper to taste.
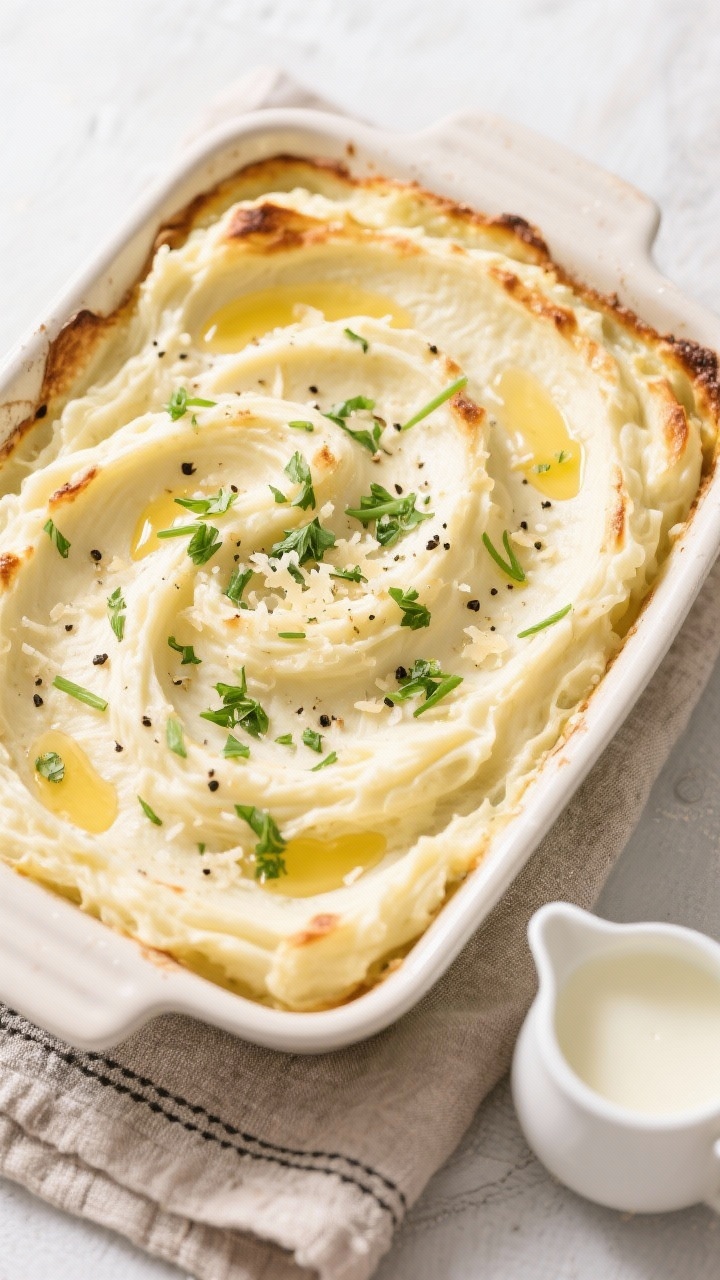
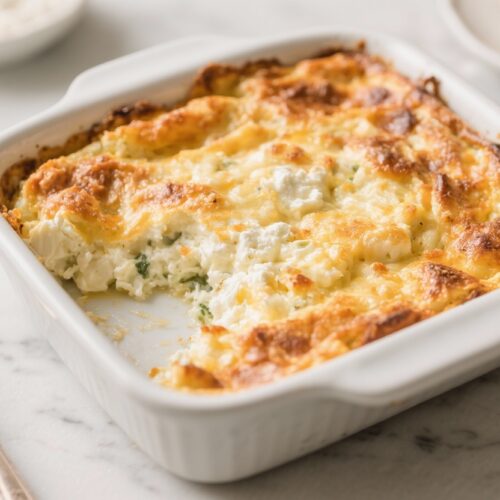
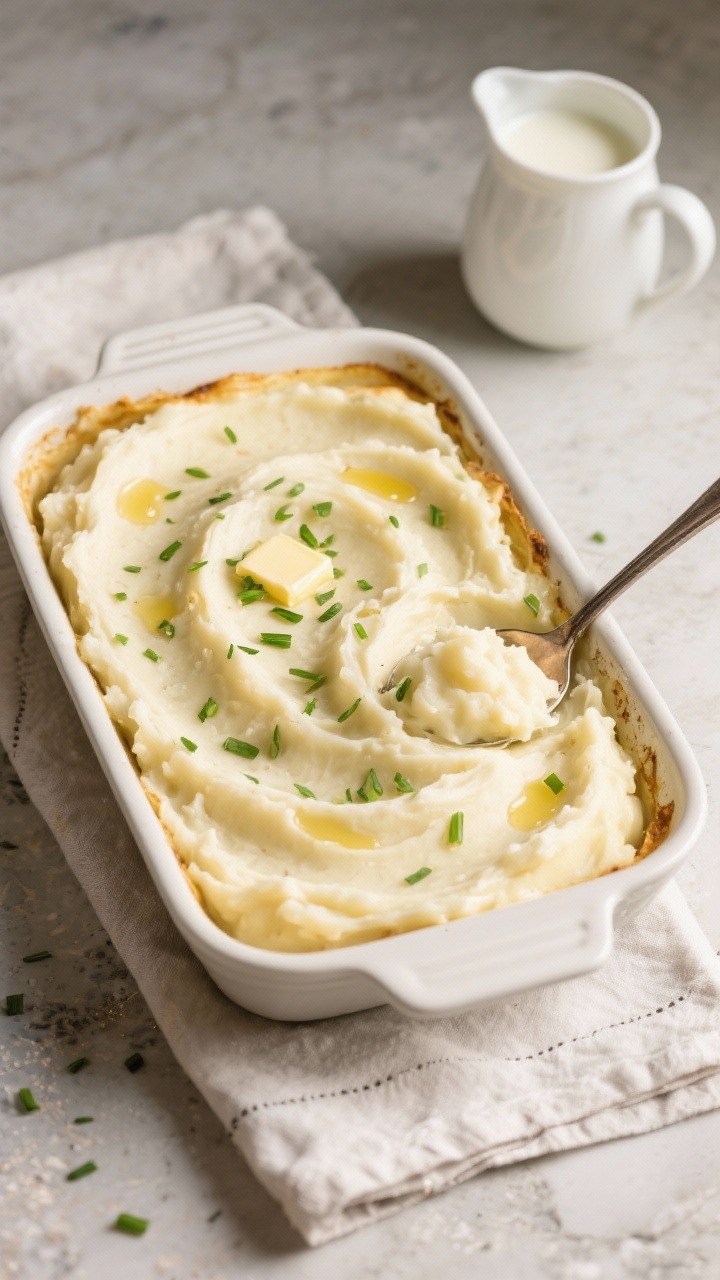
- Transfer for make-ahead: Spread into a buttered 9×13-inch baking dish or a large oven-safe casserole. Dot the top with a little butter.
- Cool and cover: Let cool 20–30 minutes, then cover tightly and refrigerate up to 48 hours.
Keeping It Fresh
- Refrigeration: Store covered in the baking dish for up to 2 days.
- Reheating in the oven: Add a splash of milk (2–4 tablespoons), cover with foil, and bake at 325°F for 30–45 minutes, stirring once midway.
Uncover for the last 5–10 minutes if you like a lightly set top.
- Slow cooker option: Spoon into a warm slow cooker with a splash of milk. Heat on Low 2–3 hours, stirring occasionally. Hold on Warm for serving.
- Stovetop refresh: Reheat gently over low heat in a large pot with a bit of milk or cream, stirring often.
- Freezing: Not ideal for maximum creaminess, but possible.
Cool completely, freeze up to 1 month, thaw in the fridge, then reheat with extra milk and butter.
Benefits of This Recipe
- Time-saver: Do the work ahead and keep the day-of stress low.
- Reliable results: Cream cheese stabilizes the mash, so it reheats beautifully.
- Flexible serving: Works for family dinners, potlucks, or big holiday spreads.
- Customizable: Simple base that welcomes flavors like garlic, herbs, or cheese.
Common Mistakes to Avoid
- Overworking the potatoes: Mixing too much or using a food processor makes them gummy.
- Skipping the warm dairy: Cold milk or butter can seize the potatoes and dull the texture.
- Under-salting the water: Season the boiling water so the potatoes are flavorful from the inside out.
- Not draining well: Excess water leads to watery mash that won’t reheat as nicely.
- Reheating dry: Always add a little milk or cream when reheating to restore silkiness.
Recipe Variations
- Garlic-Parmesan: Simmer 3–4 smashed garlic cloves in the milk, then strain. Stir in 1/2 cup grated Parmesan.
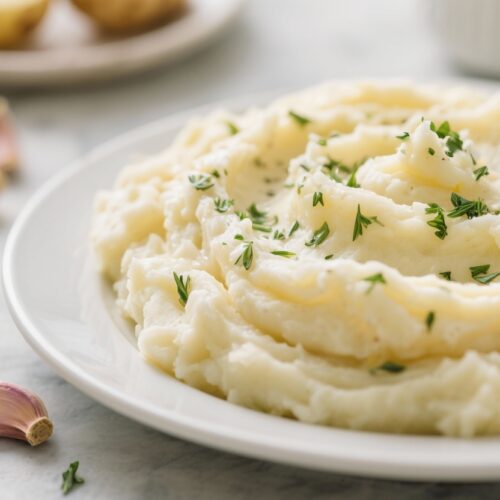
- Buttery Herb: Fold in chopped chives, parsley, or dill just before serving.
- Extra Tangy: Swap half the cream cheese for sour cream.
- Brown Butter: Brown the butter until nutty, then add to the warm dairy for deeper flavor.
- Dairy-Free: Use olive oil or vegan butter and warm unsweetened oat milk; skip cream cheese and add a spoonful of mayo for body.
FAQ
How many people does this serve?
For 5 pounds of potatoes, plan on 10–12 servings as a side. For big appetites or fewer sides, expect closer to 8–10 servings.
Can I make it without cream cheese?
Yes.
Use more butter and a splash of half-and-half. For stability, add 2–3 tablespoons of sour cream or Greek yogurt.
What’s the best potato for creamy mash?
Yukon Golds are naturally creamy and flavorful. Russets are fluffier and lighter.
A 50/50 mix delivers the best of both.
Can I keep these warm for a buffet?
Yes. Use a slow cooker on Warm and stir occasionally. Add a splash of milk if they thicken over time.
How do I fix dry mashed potatoes?
Warm a bit more milk and butter, then stir it in gently until they’re soft and creamy again.
Can I add roasted garlic?
Absolutely.
Mash in 1–2 heads of roasted garlic for sweet, mellow flavor.
In Conclusion
These make-ahead creamy mashed potatoes are a stress-free win for holidays and gatherings. They reheat beautifully, taste rich and silky, and keep well on a buffet. Prep them early, reheat with a splash of milk, and enjoy one less thing to worry about when the doorbell rings.
Make-Ahead Creamy Mashed Potatoes for a Crowd (Reheat Perfectly) - Easy, Fluffy, and Foolproof
Ingredients
- 5 pounds russet or Yukon Gold potatoes (Yukon Golds are naturally creamy; russets are fluffy)
- 1 cup whole milk (or half-and-half for richer potatoes)
- 8 tablespoons (1 stick) unsalted butter
- 4 ounces cream cheese (softened; adds tang and stability)
- 1 teaspoon kosher salt (plus more to taste)
- 1/2 teaspoon black pepper
- Optional add-ins: garlic (2–3 cloves), chives, sour cream, grated Parmesan
Instructions
- Prep the potatoes: Peel and cut potatoes into 1 1/2-inch chunks. Rinse in cold water to remove excess starch.
- Boil until tender: Place in a large pot, cover with cold water by 1 inch, add 1 tablespoon kosher salt, and bring to a boil. Simmer 15–20 minutes until a knife slides in easily.
- Warm the dairy: In a small saucepan, gently heat milk, butter, and cream cheese until melted and warm.Don’t boil. Warm dairy blends more smoothly.
- Drain well: Drain potatoes thoroughly, then return them to the hot pot. Let them sit 2–3 minutes on low heat to steam off excess moisture.
- Mash: Mash with a potato masher or ricer.Avoid a food processor or blender, which can make them gluey.
- Add dairy: Pour in warm dairy gradually, stirring gently until creamy. Season with salt and pepper to taste.
- Transfer for make-ahead: Spread into a buttered 9x13-inch baking dish or a large oven-safe casserole. Dot the top with a little butter.
- Cool and cover: Let cool 20–30 minutes, then cover tightly and refrigerate up to 48 hours.