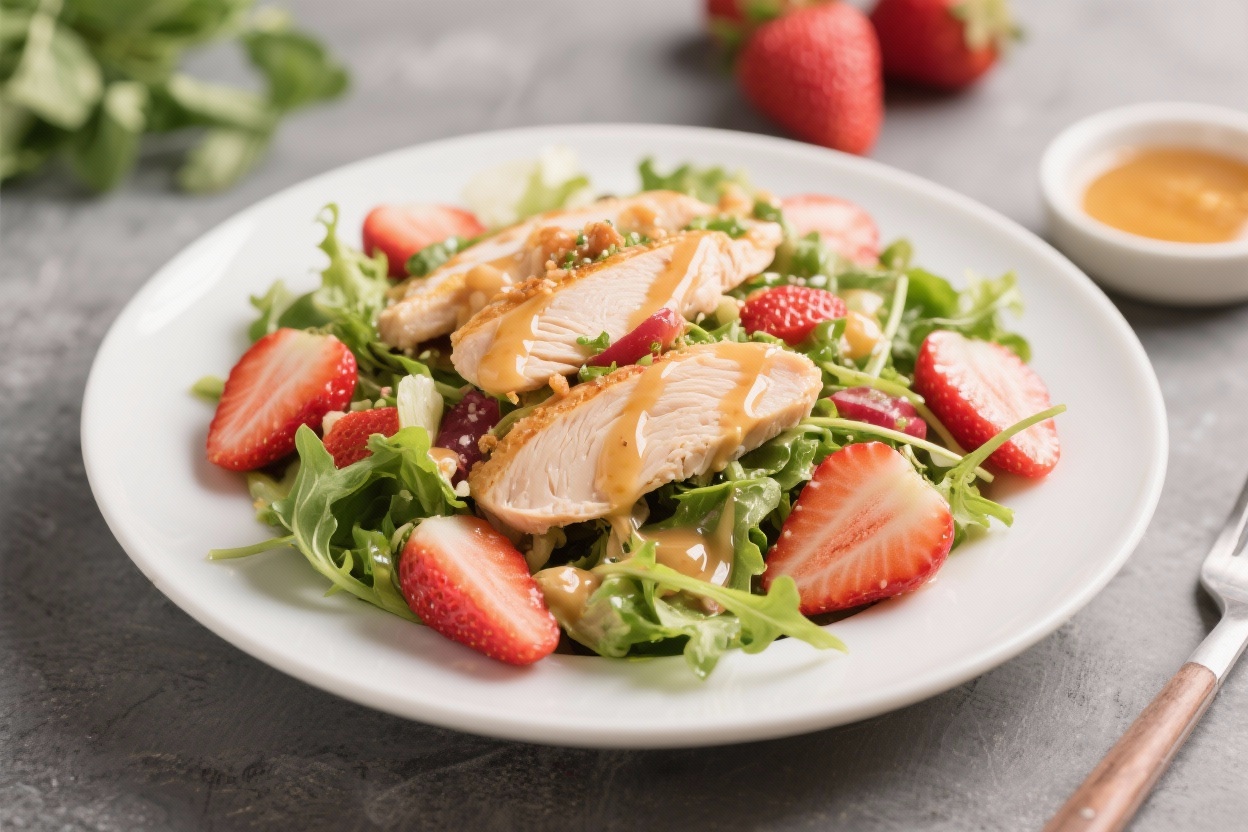
This salad hits the sweet spot between fresh and filling. Juicy strawberries, tender chicken, and crisp spring greens come together with a light honey dressing that tastes like sunshine. It’s simple enough for a weekday lunch but pretty enough for company.
You’ll get vibrant flavors, great texture, and a solid dose of protein without feeling weighed down.
What Makes This Special
This salad balances sweet, tangy, and savory in every bite. The light honey dressing brightens the strawberries and adds a gentle gloss without overpowering the greens. Grilled or pan-seared chicken brings lean protein to keep you full.
Toasted nuts add crunch and healthy fats, while a hint of fresh herbs keeps it fresh and springy. It’s a fast, no-fuss meal that still feels special.
Shopping List
- Chicken: 2 boneless, skinless chicken breasts (about 12–14 oz total)
- Greens: 5–6 cups spring mix or baby spinach
- Strawberries: 1 pint, hulled and sliced
- Cheese (optional): 1/3 cup crumbled feta or goat cheese
- Nuts: 1/3 cup sliced almonds or chopped pecans
- Red onion: 1/4 small onion, thinly sliced
- Fresh herbs: Small handful of mint or basil, chopped
- Avocado (optional): 1 small, sliced
- For the light honey dressing:
- 3 tablespoons extra-virgin olive oil
- 1 tablespoon honey
- 2 tablespoons fresh lemon juice (or white balsamic vinegar)
- 1 teaspoon Dijon mustard
- 1/2 teaspoon salt
- 1/4 teaspoon black pepper
- For the chicken seasoning: 1 teaspoon olive oil, 1/2 teaspoon salt, 1/2 teaspoon garlic powder, 1/2 teaspoon paprika, black pepper
Instructions
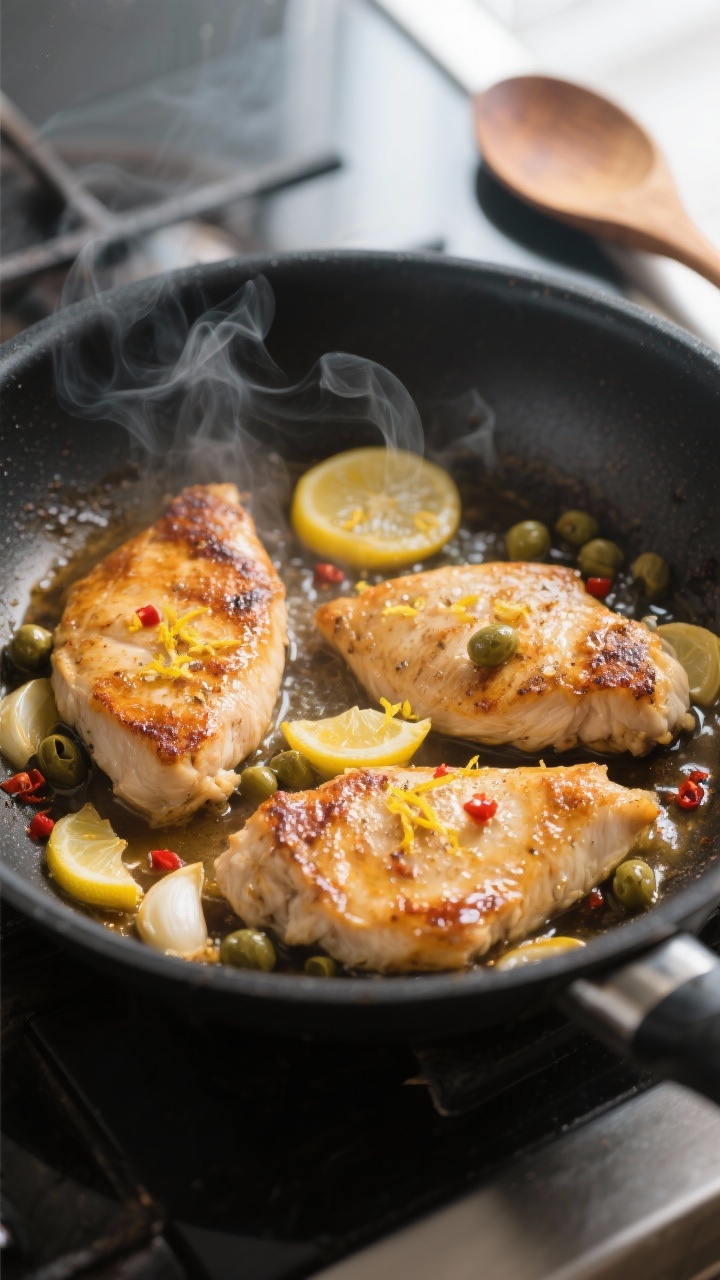
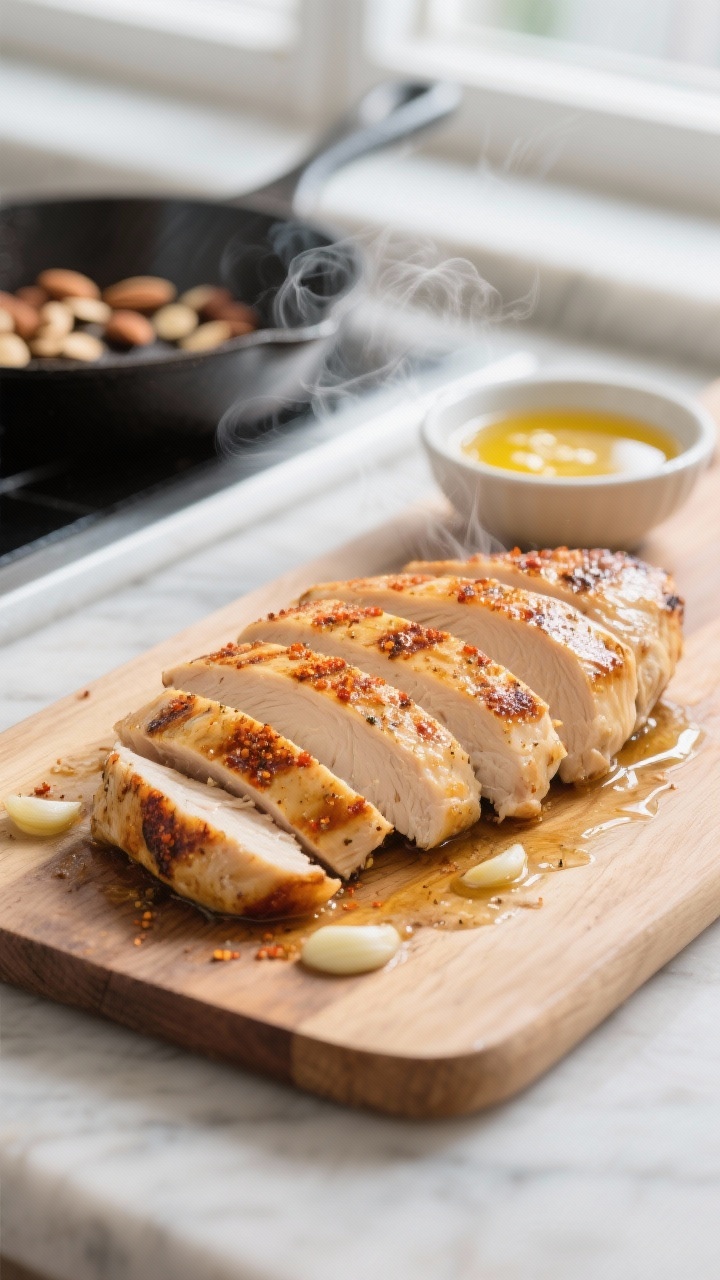
- Season the chicken. Pat the chicken dry. Rub with olive oil, salt, garlic powder, paprika, and pepper.
- Cook the chicken. Grill over medium-high heat 5–7 minutes per side, or pan-sear in a hot skillet with a little oil until the internal temperature reaches 165°F (74°C).
Rest 5 minutes, then slice.
- Toast the nuts. Add almonds or pecans to a dry skillet over medium heat. Stir until fragrant and lightly golden, 3–4 minutes. Cool.
- Make the dressing. Whisk olive oil, honey, lemon juice, Dijon, salt, and pepper until smooth.
Taste and adjust acidity or sweetness as needed.
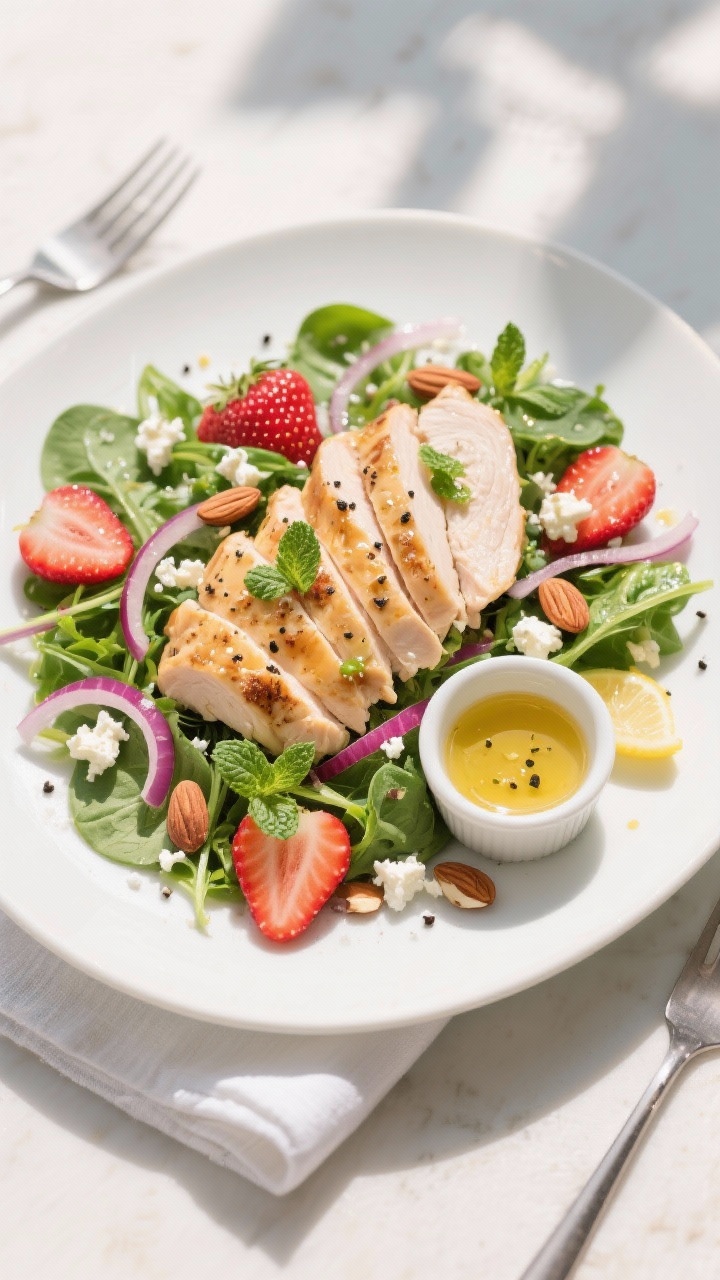
- Prep the salad base. In a large bowl, add the spring mix, strawberries, red onion, herbs, and avocado if using.
- Dress lightly. Drizzle about half the dressing over the greens and toss gently until just coated.
- Add protein and crunch. Top with sliced chicken, toasted nuts, and cheese. Spoon on a little more dressing to taste.
- Serve. Plate immediately so the greens stay crisp. Finish with a pinch of salt and a crack of pepper for brightness.
Storage Instructions
- Keep components separate. Store chicken, greens, strawberries, nuts, and dressing in individual containers.
- Refrigeration: Cooked chicken keeps 3–4 days.
Dressing keeps up to 1 week. Greens and sliced berries are best within 2 days.
- Avoid sogginess. Dress only what you plan to eat. Add nuts just before serving.
- Meal prep tip: Pre-portion the chicken and dressing; slice strawberries the day you’ll eat for best texture.
Why This is Good for You
Chicken brings high-quality protein to support muscle repair and keep hunger in check.
Strawberries add vitamin C and antioxidants with a naturally low sugar load per serving. Leafy greens provide fiber, folate, and minerals. Olive oil and nuts deliver heart-healthy fats that help you absorb fat-soluble vitamins.
The light honey dressing gives flavor with a modest amount of added sweetness.
What Not to Do
- Don’t overdress the greens. Too much dressing wilts them fast.
- Don’t slice chicken right away. Resting keeps it juicy.
- Don’t skip seasoning. Well-seasoned chicken makes the whole salad pop.
- Don’t use bland strawberries. Choose ripe, fragrant berries for the best flavor.
- Don’t mix hot chicken into the greens. Let it cool slightly to avoid limp lettuce.
Variations You Can Try
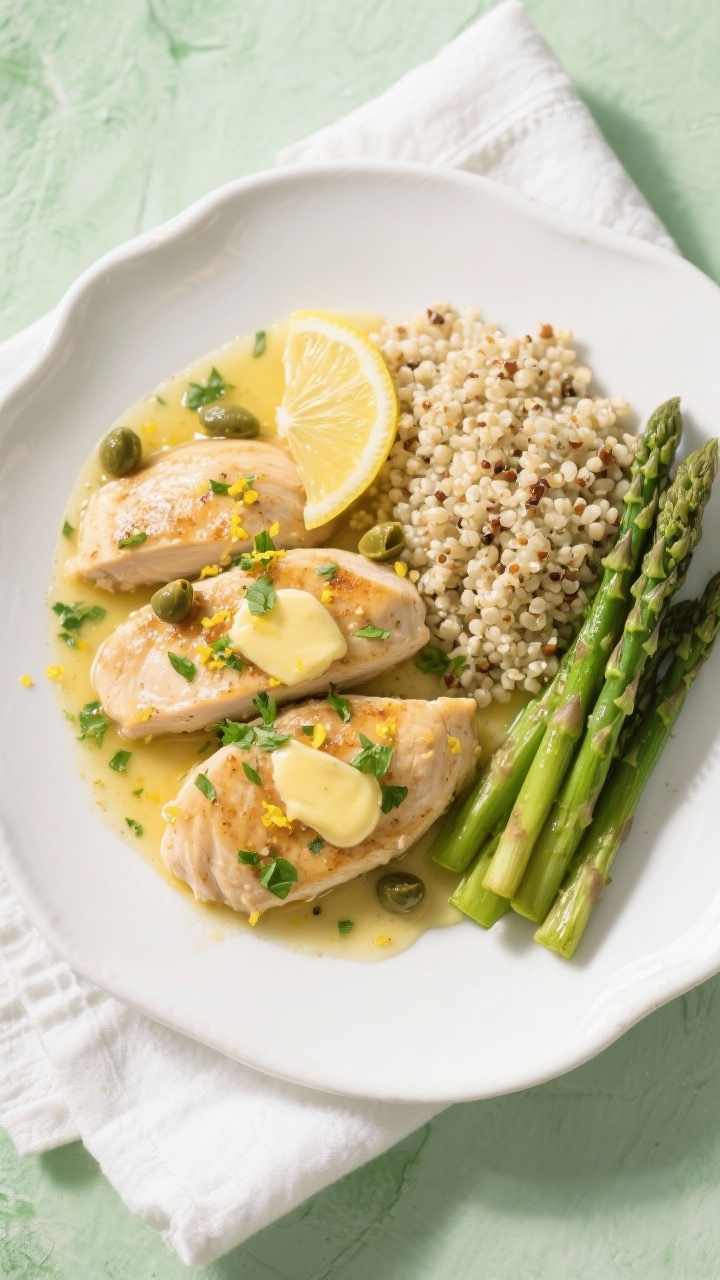
- Grain boost: Add 1 cup cooked quinoa or farro for extra fiber and staying power.
- Dairy-free: Skip cheese and add extra avocado and nuts.
- Balsamic twist: Swap lemon juice for white balsamic and add a splash of regular balsamic over the strawberries.
- Herb-forward: Use tarragon or chives instead of mint for a more savory profile.
- Different protein: Try turkey, shrimp, or grilled tofu for variety.
- Extra crunch: Add cucumber or snap peas to lean into the spring theme.
FAQ
Can I use rotisserie chicken?
Yes. Shred or slice rotisserie chicken and warm it briefly, then let it cool before adding to the salad. Season lightly if needed to balance the dressing.
What if strawberries aren’t in season?
Use blueberries, raspberries, or thinly sliced apples.
If the fruit is tart, add a touch more honey to the dressing.
How can I make it even higher in protein?
Add extra chicken, toss in cooked quinoa, or include a scoop of cottage cheese on the side. You can also sprinkle in roasted chickpeas.
Is the dressing sweet?
It’s lightly sweet with a bright lemony finish. If you prefer less sweetness, reduce the honey to 2 teaspoons.
Can I meal prep this for the week?
Prep the chicken, dressing, and nuts ahead.
Wash and dry greens, then assemble just before eating. Slice strawberries the day of to keep them juicy and fresh.
In Conclusion
This High-Protein Strawberry Chicken Spring Salad with Light Honey Dressing is fresh, filling, and quick to make. It delivers bright flavors, great texture, and balanced nutrition without fuss.
Keep the components on hand and you’ll have a dependable, delicious meal ready any day of the week.

High-Protein Strawberry Chicken Spring Salad with Light Honey Dressing - Fresh, Bright, and Satisfying
Ingredients
- Chicken: 2 boneless, skinless chicken breasts (about 12–14 oz total)
- Greens: 5–6 cups spring mix or baby spinach
- Strawberries: 1 pint, hulled and sliced
- Cheese (optional): 1/3 cup crumbled feta or goat cheese
- Nuts: 1/3 cup sliced almonds or chopped pecans
- Red onion: 1/4 small onion, thinly sliced
- Fresh herbs: Small handful of mint or basil, chopped
- Avocado (optional): 1 small, sliced
- For the light honey dressing:
- 3 tablespoons extra-virgin olive oil
- 1 tablespoon honey
- 2 tablespoons fresh lemon juice (or white balsamic vinegar)
- 1 teaspoon Dijon mustard
- 1/2 teaspoon salt
- 1/4 teaspoon black pepper
- For the chicken seasoning: 1 teaspoon olive oil, 1/2 teaspoon salt, 1/2 teaspoon garlic powder, 1/2 teaspoon paprika, black pepper
Instructions
- Season the chicken. Pat the chicken dry. Rub with olive oil, salt, garlic powder, paprika, and pepper.
- Cook the chicken. Grill over medium-high heat 5–7 minutes per side, or pan-sear in a hot skillet with a little oil until the internal temperature reaches 165°F (74°C).Rest 5 minutes, then slice.
- Toast the nuts. Add almonds or pecans to a dry skillet over medium heat. Stir until fragrant and lightly golden, 3–4 minutes. Cool.
- Make the dressing. Whisk olive oil, honey, lemon juice, Dijon, salt, and pepper until smooth.Taste and adjust acidity or sweetness as needed.
- Prep the salad base. In a large bowl, add the spring mix, strawberries, red onion, herbs, and avocado if using.
- Dress lightly. Drizzle about half the dressing over the greens and toss gently until just coated.
- Add protein and crunch. Top with sliced chicken, toasted nuts, and cheese. Spoon on a little more dressing to taste.
- Serve. Plate immediately so the greens stay crisp. Finish with a pinch of salt and a crack of pepper for brightness.