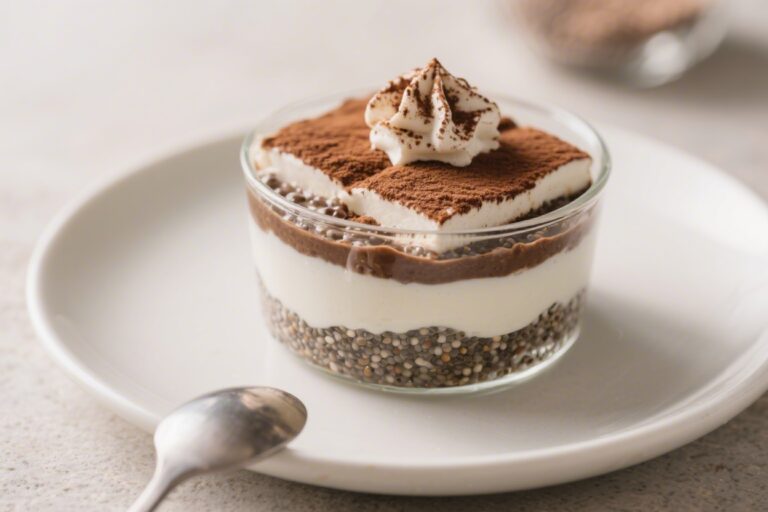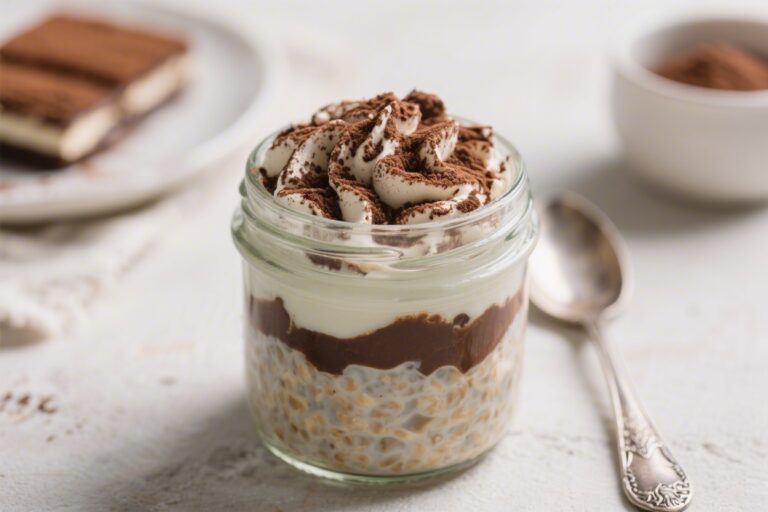
Tiramisu Protein Overnight Oats – A Cozy, Coffee-Boosted Breakfast
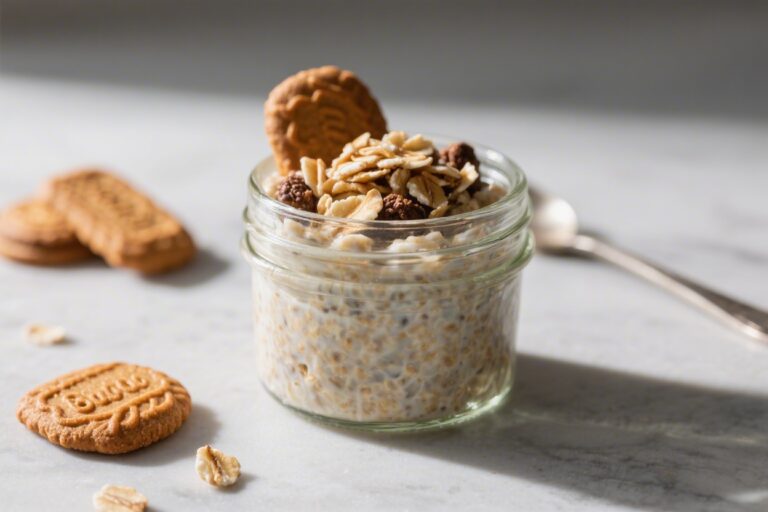
If you love tiramisu but want something lighter and more practical for busy mornings, these overnight oats hit the sweet spot. They’re creamy, coffee-kissed, and packed with protein, so you stay full for hours. You mix everything the night before, then wake up to a chilled, dessert-like breakfast that still feels wholesome. The texture is…