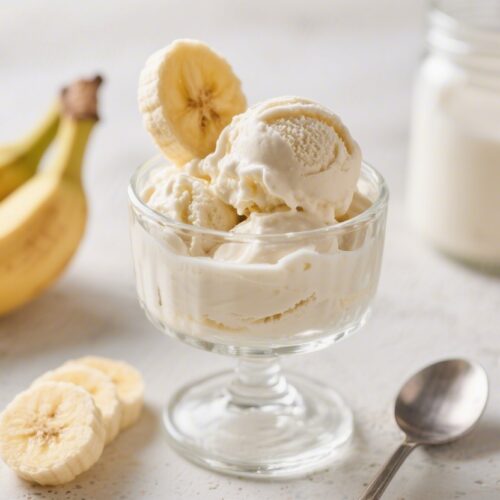
Protein Banana Ice Cream (No Cream, No Sugar Added) – A Simple, High-Protein Treat
This is the kind of dessert you can make on a weeknight without thinking twice. It’s creamy, sweet, and feels like soft-serve, yet it uses no cream and no added sugar. Ripe bananas bring natural sweetness, while protein powder makes it satisfying enough for a snack or post-workout treat.
You only need a blender and a few pantry basics. If you like ice cream that tastes indulgent but keeps things light, this one checks all the boxes.
Why This Recipe Works
- Frozen bananas = natural creaminess. When blended, bananas mimic the texture of ice cream without dairy or added sugar.
- Protein powder boosts satiety. It turns a simple fruit dessert into a more balanced option that keeps you full longer.
- Customizable flavors. Cocoa powder, peanut butter, or vanilla make it feel new each time.
- Fast and fuss-free. From blender to bowl in minutes, with just a few ingredients.
What You’ll Need
- 3 ripe bananas, sliced and frozen
- 1 scoop protein powder (vanilla or chocolate; whey or plant-based)
- 2–4 tablespoons milk of choice (dairy or non-dairy), just enough to blend
- 1 teaspoon vanilla extract (optional)
- Pinch of salt (optional, enhances flavor)
- Optional add-ins: 1 tablespoon cocoa powder, 1–2 tablespoons peanut butter or almond butter, a few dark chocolate chips, cinnamon
Instructions
- Freeze the bananas. Peel, slice into coins, and freeze in a single layer for at least 2–3 hours (overnight is best).
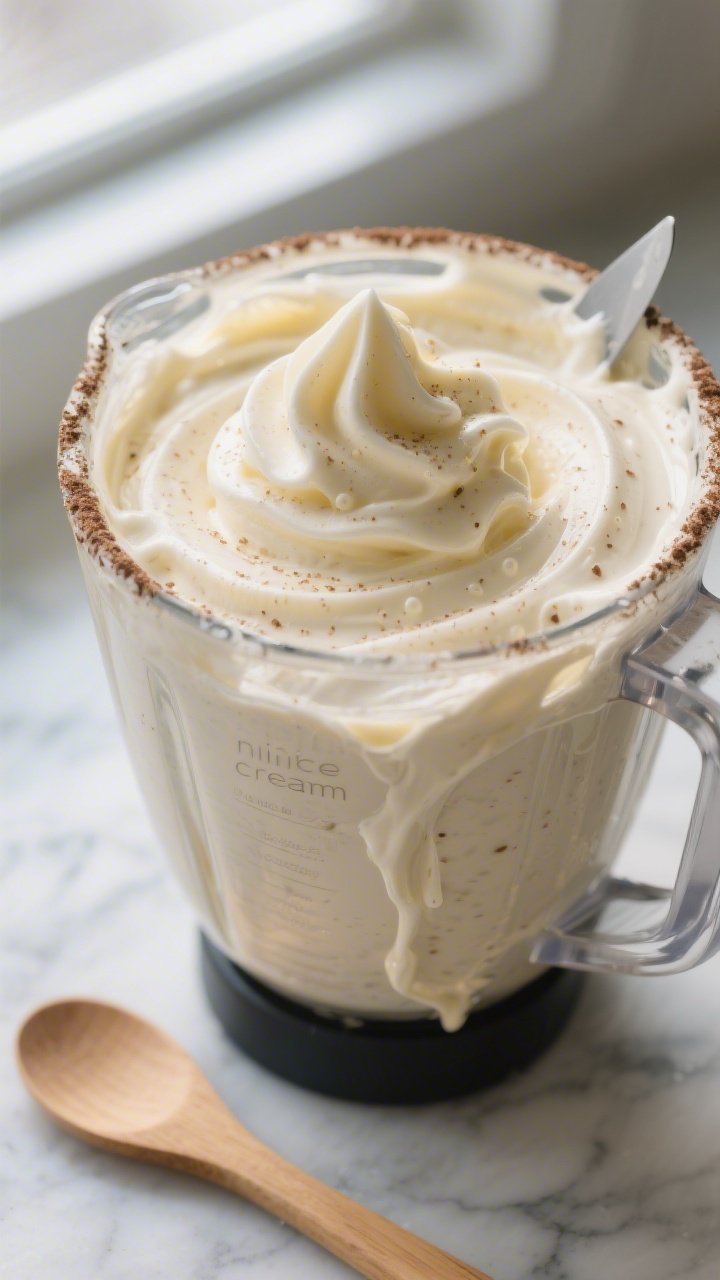
- Add to blender. Place frozen banana slices in a high-speed blender or food processor. Add protein powder, vanilla, and a pinch of salt.
- Start blending. Pulse to break up the bananas.
Add 2 tablespoons of milk to help the blades catch. Scrape down the sides as needed.
- Adjust texture. If it’s too thick to blend, add milk 1 tablespoon at a time. Aim for thick, soft-serve consistency.
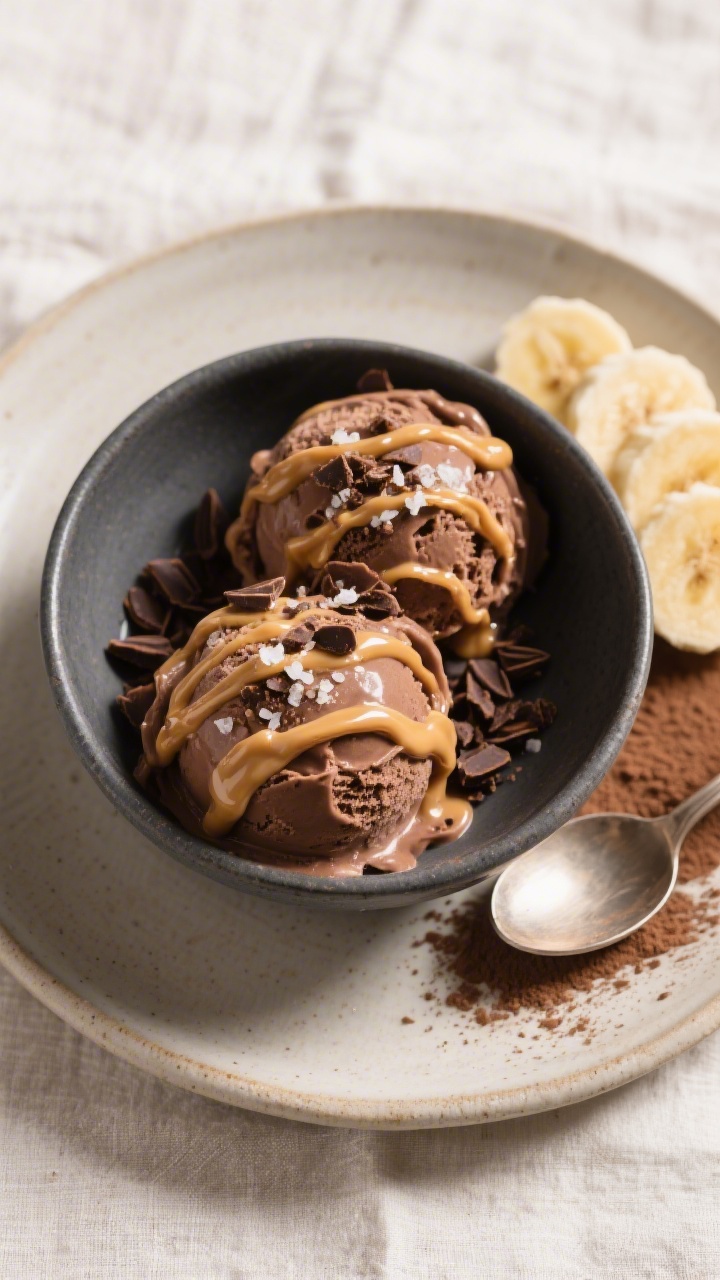
- Flavor it. Blend in cocoa powder for chocolate, or peanut butter for a nutty version.
Keep blending until silky and smooth.
- Serve soft or firm up. Enjoy right away for soft-serve. For scoopable ice cream, transfer to a container and freeze 45–90 minutes.
- Top and enjoy. Finish with sliced bananas, nuts, a drizzle of nut butter, or a sprinkle of cocoa nibs.
Storage Instructions
- Short-term: Store in a lidded container in the freezer for up to 2 weeks.
- Prevent freezer burn: Press parchment against the surface before sealing the lid.
- Soften before serving: Let sit at room temperature for 10–15 minutes to scoop easily.
- Re-blend if needed: If it becomes icy, pulse in the blender with a splash of milk.
Benefits of This Recipe
- No added sugar. Sweetness comes from ripe bananas only.
- High in protein. Great for recovery or a filling afternoon snack.
- Dairy-free option. Works well with almond, oat, or soy milk and plant-based protein.
- Nutrient-dense. Bananas offer potassium and fiber; add-ins like nut butter bring healthy fats.
- Budget-friendly. Uses common ingredients and no special equipment beyond a blender.
Common Mistakes to Avoid
- Using underripe bananas. Green or just-yellow bananas won’t be sweet or creamy enough.
- Adding too much liquid. This turns it into a smoothie. Add milk slowly until it just blends.
- Over-blending after it’s smooth. Heat from the blades can melt it.
Stop once it’s creamy.
- Skipping the salt. A tiny pinch brightens flavor, especially with chocolate or peanut butter.
- Packing the blender without pulsing. Start with pulses and scrape down to avoid stalling the blades.
Alternatives
- Protein options: Whey blends easily and tastes creamy; pea or soy protein for dairy-free; unflavored protein with extra vanilla and cinnamon if you want less sweetness.
- Flavor swaps: Add espresso powder for mocha, frozen strawberries for a banana-berry twist, or coconut flakes for a tropical vibe.
- Texture boosters: A tablespoon of chia seeds or flax adds body and fiber.
- Lower-carb version: Use fewer bananas and add frozen cauliflower rice for volume; sweeten naturally with a few more drops of vanilla or cinnamon.
- Allergy-friendly: Skip nut butter and use sunflower seed butter or tahini.
FAQ
Can I make this without a high-speed blender?
Yes. A food processor works well. If using a regular blender, slice bananas thin and let them sit out 3–5 minutes before blending, adding milk slowly.
Which protein powder tastes best here?
Vanilla whey is classic and creamy.
For dairy-free, try vanilla pea or soy protein. Choose one you already enjoy, since the flavor comes through.
How ripe should the bananas be?
Use bananas with plenty of brown spots. They’re sweeter and creamier.
If they’re too black and mushy, the flavor may be overly intense.
Can I add sweetener if I want it sweeter?
If needed, add a small amount of maple syrup, honey, or a few dates. Keep in mind this changes the “no sugar added” aspect.
How do I prevent icy texture after freezing?
Freeze in a shallow container, cover the surface, and let it rest at room temp before scooping. A quick re-blend with a splash of milk also restores creaminess.
Is this good for breakfast?
It can be.
With protein powder and optional nut butter, it’s balanced enough for a quick, lighter breakfast or post-workout meal.
Final Thoughts
This Protein Banana Ice Cream is proof that dessert can be simple, satisfying, and better for you. With a few frozen bananas and your favorite protein powder, you’ll have a creamy treat in minutes. Keep it classic with vanilla, or make it chocolatey and rich with cocoa and peanut butter.
Either way, it’s an easy win you’ll come back to again and again.
Protein Banana Ice Cream (No Cream, No Sugar Added) - A Simple, High-Protein Treat
Ingredients
- 3 ripe bananas, sliced and frozen
- 1 scoop protein powder (vanilla or chocolate; whey or plant-based)
- 2–4 tablespoons milk of choice (dairy or non-dairy), just enough to blend
- 1 teaspoon vanilla extract (optional)
- Pinch of salt (optional, enhances flavor)
- Optional add-ins: 1 tablespoon cocoa powder, 1–2 tablespoons peanut butter or almond butter, a few dark chocolate chips, cinnamon
Instructions
- Freeze the bananas. Peel, slice into coins, and freeze in a single layer for at least 2–3 hours (overnight is best).
- Add to blender. Place frozen banana slices in a high-speed blender or food processor. Add protein powder, vanilla, and a pinch of salt.
- Start blending. Pulse to break up the bananas.Add 2 tablespoons of milk to help the blades catch. Scrape down the sides as needed.
- Adjust texture. If it’s too thick to blend, add milk 1 tablespoon at a time. Aim for thick, soft-serve consistency.
- Flavor it. Blend in cocoa powder for chocolate, or peanut butter for a nutty version.Keep blending until silky and smooth.
- Serve soft or firm up. Enjoy right away for soft-serve. For scoopable ice cream, transfer to a container and freeze 45–90 minutes.
- Top and enjoy. Finish with sliced bananas, nuts, a drizzle of nut butter, or a sprinkle of cocoa nibs.
Printable Recipe Card
Want just the essential recipe details without scrolling through the article? Get our printable recipe card with just the ingredients and instructions.