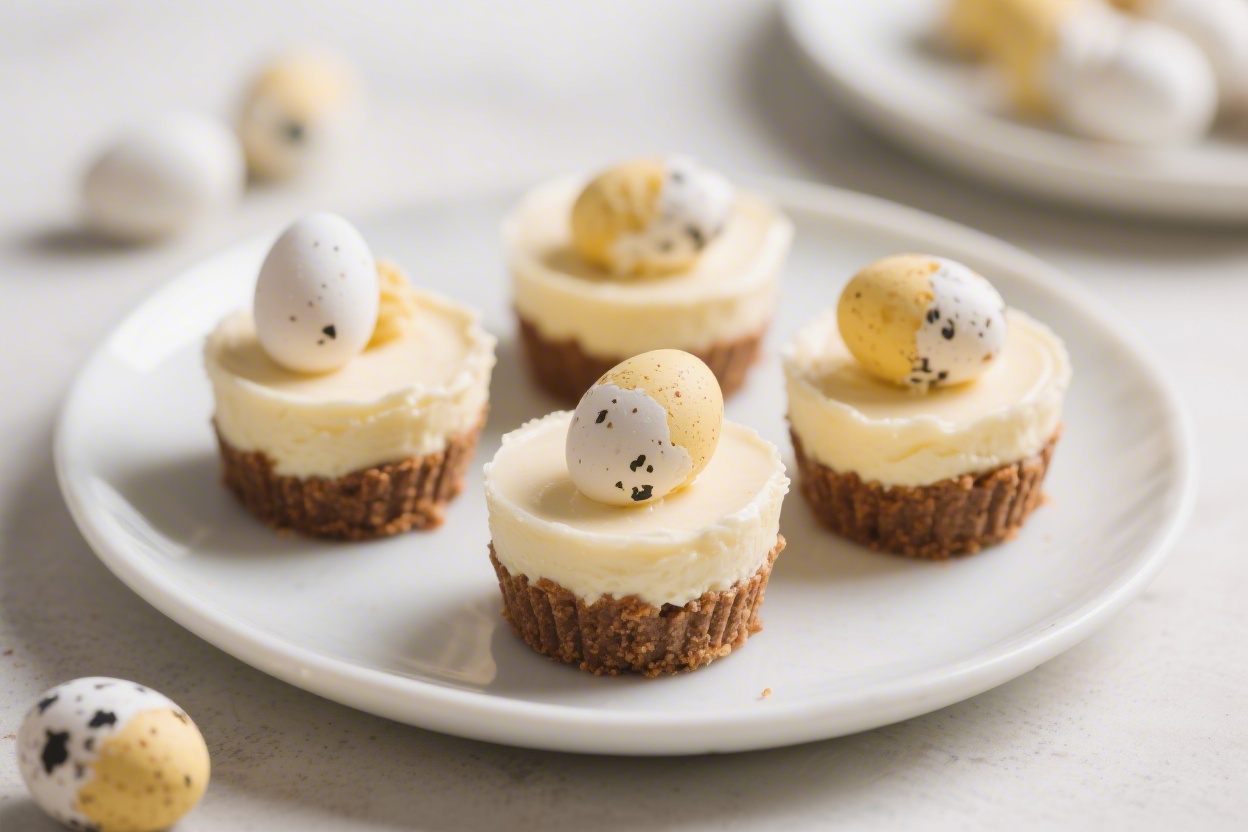
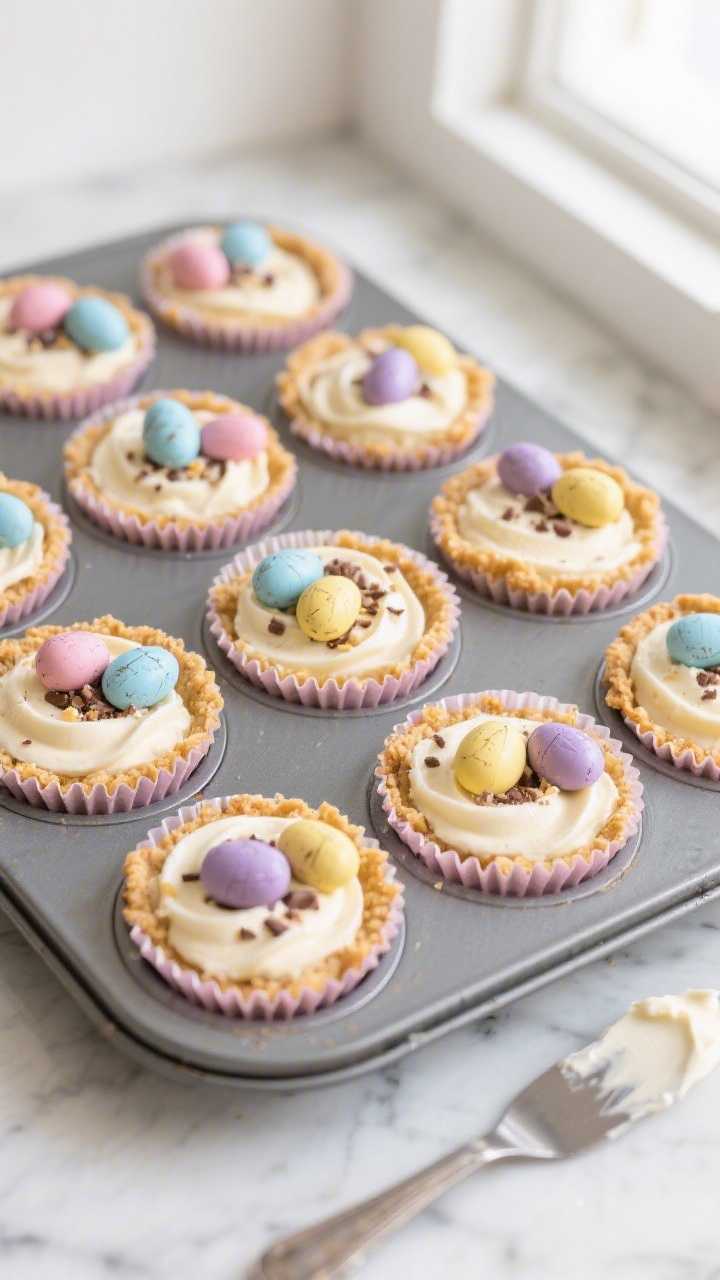
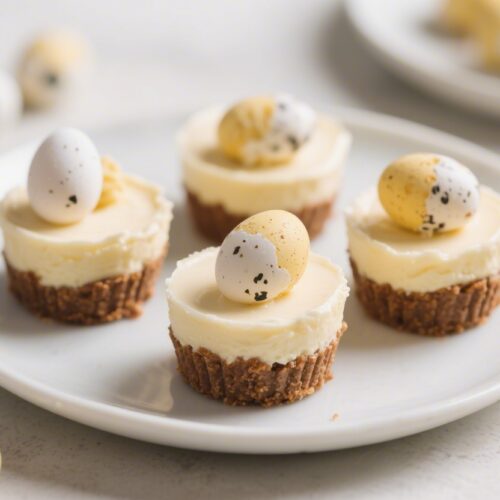
No-Bake Mini Egg Cheesecake Cups (5 Ingredients)
Creamy, crunchy, and loaded with colorful mini eggs, these no-bake cheesecake cups are the kind of dessert you can pull together in minutes. No oven, no water bath, no stress—just simple, sweet satisfaction. They’re perfect for spring gatherings, birthday parties, or a quick treat when you want something special without a lot of effort.
With only five ingredients, you’ll get silky cheesecake filling, a buttery cookie base, and a festive crunch on top. Make them ahead, chill, and serve when you’re ready.
Why This Recipe Works
- Minimal ingredients: Just five pantry-friendly items deliver full cheesecake flavor.
- No baking needed: The fridge does the work, giving you a smooth, set texture without heating the house.
- Great structure: A simple cookie-and-butter crust holds up nicely under a creamy filling.
- Perfect portions: Individual cups are easy to serve and great for parties.
- Customizable: Swap cookies, add citrus zest, or change toppings without altering the base method.
Shopping List
- Cream cheese (full-fat, brick style)
- Heavy cream (also labeled whipping cream)
- Powdered sugar (confectioners’ sugar)
- Digestive biscuits or graham crackers (for the crust)
- Mini chocolate eggs (crushed and whole for topping)
Step-by-Step Instructions

- Prep the cups: Line a 12-cup muffin tin with paper liners, or use small dessert cups. This keeps the crust neat and makes serving easy.
- Make the crust: Crush 8–10 digestive biscuits or graham crackers into fine crumbs.
Stir in 3–4 tablespoons melted butter until the mixture feels like damp sand and holds when pressed.
- Press the base: Spoon 1–2 tablespoons of crumbs into each cup. Press down firmly with the bottom of a small glass or spoon to create a compact layer. Chill while you make the filling.
- Beat the cream cheese: In a bowl, beat 16 ounces (450 g) of softened cream cheese until smooth and lump-free.
Add 1/3–1/2 cup powdered sugar and beat again until creamy.
- Whip the cream: In a separate bowl, whip 3/4 cup heavy cream to soft-medium peaks. Don’t overwhip—peaks should hold but still look glossy.
- Fold and flavor: Gently fold the whipped cream into the cream cheese mixture until just combined. Stir in a handful of crushed mini eggs for texture and color.
- Fill the cups: Divide the filling evenly over the chilled crusts, smoothing the tops with a spoon.
Add extra crushed or whole mini eggs on top.
- Chill to set: Refrigerate for at least 2–3 hours, or until firm. For the cleanest shape, chill 4 hours or overnight.
- Serve: Peel off the liners (if using) and enjoy cold. Add a few fresh mini eggs right before serving for extra crunch.
Storage Instructions
- Refrigerator: Keep covered and chilled for up to 3 days.
The crust stays crispest on day 1–2.
- Freezer: Freeze, well covered, for up to 1 month. Thaw in the fridge for several hours before serving.
- Topping tip: Add final mini eggs just before serving so they stay snappy.
Health Benefits
- Portion control: Individual cups help you enjoy a satisfying dessert without overdoing it.
- Protein and calcium: Cream cheese and cream provide some protein and calcium for bones and muscles.
- Energy boost: Carbs and fats offer quick energy—handy for celebrations and active days.
- Mindful indulgence: Sweets can fit into a balanced diet when enjoyed in moderation.
What Not to Do
- Don’t use low-fat cream cheese: It can make the filling loose and grainy.
- Don’t skip chilling: The cups need time to set or they’ll slump.
- Don’t overwhip the cream: Overbeaten cream turns grainy and can separate.
- Don’t overmelt the butter: Scalding hot butter can make the crust greasy and soggy.
- Don’t overload with sugar: Too much powdered sugar softens the set and masks flavor.
Recipe Variations
- Lemon Lift: Add 1–2 teaspoons lemon zest to the filling for brightness.
- Chocolate Twist: Stir in 2 tablespoons cocoa powder with the sugar and use chocolate wafers for the crust.
- Cookie Crunch: Swap grahams for Biscoff or Oreos (remove cream for a firmer crust).
- Berry Burst: Top with fresh raspberries or a spoon of strawberry compote before serving.
- Salted Caramel: Drizzle caramel over the set cups and sprinkle a pinch of flaky salt.
FAQ
Can I make these a day ahead?
Yes. They actually set better overnight, making them ideal for prepping ahead of time.
What if I don’t have a muffin tin?
Use small ramekins, reusable dessert cups, or sturdy paper cups.
Build the crust and filling the same way.
How do I crush the mini eggs without a mess?
Seal them in a zip-top bag and tap gently with a rolling pin. Aim for a mix of small chunks and colorful dust.
Can I use granulated sugar instead of powdered sugar?
Use powdered sugar for a smooth texture. Granulated sugar can feel gritty in no-bake fillings.
Why is my filling runny?
Common causes include low-fat cream cheese, under-whipped cream, or not chilling long enough.
Make sure the cream cheese is room temperature and the cream reaches soft-medium peaks.
Are these safe to sit out at a party?
Keep them chilled. Serve for up to 1–2 hours max at room temperature, then return to the fridge.
Can I make them gluten-free?
Yes. Use gluten-free cookies for the crust and check the mini eggs label to confirm they’re gluten-free.
Final Thoughts
These No-Bake Mini Egg Cheesecake Cups are simple, festive, and consistently delicious.
With five ingredients and minimal steps, they’re a dependable crowd-pleaser you can make anytime. Keep the method the same, swap flavors as you like, and let the fridge do the magic. Chill, top, and enjoy—no oven required.
No-Bake Mini Egg Cheesecake Cups (5 Ingredients) - Creamy, Fun, and Foolproof
Ingredients
- Cream cheese (full-fat, brick style)
- Heavy cream (also labeled whipping cream)
- Powdered sugar (confectioners’ sugar)
- Digestive biscuits or graham crackers (for the crust)
- Mini chocolate eggs (crushed and whole for topping)
Instructions
- Prep the cups: Line a 12-cup muffin tin with paper liners, or use small dessert cups. This keeps the crust neat and makes serving easy.
- Make the crust: Crush 8–10 digestive biscuits or graham crackers into fine crumbs.Stir in 3–4 tablespoons melted butter until the mixture feels like damp sand and holds when pressed.
- Press the base: Spoon 1–2 tablespoons of crumbs into each cup. Press down firmly with the bottom of a small glass or spoon to create a compact layer. Chill while you make the filling.
- Beat the cream cheese: In a bowl, beat 16 ounces (450 g) of softened cream cheese until smooth and lump-free.Add 1/3–1/2 cup powdered sugar and beat again until creamy.
- Whip the cream: In a separate bowl, whip 3/4 cup heavy cream to soft-medium peaks. Don’t overwhip—peaks should hold but still look glossy.
- Fold and flavor: Gently fold the whipped cream into the cream cheese mixture until just combined. Stir in a handful of crushed mini eggs for texture and color.
- Fill the cups: Divide the filling evenly over the chilled crusts, smoothing the tops with a spoon.Add extra crushed or whole mini eggs on top.
- Chill to set: Refrigerate for at least 2–3 hours, or until firm. For the cleanest shape, chill 4 hours or overnight.
- Serve: Peel off the liners (if using) and enjoy cold. Add a few fresh mini eggs right before serving for extra crunch.
Printable Recipe Card
Want just the essential recipe details without scrolling through the article? Get our printable recipe card with just the ingredients and instructions.