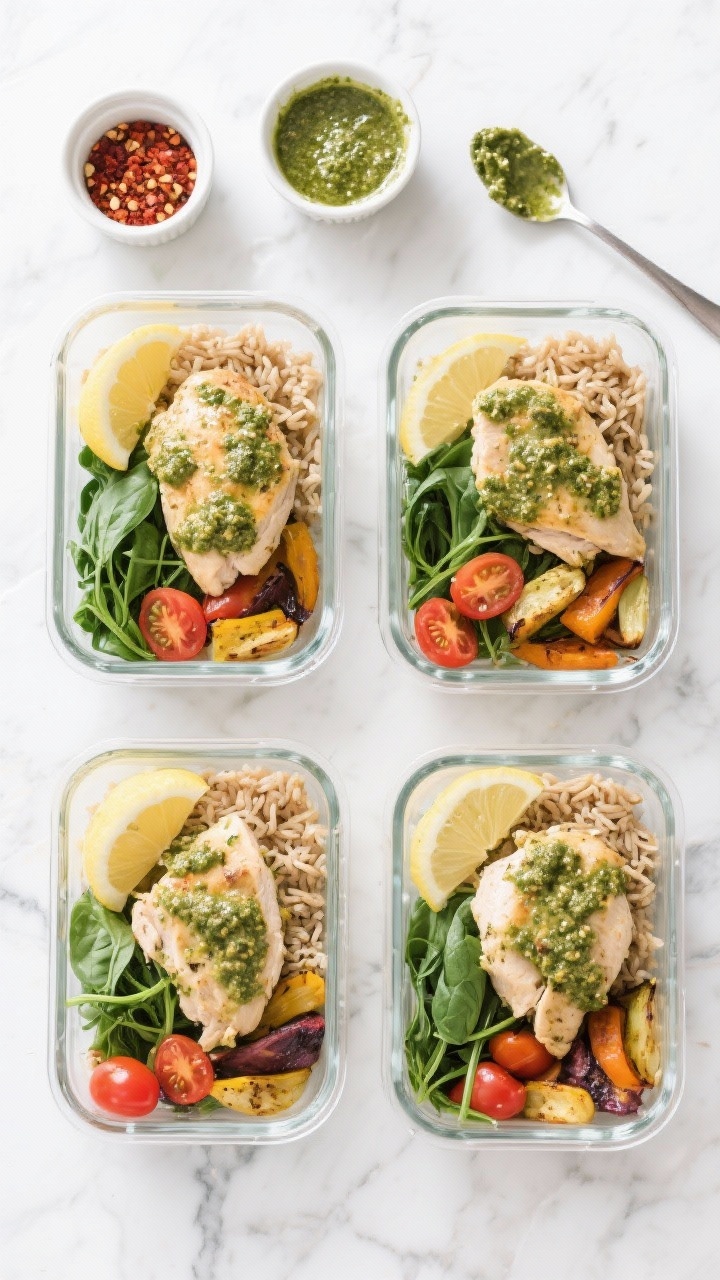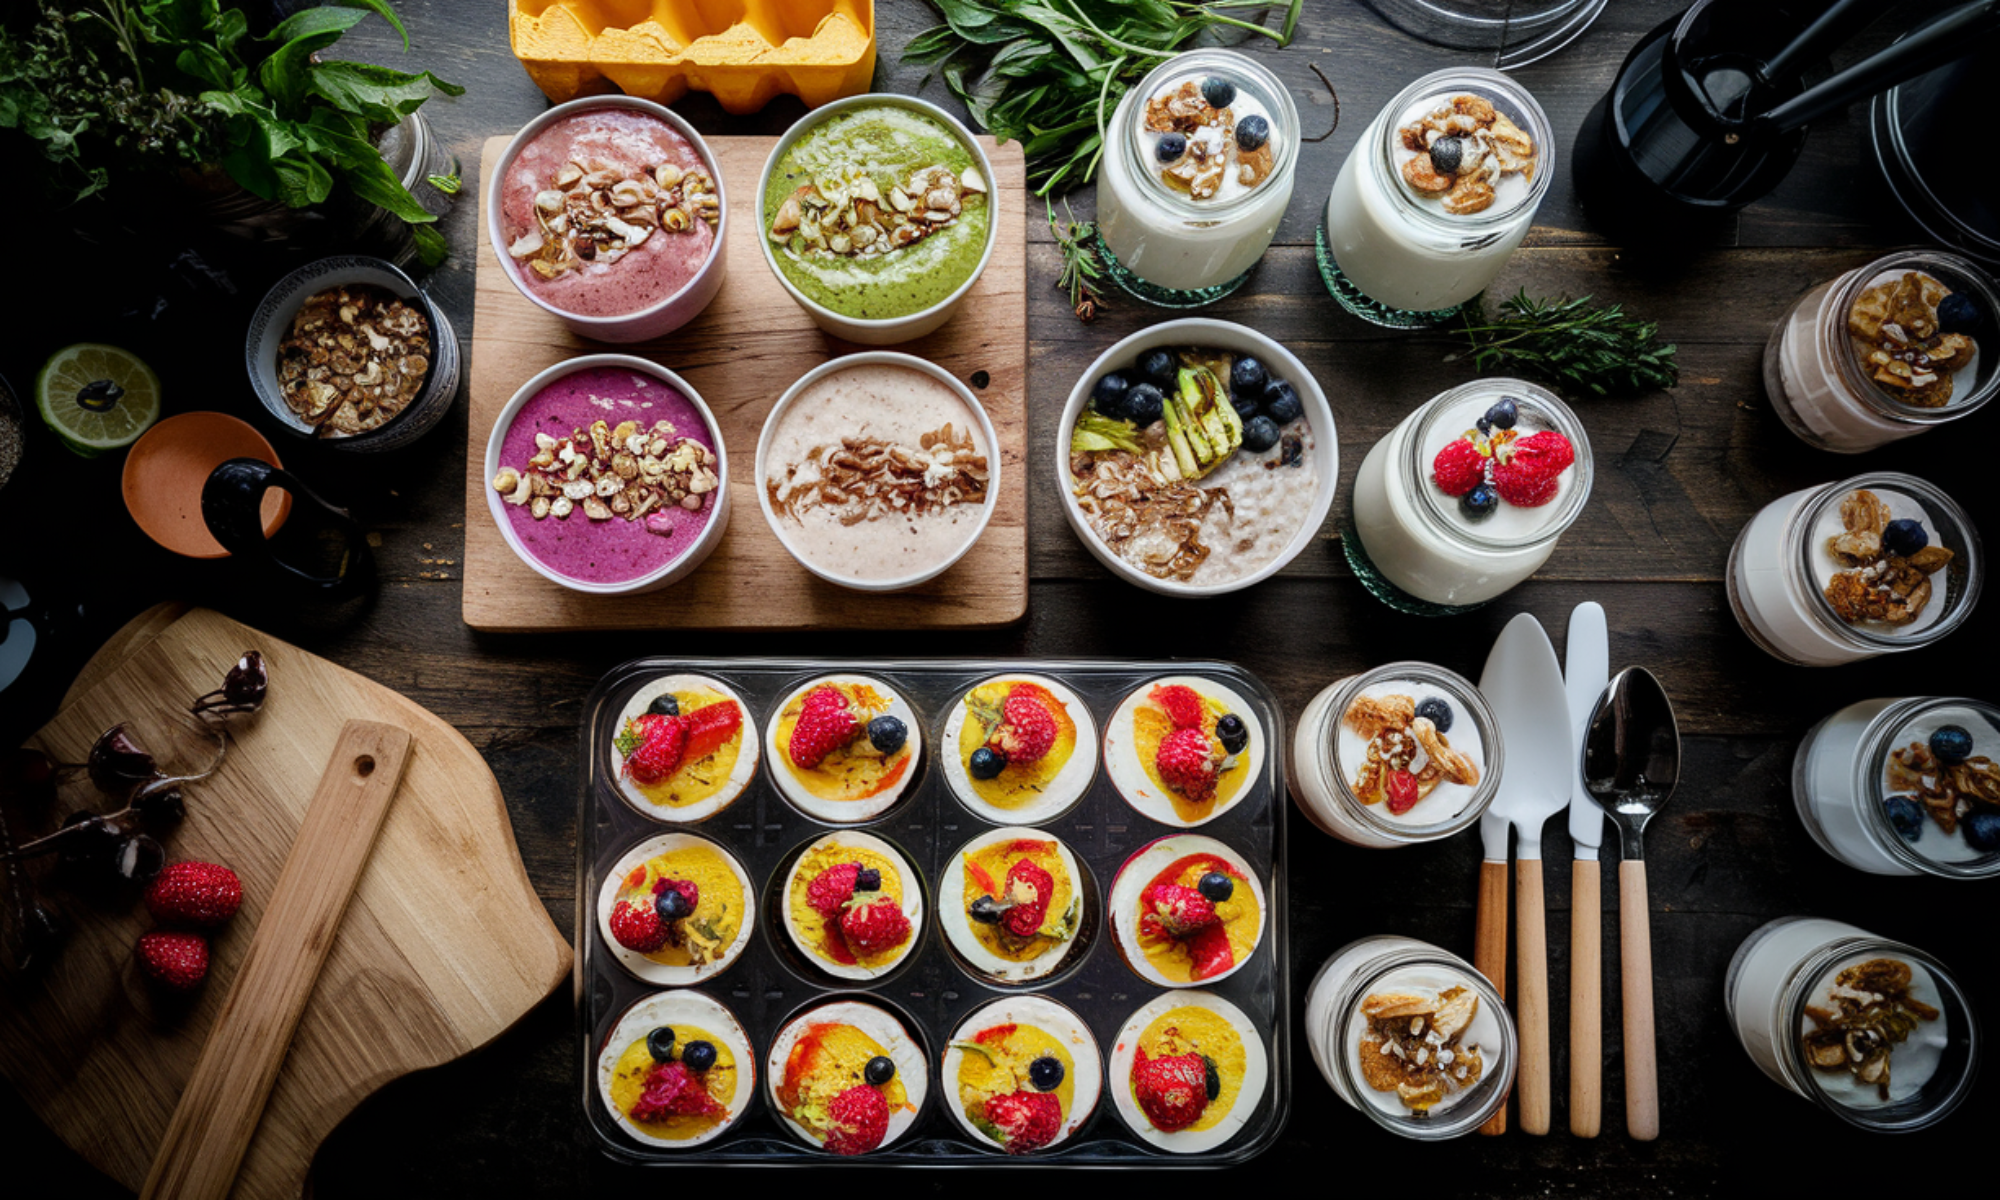
Looking for a meal prep that tastes bright, stays juicy, and keeps you full? This Lemon Herb Chicken Protein Meal Prep is exactly that. It’s simple, fresh, and packed with flavor without piling on calories.
The marinade does most of the work, and the whole meal comes together with minimal effort. Make it once, and you’ve got a week of balanced, high-protein lunches ready to go.
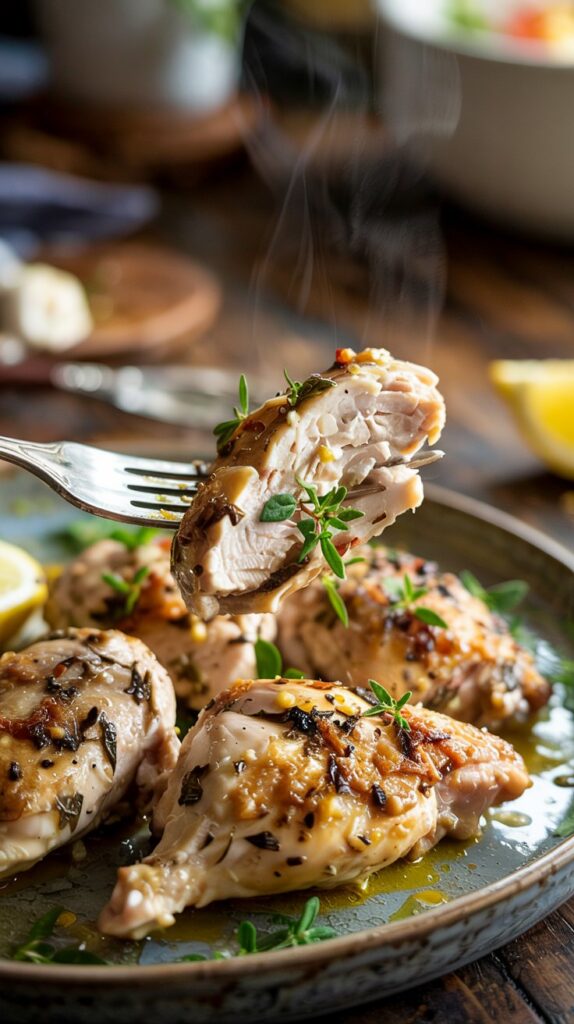
Why This Recipe Works
This recipe balances flavor and nutrition with a short list of ingredients. Lemon adds freshness and tenderizes the chicken, while herbs and garlic bring depth without heavy sauces.
Roasting everything on a sheet pan saves time and keeps cleanup easy. Plus, it’s customizable—swap the carbs or veggies based on what you like or have on hand.
What You’ll Need
- Chicken: 2 pounds boneless, skinless chicken breasts (or thighs for juicier results)
- Lemon: Zest and juice of 2 lemons
- Olive oil: 3 tablespoons
- Garlic: 4 cloves, minced
- Fresh herbs: 2 tablespoons chopped parsley, 1 tablespoon chopped rosemary, 1 tablespoon chopped thyme (or 2 teaspoons dried Italian seasoning)
- Salt and pepper: 1½ teaspoons kosher salt, 1 teaspoon black pepper
- Optional heat: ½ teaspoon red pepper flakes
- Vegetables: 3 cups broccoli florets, 2 cups zucchini or bell peppers, chopped
- Carb base (choose one): 3 cups cooked quinoa, brown rice, or cauliflower rice
- Extras: Lemon wedges for serving, a drizzle of extra-virgin olive oil
Instructions
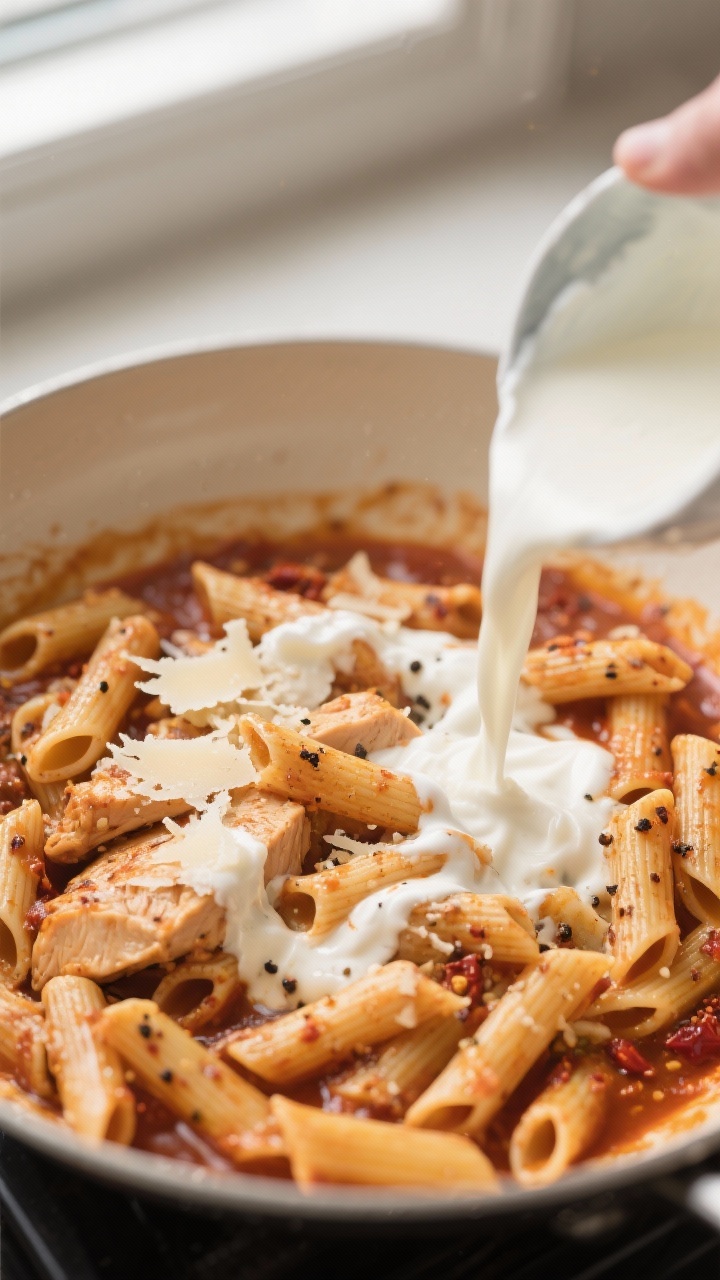
- Make the marinade: In a bowl, whisk lemon zest, lemon juice, olive oil, garlic, herbs, salt, pepper, and red pepper flakes.
- Prep the chicken: Pat chicken dry. If breasts are thick, slice horizontally into cutlets for even cooking.
- Marinate: Add chicken to the bowl and toss to coat.
Rest for at least 20 minutes at room temperature, or up to 8 hours in the fridge.
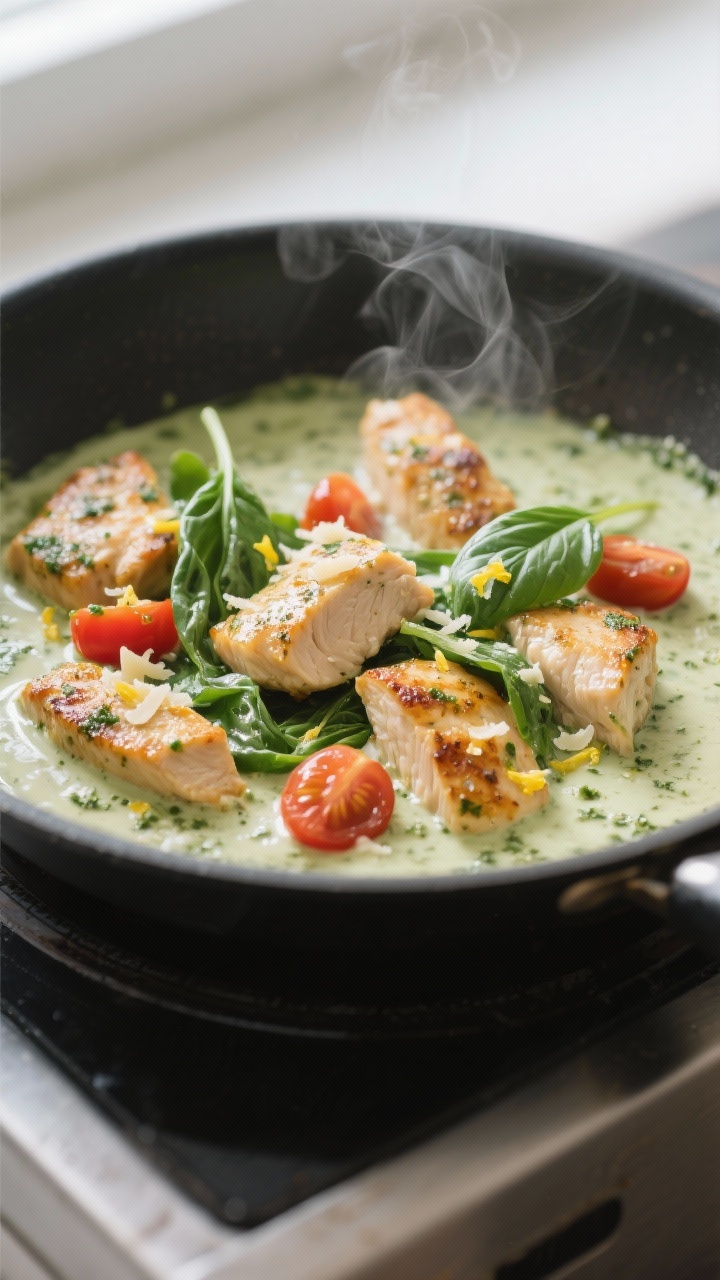
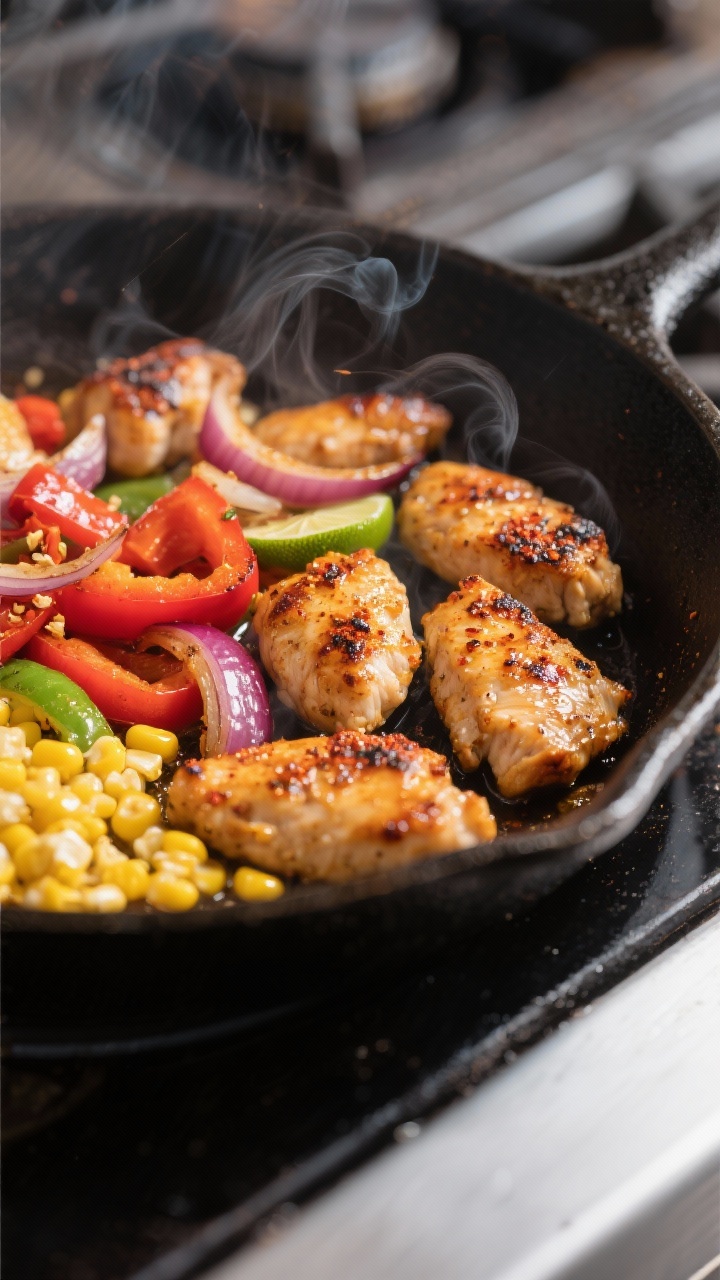
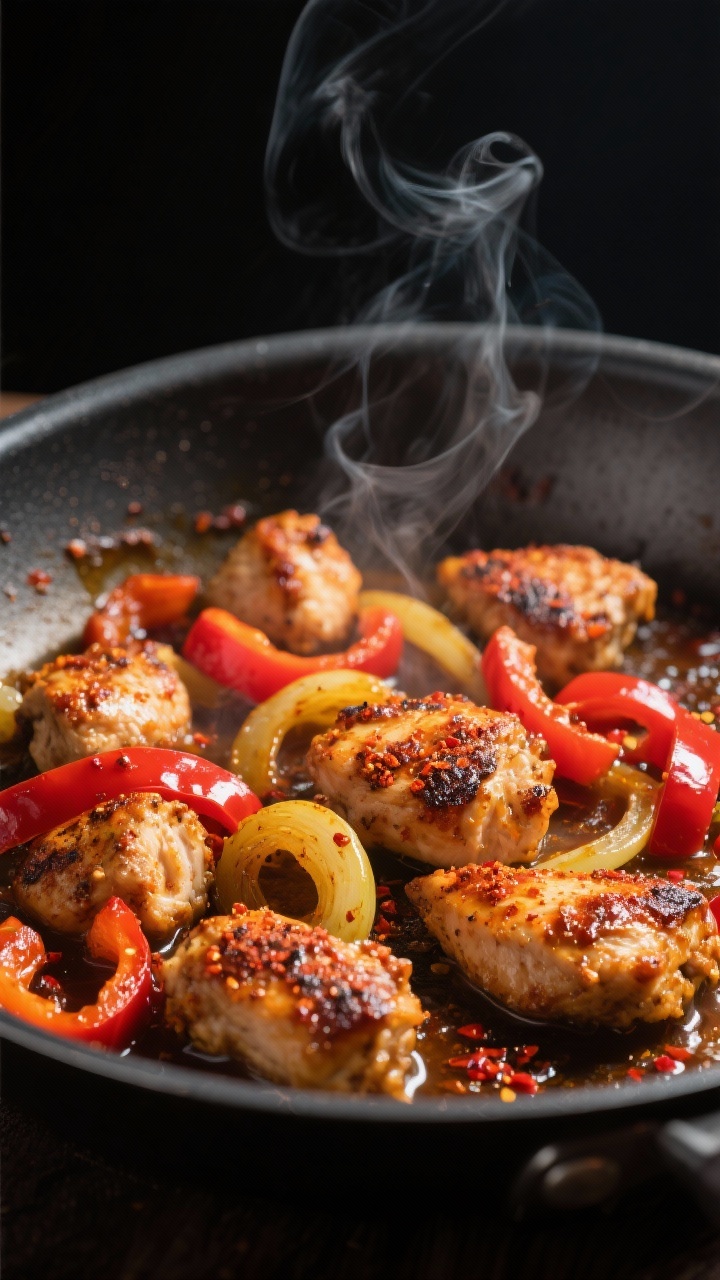
- Preheat and prep veggies: Heat oven to 425°F (220°C). Toss broccoli and zucchini with 1 tablespoon olive oil, a pinch of salt, and pepper.
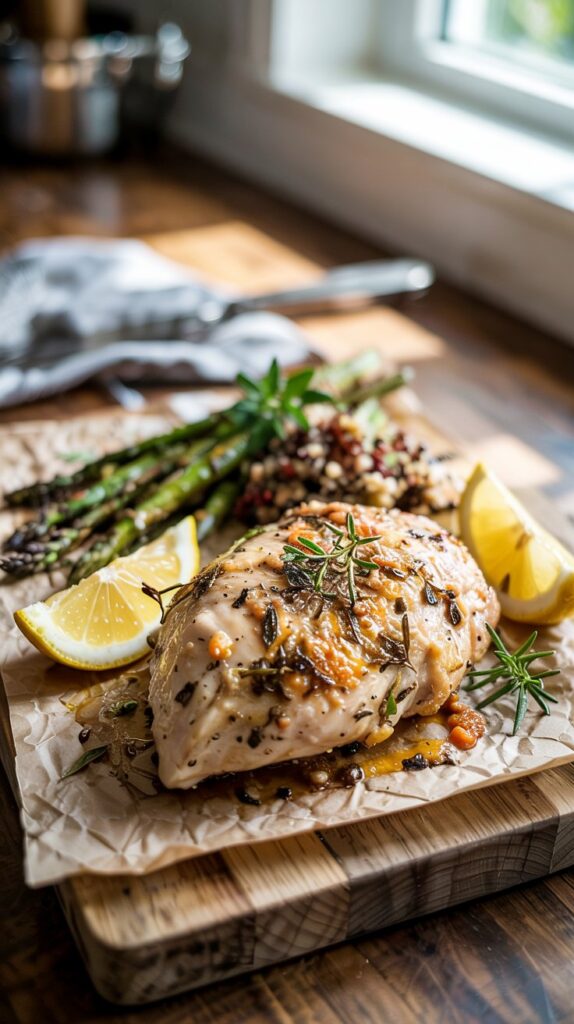
- Roast: Arrange veggies on a sheet pan. Place chicken on a second pan (or the same pan with space).
Roast 15–20 minutes for cutlets, 20–25 minutes for whole breasts, until the internal temp reaches 165°F (74°C).
- Rest the chicken: Let it sit 5 minutes, then slice against the grain.
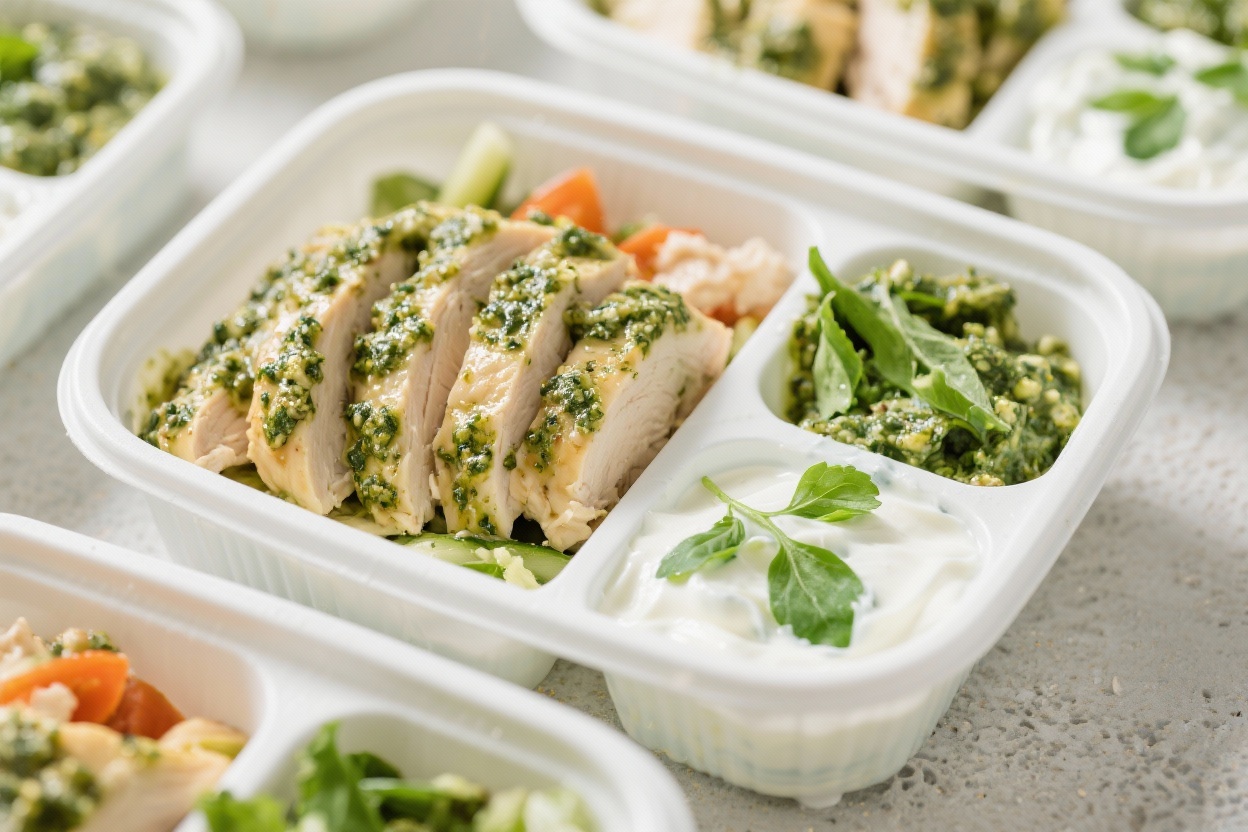
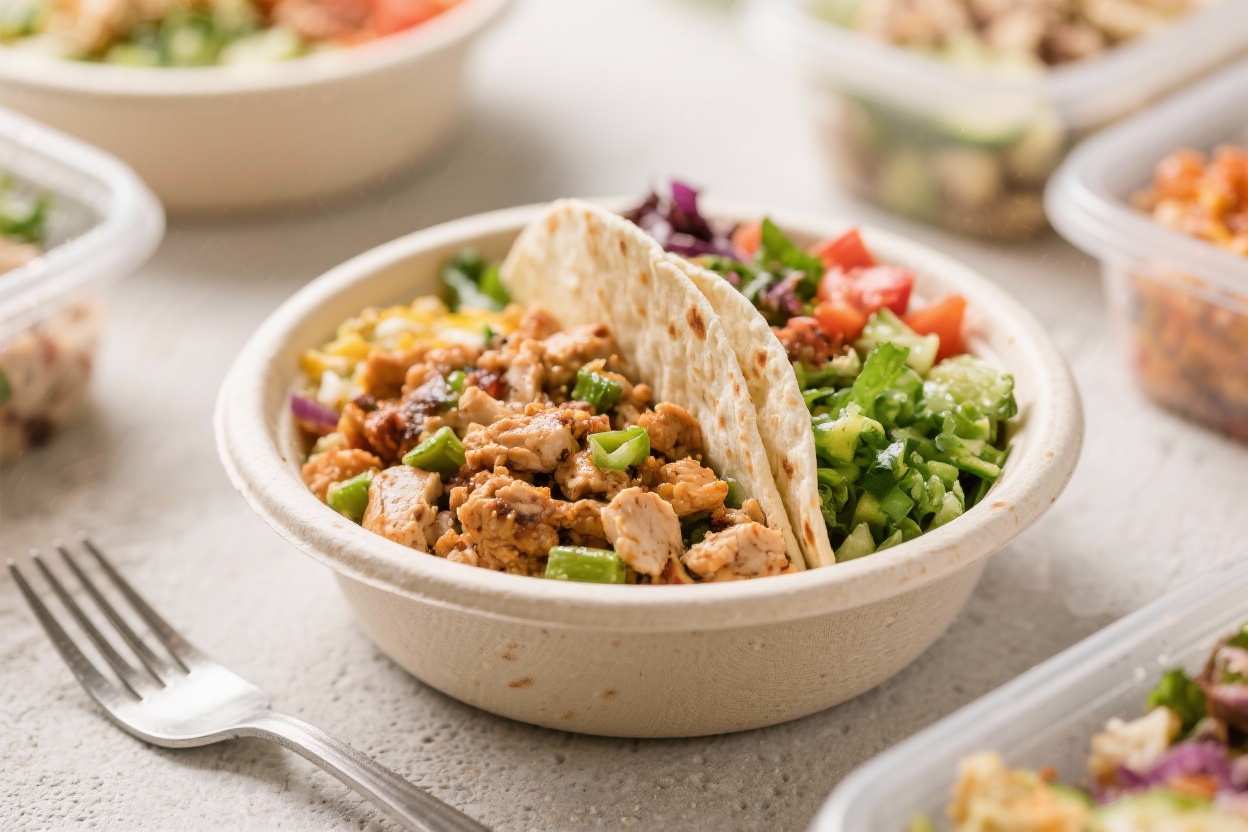
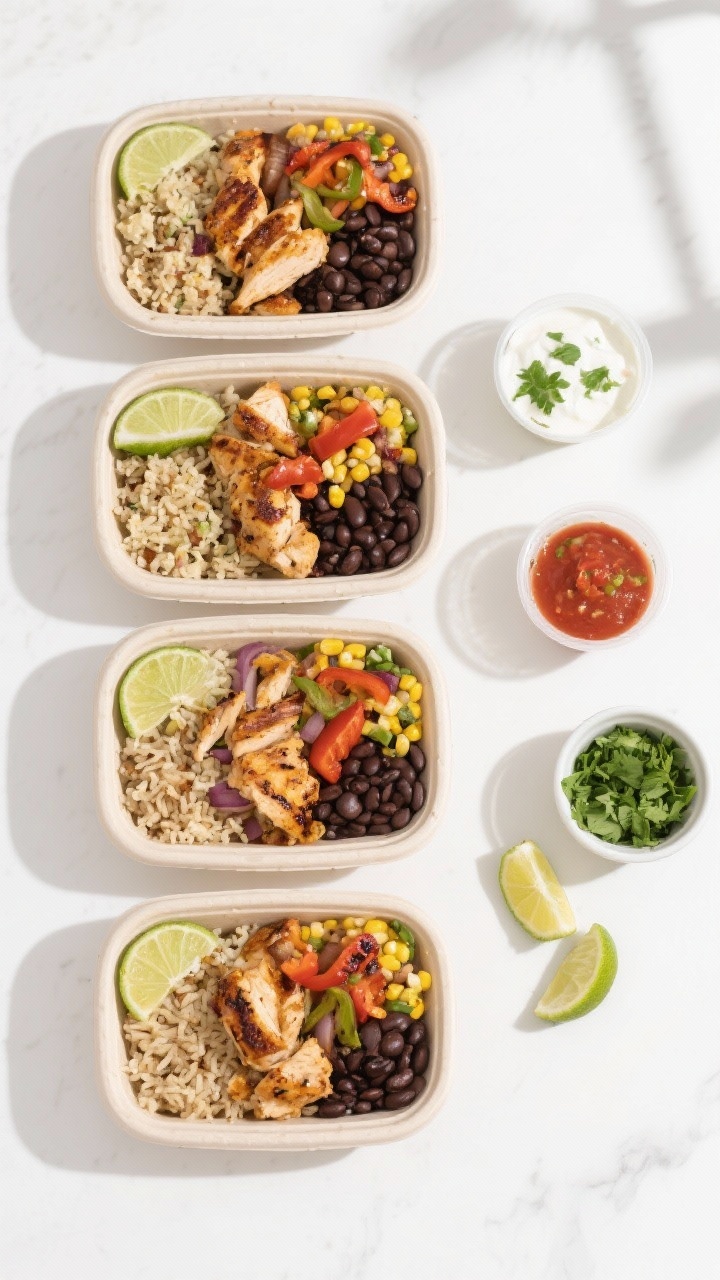
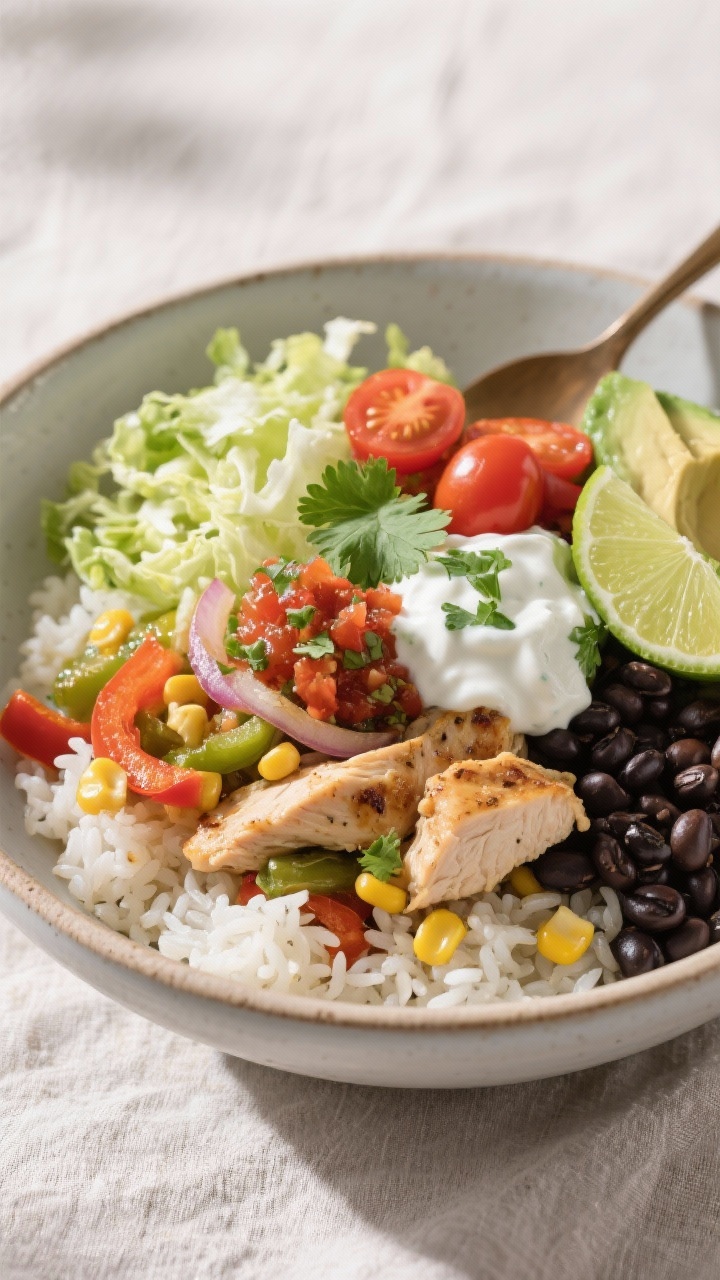
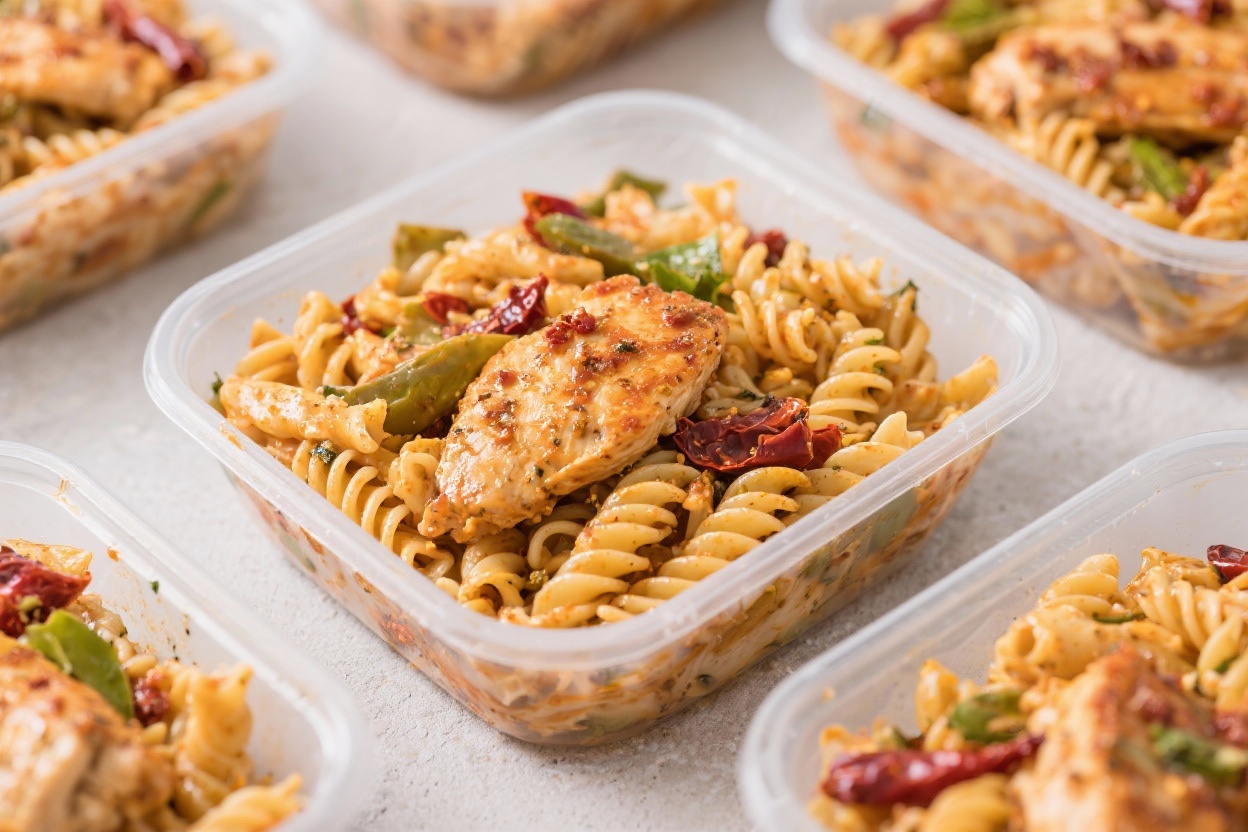
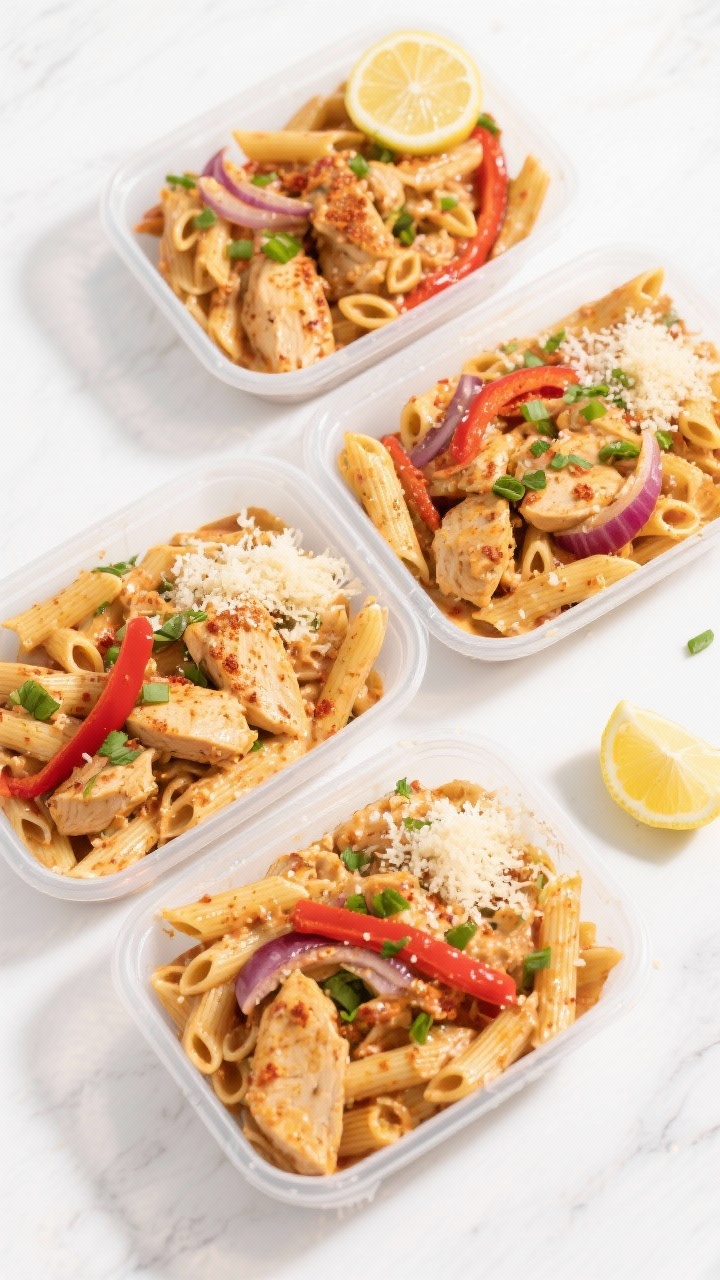
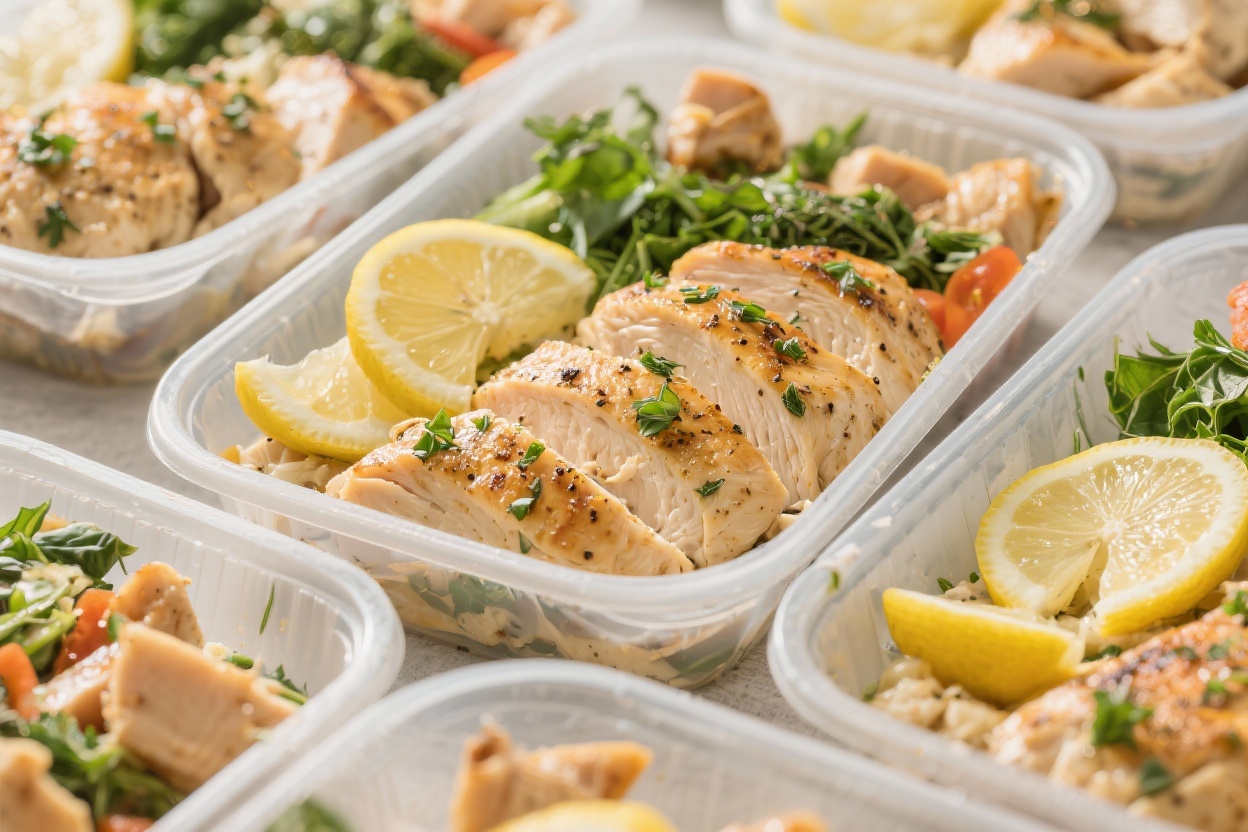
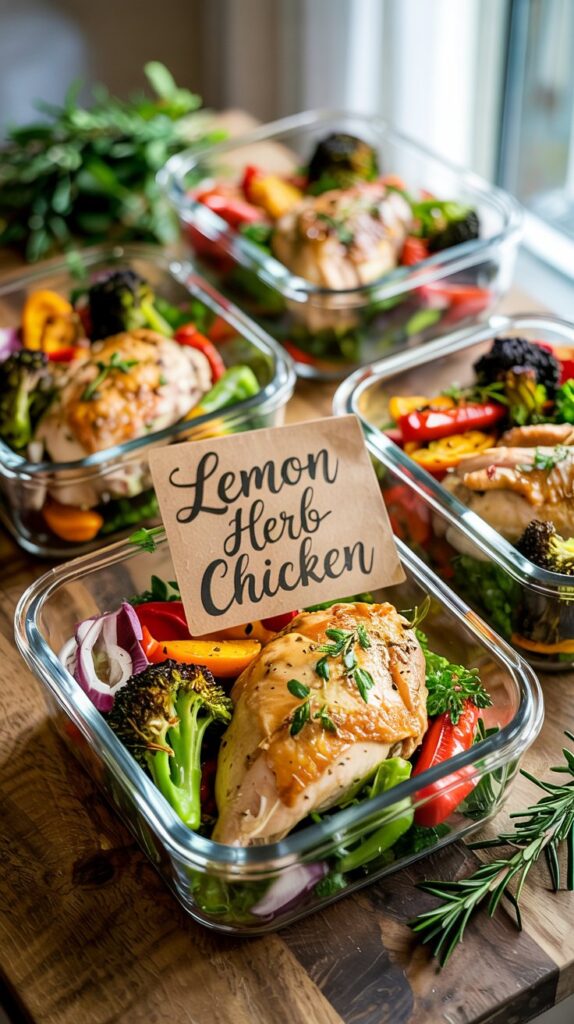
- Assemble bowls: Add ¾–1 cup of your carb base to each container. Top with roasted veggies and sliced chicken.
- Finish: Add a squeeze of fresh lemon and a light drizzle of olive oil. Garnish with parsley if you like.
Storage Instructions
- Refrigerator: Store in airtight containers for up to 4 days.
- Freezer: Freeze chicken and rice/quinoa for up to 3 months.
Add fresh veggies after reheating for best texture.
- Reheating: Microwave 60–90 seconds, just until warm. Add a splash of water or lemon juice to keep it from drying out.
- Avoid sogginess: Keep lemon wedges separate until serving.
Why This is Good for You
High protein supports muscle recovery and helps you stay full longer. Lemon and herbs add flavor without heavy sauces, keeping calories in check. Fiber-rich veggies support digestion and steady energy. Choosing whole grains like quinoa or brown rice brings extra protein, minerals, and slow-release carbs.
What Not to Do
- Don’t skip the marinade time. Even 20 minutes improves flavor and tenderness.
- Don’t overcrowd the pan. Crowding traps steam and dries out the chicken.
- Don’t overcook. Use a meat thermometer and pull at 165°F for juicy results.
- Don’t store wet garnishes on top. Keep lemon wedges and fresh herbs separate until you eat.
Variations You Can Try
- Greek style: Add 1 teaspoon dried oregano, swap parsley for dill, and serve with cucumber and feta.
- Garlic-parmesan: Stir 2 tablespoons grated Parmesan into the marinade and roast asparagus instead of broccoli.
- Spicy citrus: Use lemon and orange zest, add extra chili flakes, and serve with cilantro.
- Low-carb: Use cauliflower rice and extra veggies; add avocado when serving.
- Thighs instead of breasts: Juicier and forgiving—roast 22–28 minutes depending on size.
FAQ
Can I cook the chicken on the stovetop instead?
Yes.
Heat a large skillet over medium-high with a bit of oil. Sear chicken 4–6 minutes per side until it reaches 165°F. Let it rest before slicing.
How do I keep the chicken from drying out?
Marinate, don’t overcook, and let it rest.
Cutting breasts into thinner cutlets also helps them cook evenly. A quick squeeze of lemon after reheating brings moisture back.
Can I use bottled lemon juice?
You can, but fresh lemon gives better flavor. If using bottled, add extra zest or a bit more herbs to lift the taste.
What vegetables work best for meal prep?
Sturdy veggies like broccoli, carrots, Brussels sprouts, green beans, and bell peppers hold up well.
Avoid very watery veg like tomatoes or cucumbers when storing hot meals.
Is this recipe good for weight loss?
It can be. It’s high in protein, loaded with veggies, and easy to portion. Choose cauliflower rice or smaller portions of grains if you want to lower calories.
How many servings does this make?
Typically 4 servings.
If you need more, double the recipe and use two sheet pans to avoid crowding.
Final Thoughts
This Lemon Herb Chicken Protein Meal Prep is simple, flexible, and seriously satisfying. It’s the kind of recipe that fits busy weeks without tasting like a compromise. Prep it once, enjoy it all week, and tweak the sides to keep things interesting.
Fresh, bright, and protein-packed—exactly what a good meal prep should be.